Anti roll bars: the fastest way to move the balance
Anti roll bars are the fastest way to move the balance: what each end does, the trap of stiffening both and how to tell roll oversteer from snap oversteer.
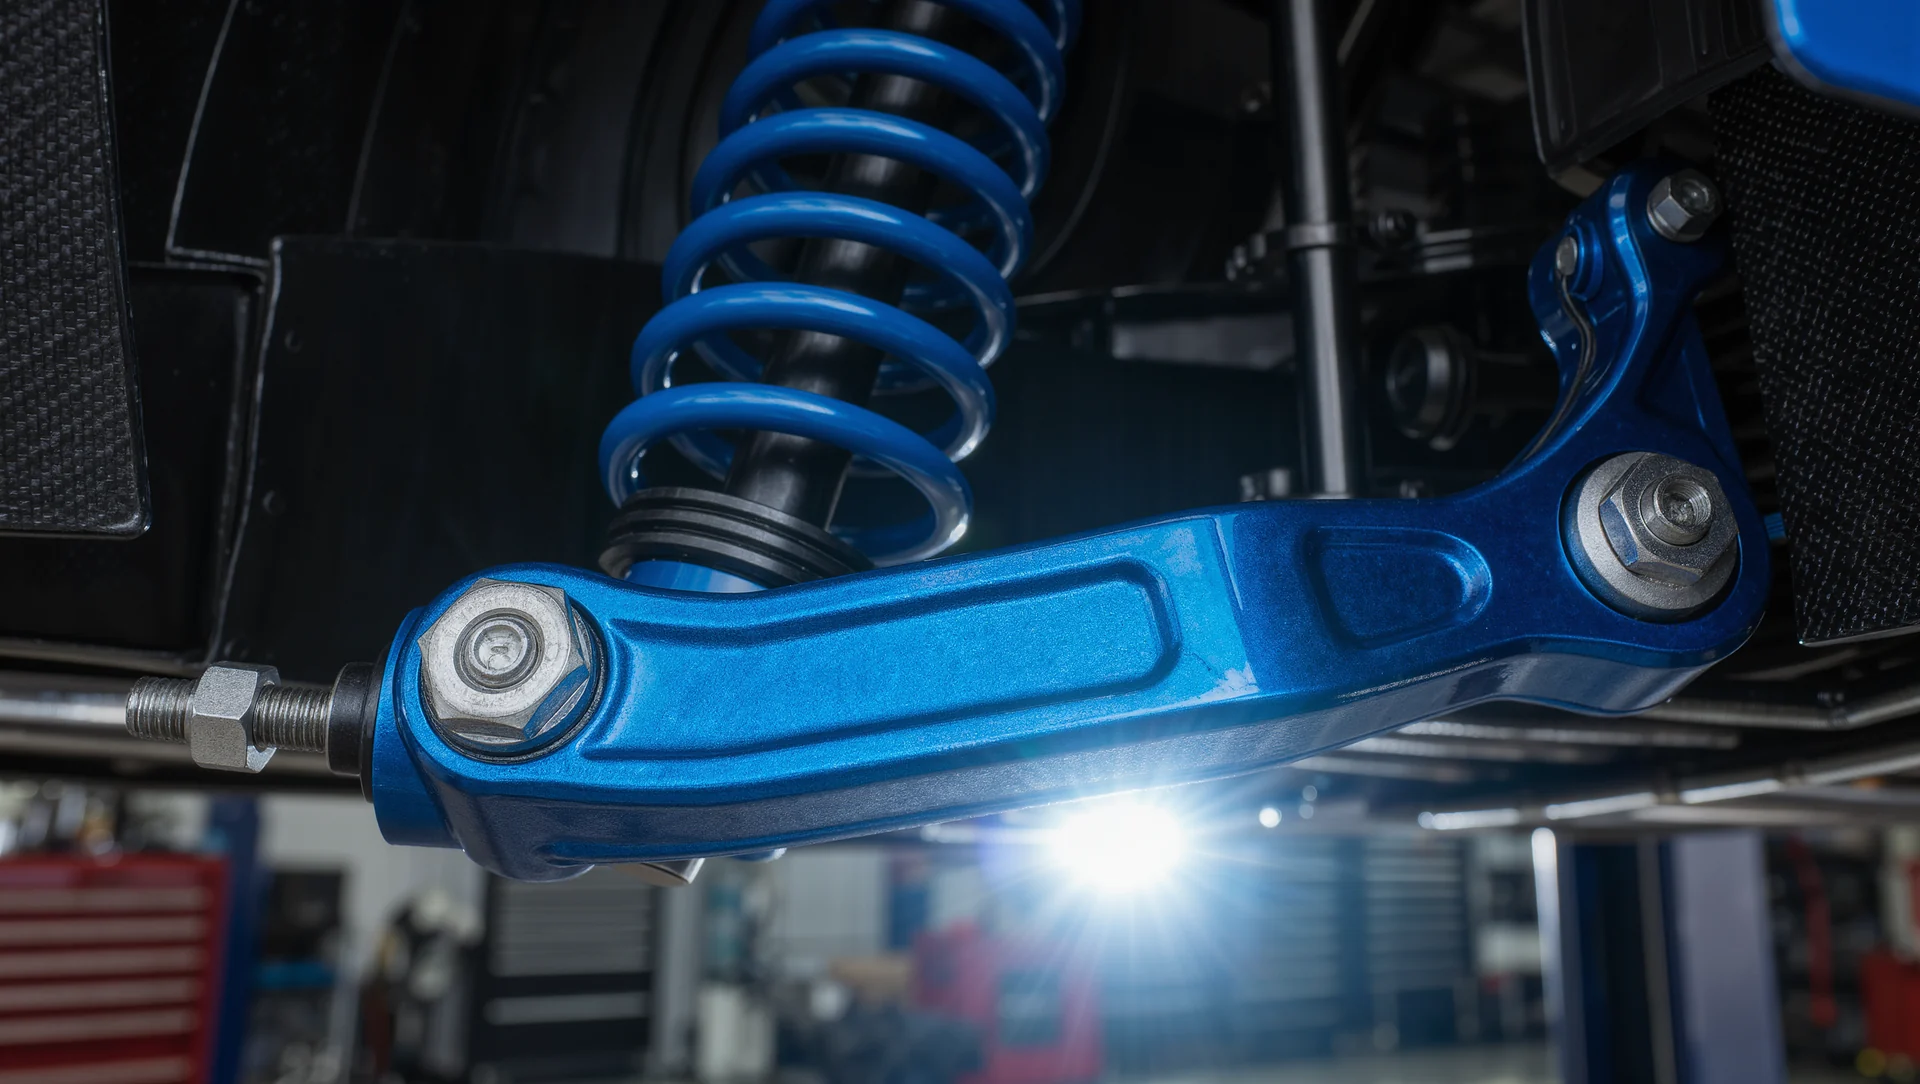
An anti roll bar is the only adjustment that moves the balance without changing anything else about the car, which makes it the first tool to reach for and the easiest one to overuse. The published effects are precise enough to work from directly.
What a bar actually does
The guide states the mechanism plainly: a stiffer anti roll bar at one end of the car will increase the load on the outside tyre at that end. More load on one tyre at an axle means less total grip from that axle, which is why stiffening an end pushes the balance away from it.
The trap is stiffening both. If both bars are made stiffer, the guide notes, the load transferred will remain the same, but overall chassis roll will be reduced, which may require a camber adjustment. In other words you have changed the car without changing the balance, and you may have invalidated your camber settings in the process.
The scale is unambiguous: a higher number represents an increase in roll resistance, making the car stiffer. Not every car has both bars, though. Some have only a front bar, on some the rear bar can be disconnected, and some have none at all, in which case roll stiffness has to be tuned with the wheel springs instead.
| Adjustment | Effect | Compromise |
|---|---|---|
| Stiffer front bar | more stability, balance toward understeer | one bumped tyre affects the whole axle |
| Softer front bar | balance toward oversteer, better compliance | less stability under aggressive steering |
| Stiffer rear bar | less understeer at corner exit | possible snap or flat oversteer |
| Softer rear bar | more roll at the rear, visible at exit | roll oversteer, gradual rather than sudden |
| Both stiffer | less chassis roll, same load transfer | may require a camber adjustment |
The front bar
The guide calls it a powerful tuning tool for the overall behaviour of the car. Stiffer increases overall stability and shifts the balance toward understeer, which lets the driver be more aggressive with the steering.
The compromise is named specifically: a stiffer front bar reduces compliance, so when one tyre hits a bump the entire front axle is affected through a loss of overall grip. On a smooth circuit that costs little; on a bumpy one it costs a lot, which is why the same setup travels badly.
Softer shifts the balance toward oversteer, or less understeer, and improves front compliance, which improves performance in brake zones and over bumps. That combination, more rotation plus better braking, is why a softer front bar often looks like a free gain.
The rear bar
The rear bar is described as most valuable from mid corner out to the exit. Stiffening it supports the rear as you add throttle with the wheel still turned, and shifts the balance to less understeer at corner exit.
The compromise here is sharper than at the front. A rear bar that is too stiff can produce snap or flat oversteer, which arrives without warning. A rear bar that is too soft produces exit oversteer too, but the guide notes it is more gradual, which is the origin of the phrase roll oversteer.
That difference is diagnostic. Oversteer at corner exit that builds progressively points at a bar that is too soft; oversteer at corner exit that arrives instantly points at one that is too stiff. The symptom is the same word and the fix is in opposite directions.
Using bars in a session
The 4 outcomes are worth listing because 2 of them share a name. Front bar 1 step stiffer moves the balance 1 way, rear bar 1 step stiffer moves it the other, and the 2 exit oversteer cases sit at opposite ends of the same 6 position range. Testing 3 settings of 1 bar beats testing 1 setting of 3 things.
Change one end at a time and always by one step. A bar is a powerful tool precisely because it moves the balance directly, and two steps usually overshoots into the opposite problem, which then gets blamed on something else.
Put the session in numbers. A car with 2 bars at 6 positions each has 36 combinations, and at 5 laps per test a 40 lap session covers 8 of them, or 22 per cent. Moving 1 step at a time from the middle position reaches any setting within 3 tests, while moving 2 steps at a time reaches the opposite problem in 1. That is the whole argument for single steps.
And check the camber after a large change. Because stiffening both ends reduces chassis roll, the camber that was correct at the old roll angle is no longer correct, and the tread temperature spread will tell you within five laps.
Sources
Frequently asked questions
Why did stiffening both bars change nothing?
Because load transfer stays the same when both ends move together. You reduced chassis roll instead, which may need a camber change.
How do I tell if the rear bar is too stiff or too soft?
By how the oversteer arrives. Sudden points at too stiff, gradual roll oversteer points at too soft.
Which end should I change first?
The one where the problem is. Front for entry balance and stability, rear for mid corner and exit.
What if my car has no anti roll bars?
Then roll stiffness is tuned with the wheel springs instead, and the same balance logic applies one level down.
More in Setup & Telemetry

Consistency training: the boring drill that wins races
Consistency training: the unglamorous drill that wins races, why the fastest lap is the wrong target and how to measure progress in a way that does not lie.
The start: clutch, bite point and the first corner
The start: clutch, bite point and the first corner, with the timing arithmetic and the three mistakes that end more races than any overtake.

Racecraft: overtaking without collecting penalties
Overtaking without collecting penalties: what the rulebook actually charges for, where the responsibility sits and the three moves that pay.