Cockpits & Rigs
Aluminium profile or steel: which rig frame holds up
Aluminium profile against a steel tube frame: what the published weights and profile sizes tell you, and which construction survives a strong direct drive.
One hundred worked questions on rigs, hardware, driving technique, setup, competition, technology and the business of simulators.
Aluminium profile against a steel tube frame: what the published weights and profile sizes tell you, and which construction survives a strong direct drive.
Rig flex is measurable with a ruler and a phone. The method, the numbers that separate a stiff frame from a soft one, and what to tighten first.
GT and formula seating are two different jobs for the same body. The published angles, what each position gives you and what it costs over a two hour stint.
Pedal plate angle decides how much of your leg strength reaches the load cell. The geometry, the published adjustment ranges and how to set it in one session.
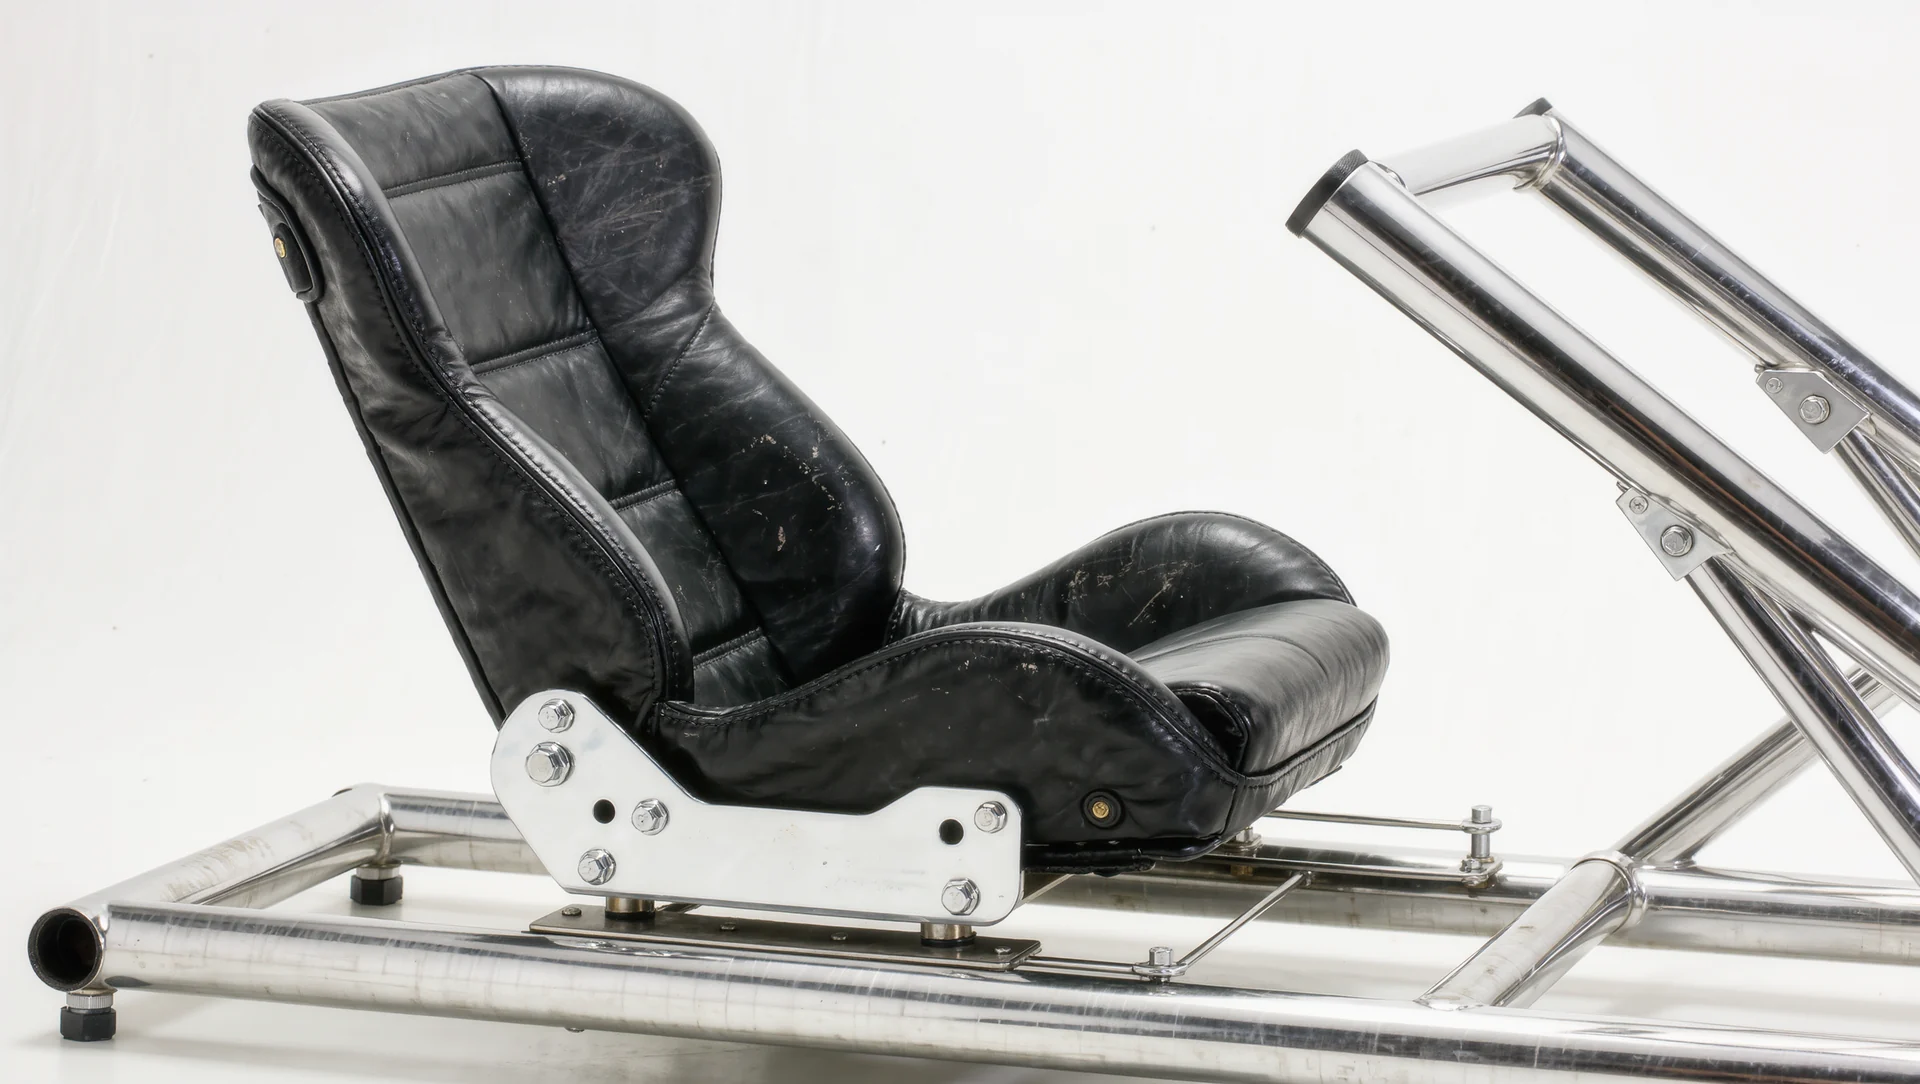
A used road car sport seat against a branded sim bucket: the published weights, prices and homologation rules, and where the cheap option genuinely wins.

Folding cockpit, wheel stand or a full profile rig in a small flat: the published dimensions, the storage figures and what each option really costs in floor space.
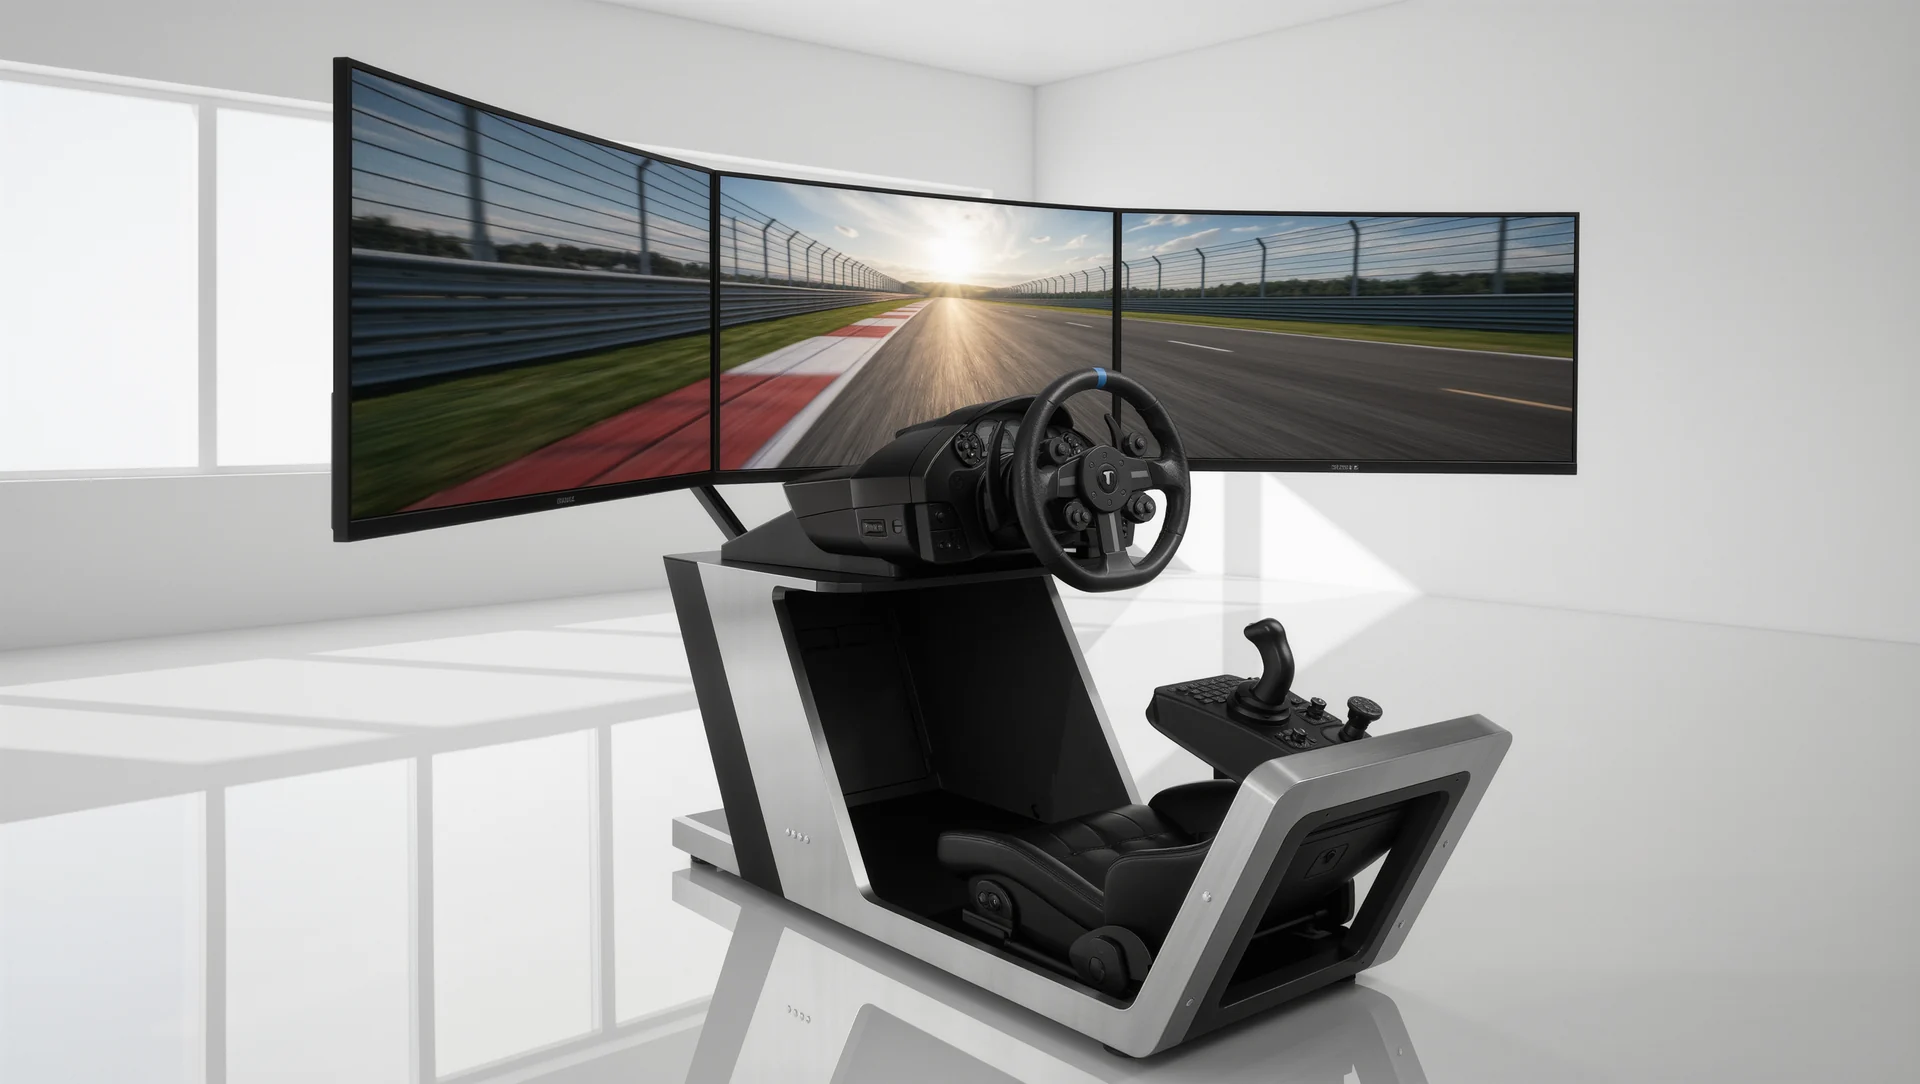
Free standing monitor stands against rig mounted arms: the published load ratings, VESA ranges and the reason motion platforms leave no choice.
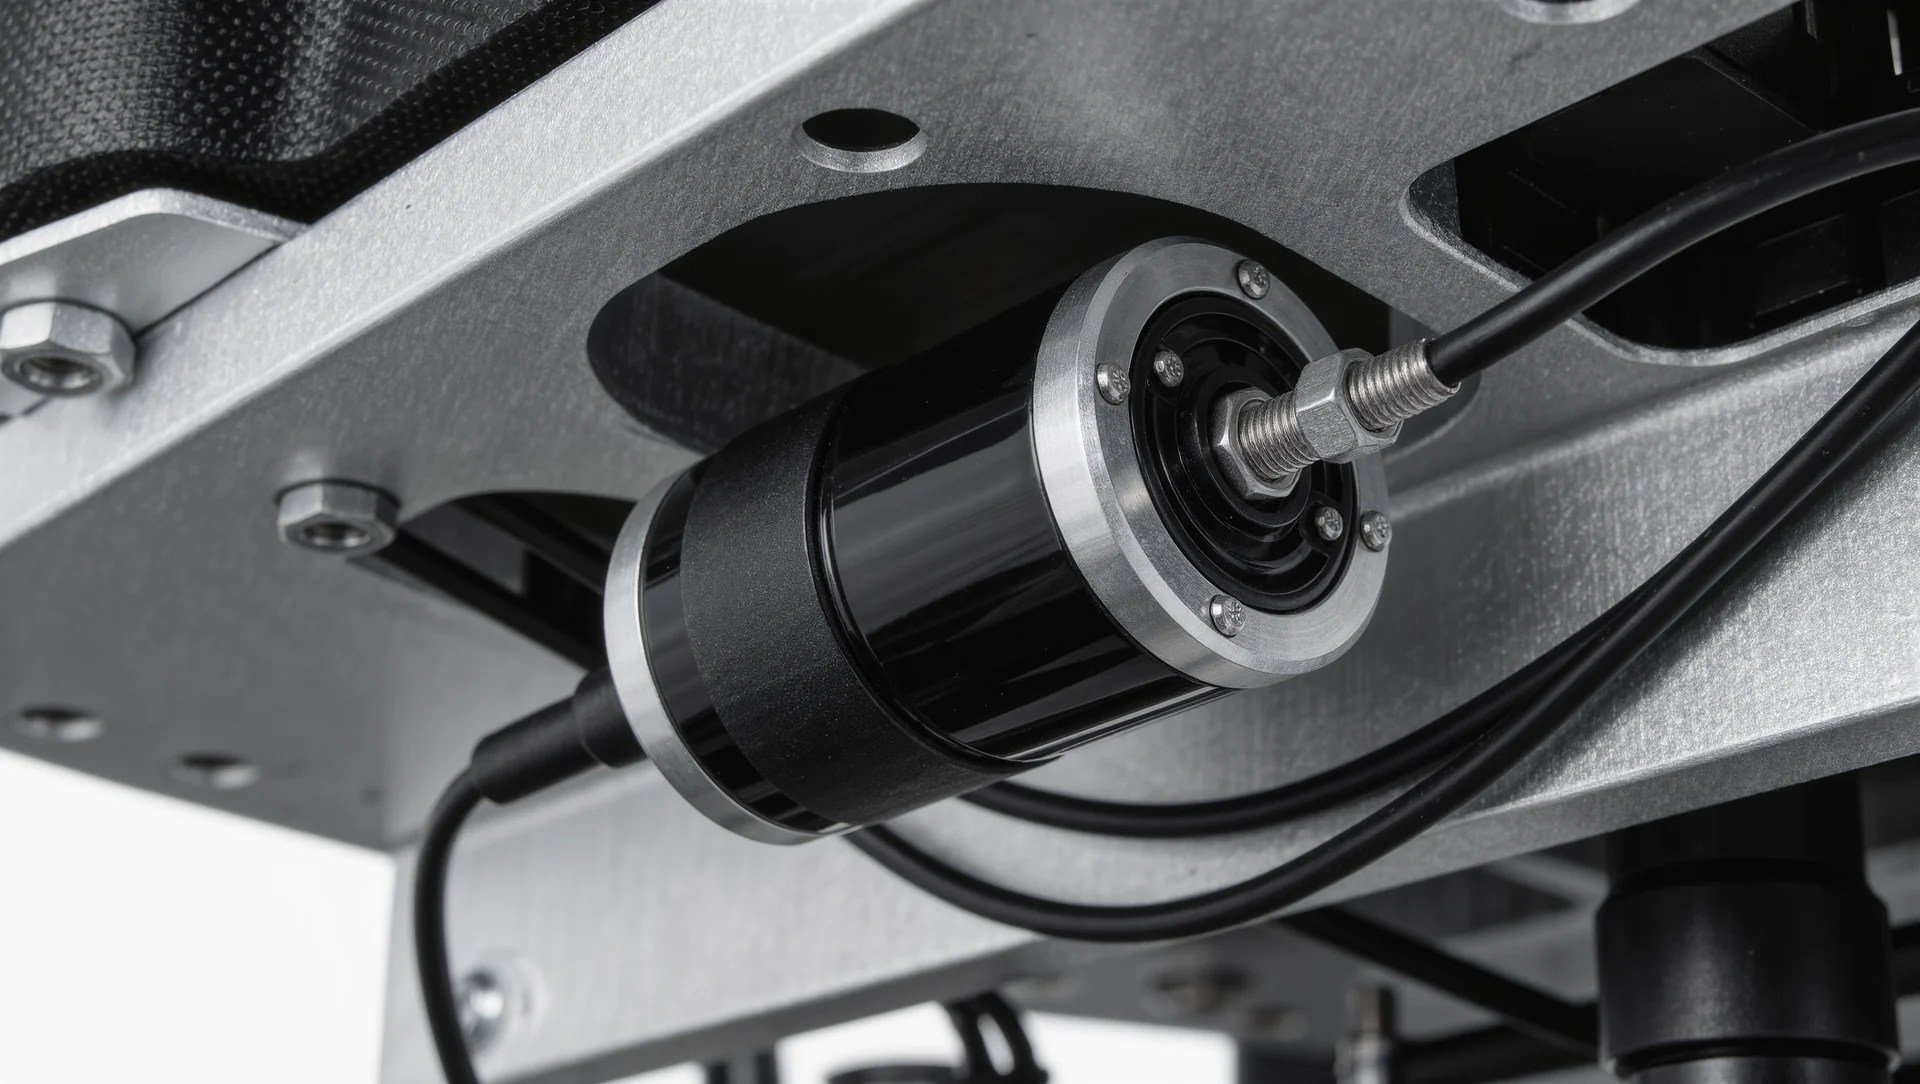
Bass shakers on a sim rig: the published power and frequency figures, where to mount them, how many you need and where the limits genuinely are.
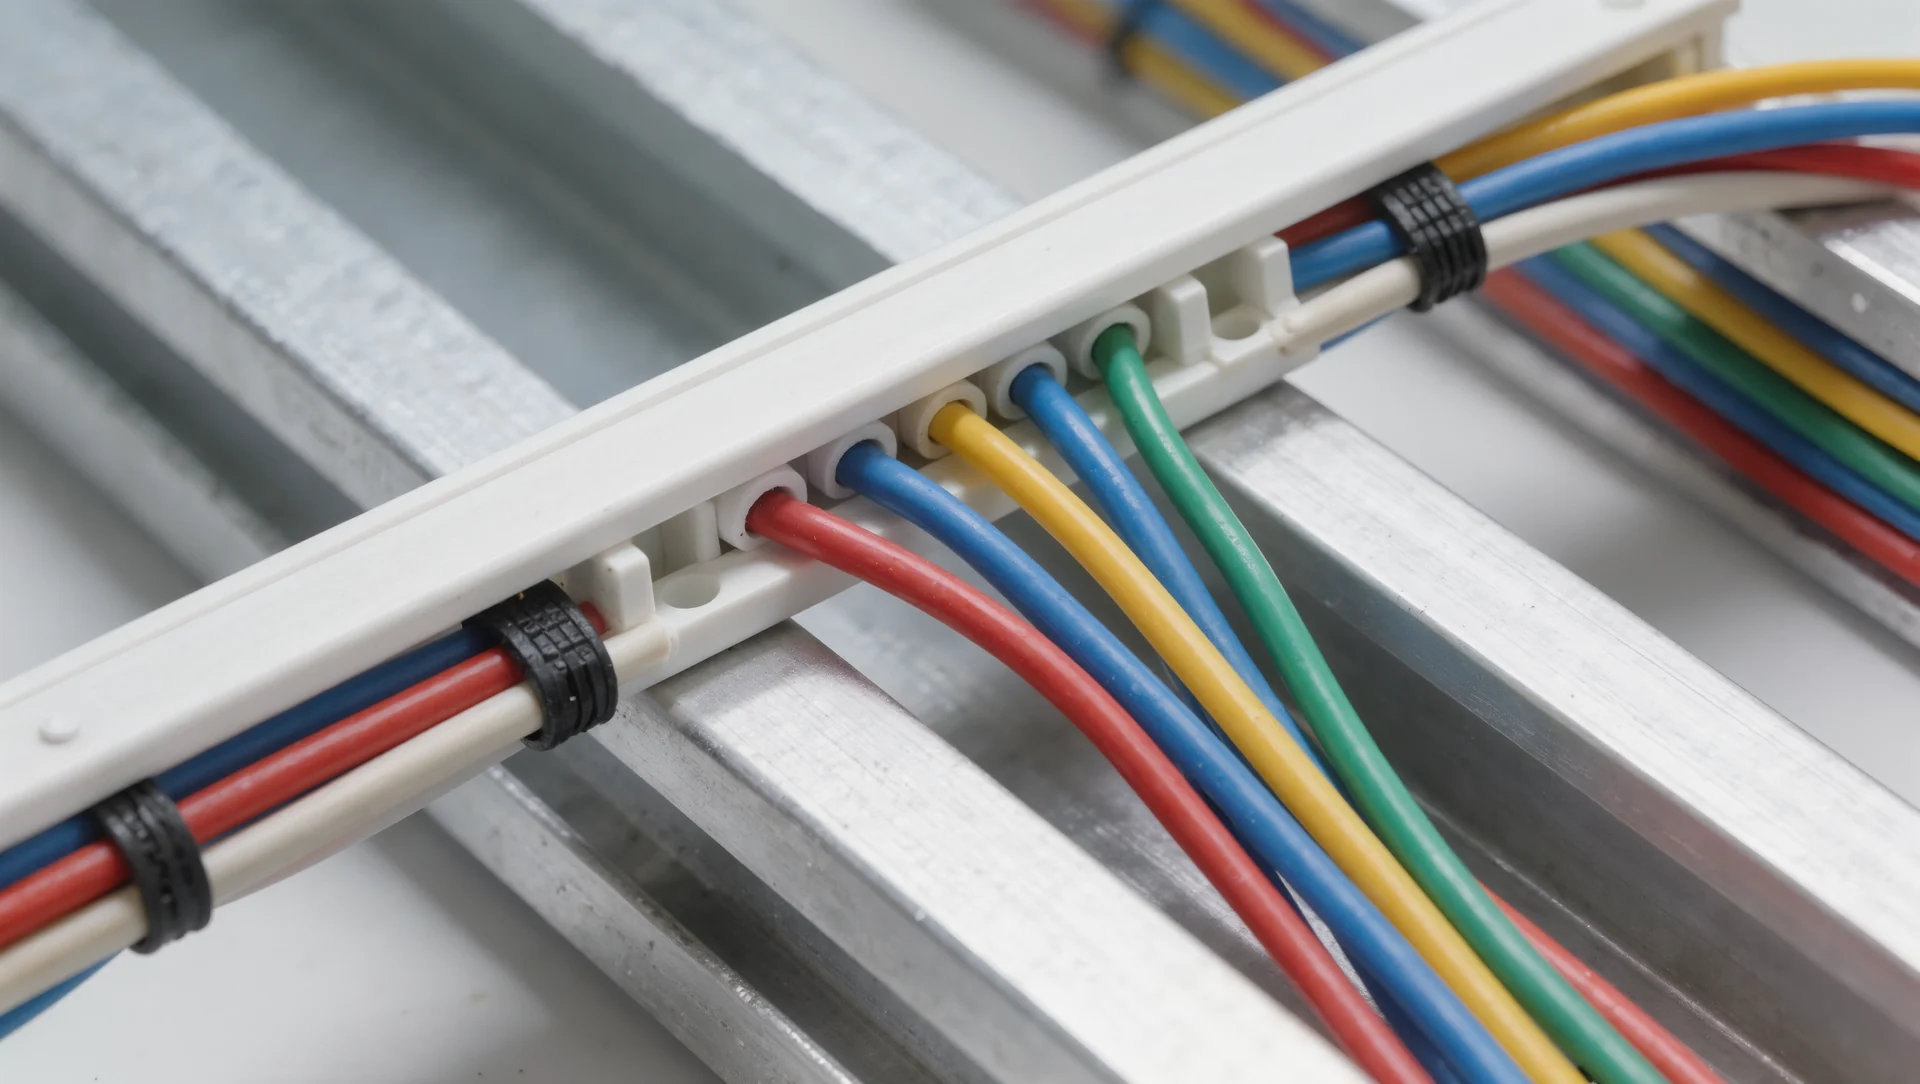
Cable routing that survives a moving rig: the published filling rules for energy chains, the USB length limits and the order in which to lay a loom.

Rig noise through the floor is structure borne, not airborne. Why carpet does nothing, what the isolation figures mean and how to size a decoupling pad.
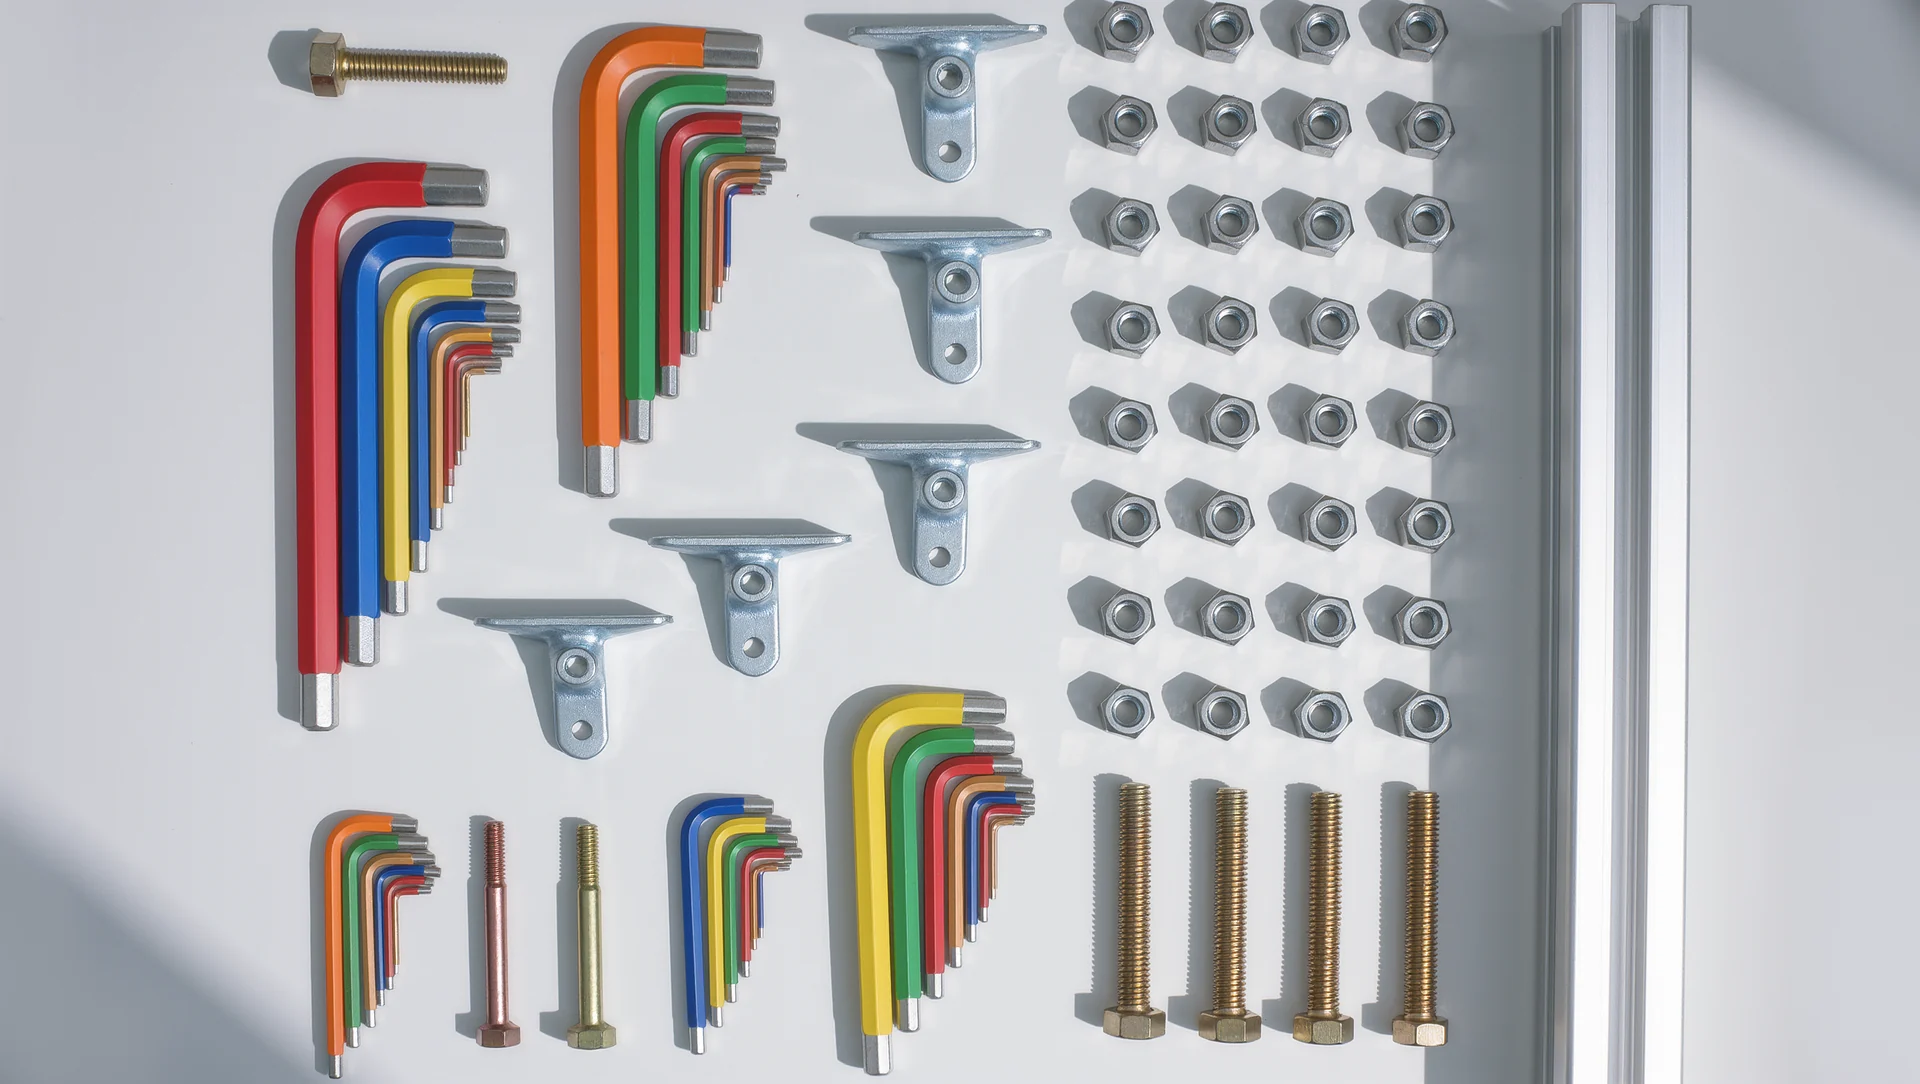
The tool list for an aluminium profile build, with the published torque limits and the two tools that decide whether the frame stays square.
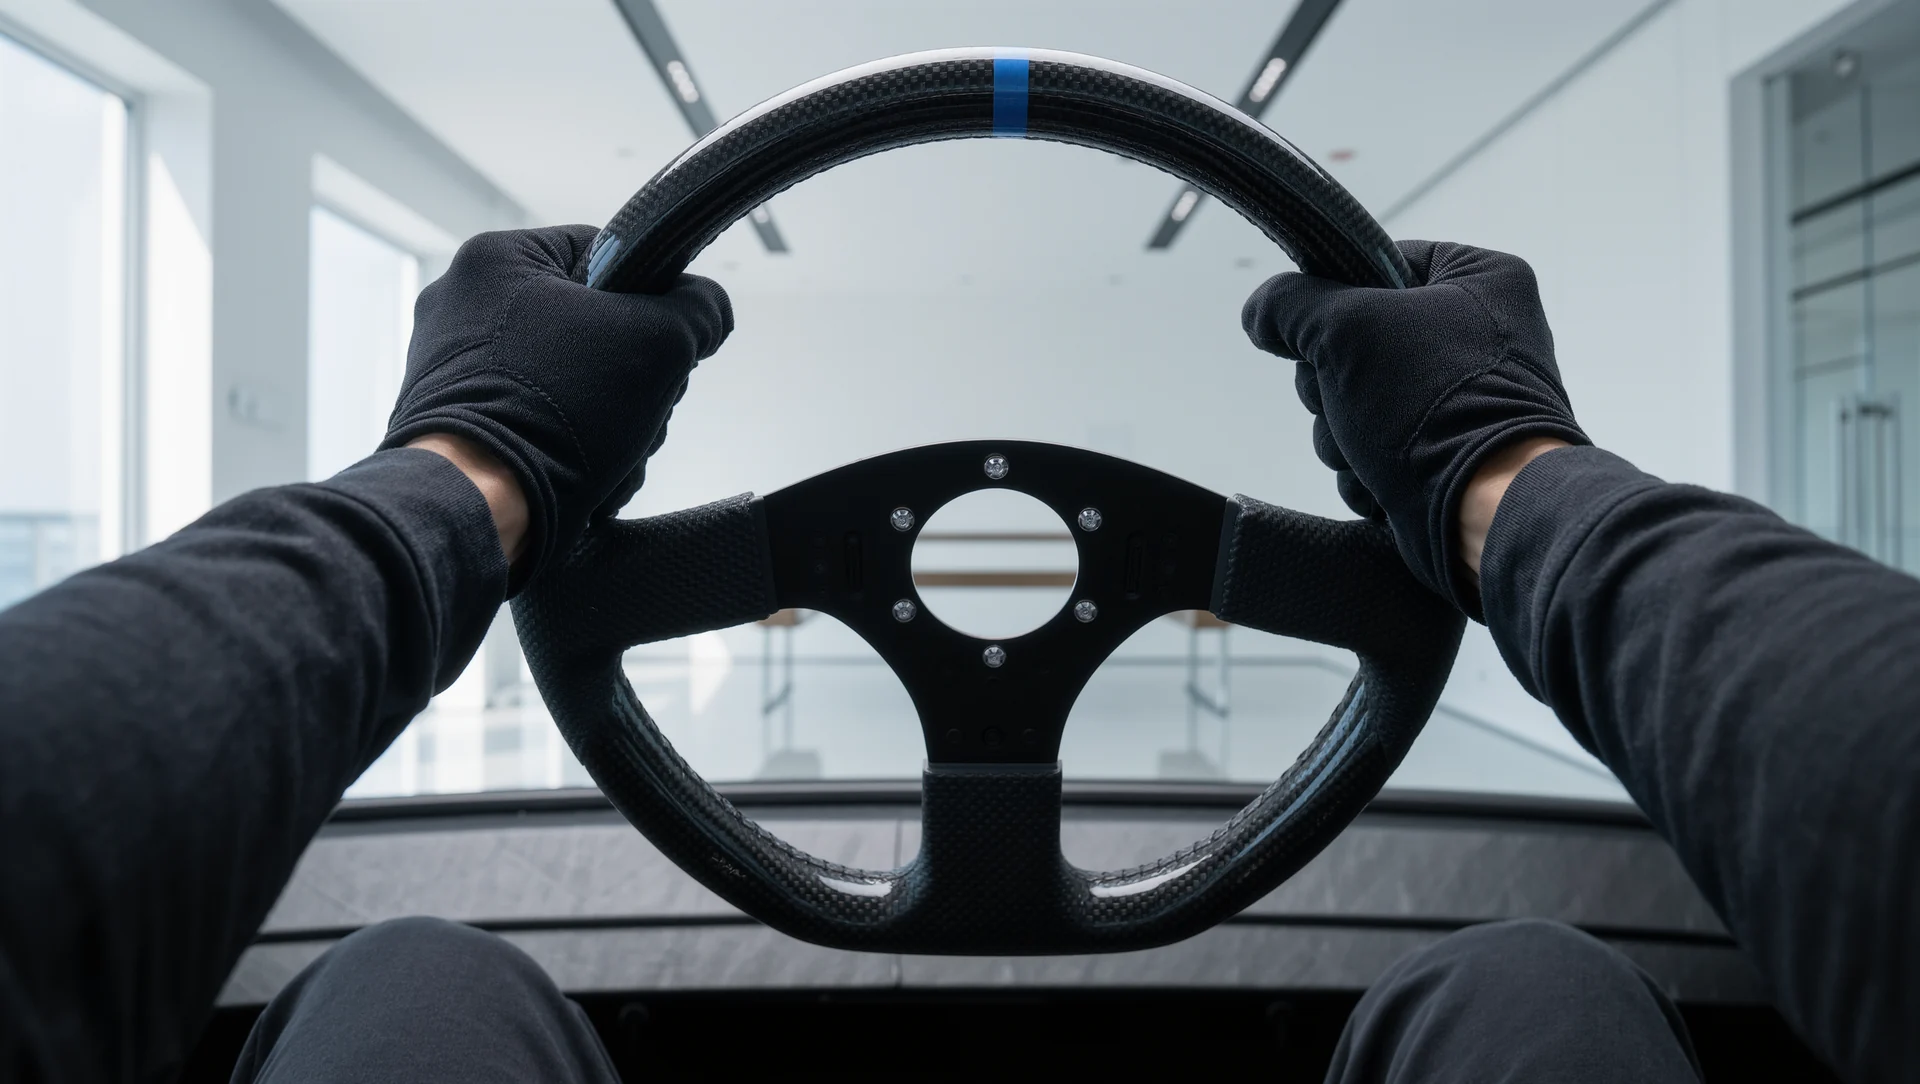
Wheel distance decides whether your shoulders or your elbows do the steering. The angle to aim for, the published rim sizes and how to measure it in five minutes.
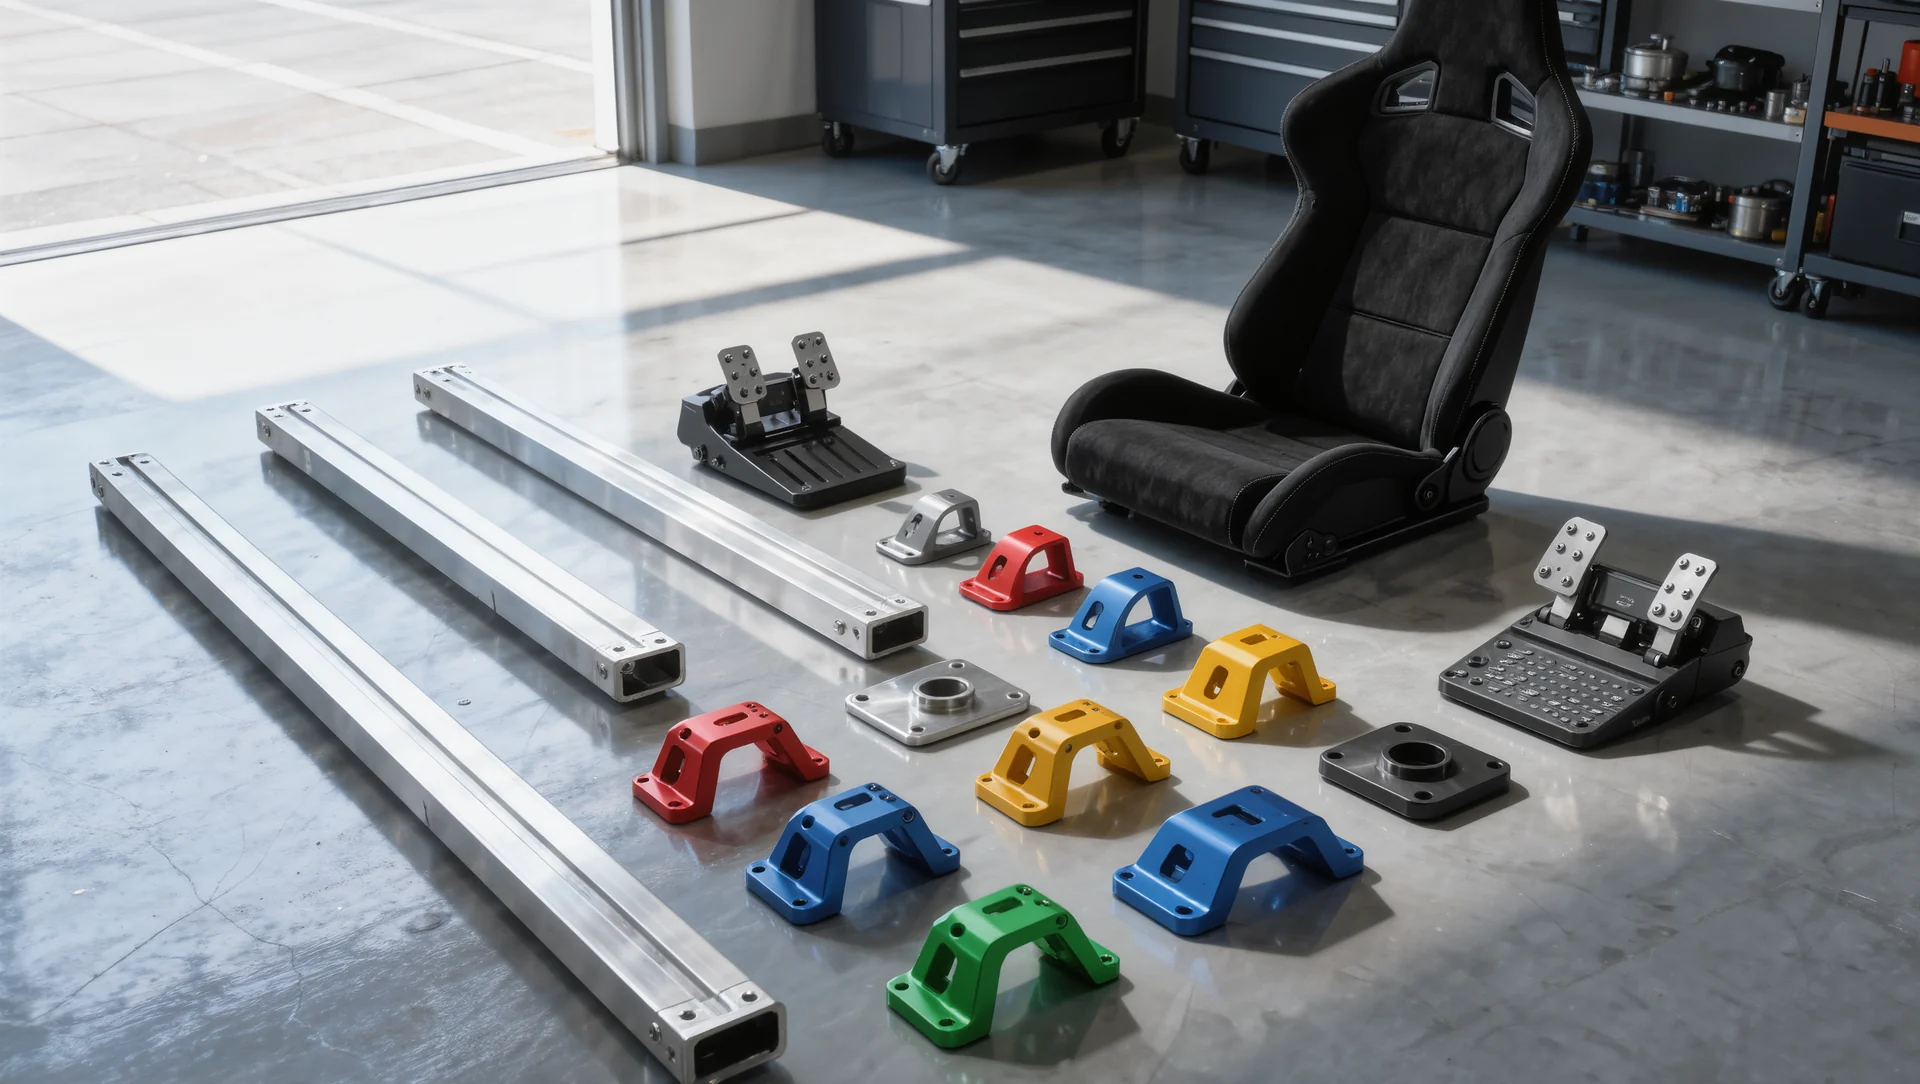
Buying a used sim rig: the parts that carry value, the damage that is invisible in photographs and the price arithmetic that decides whether it is a bargain.
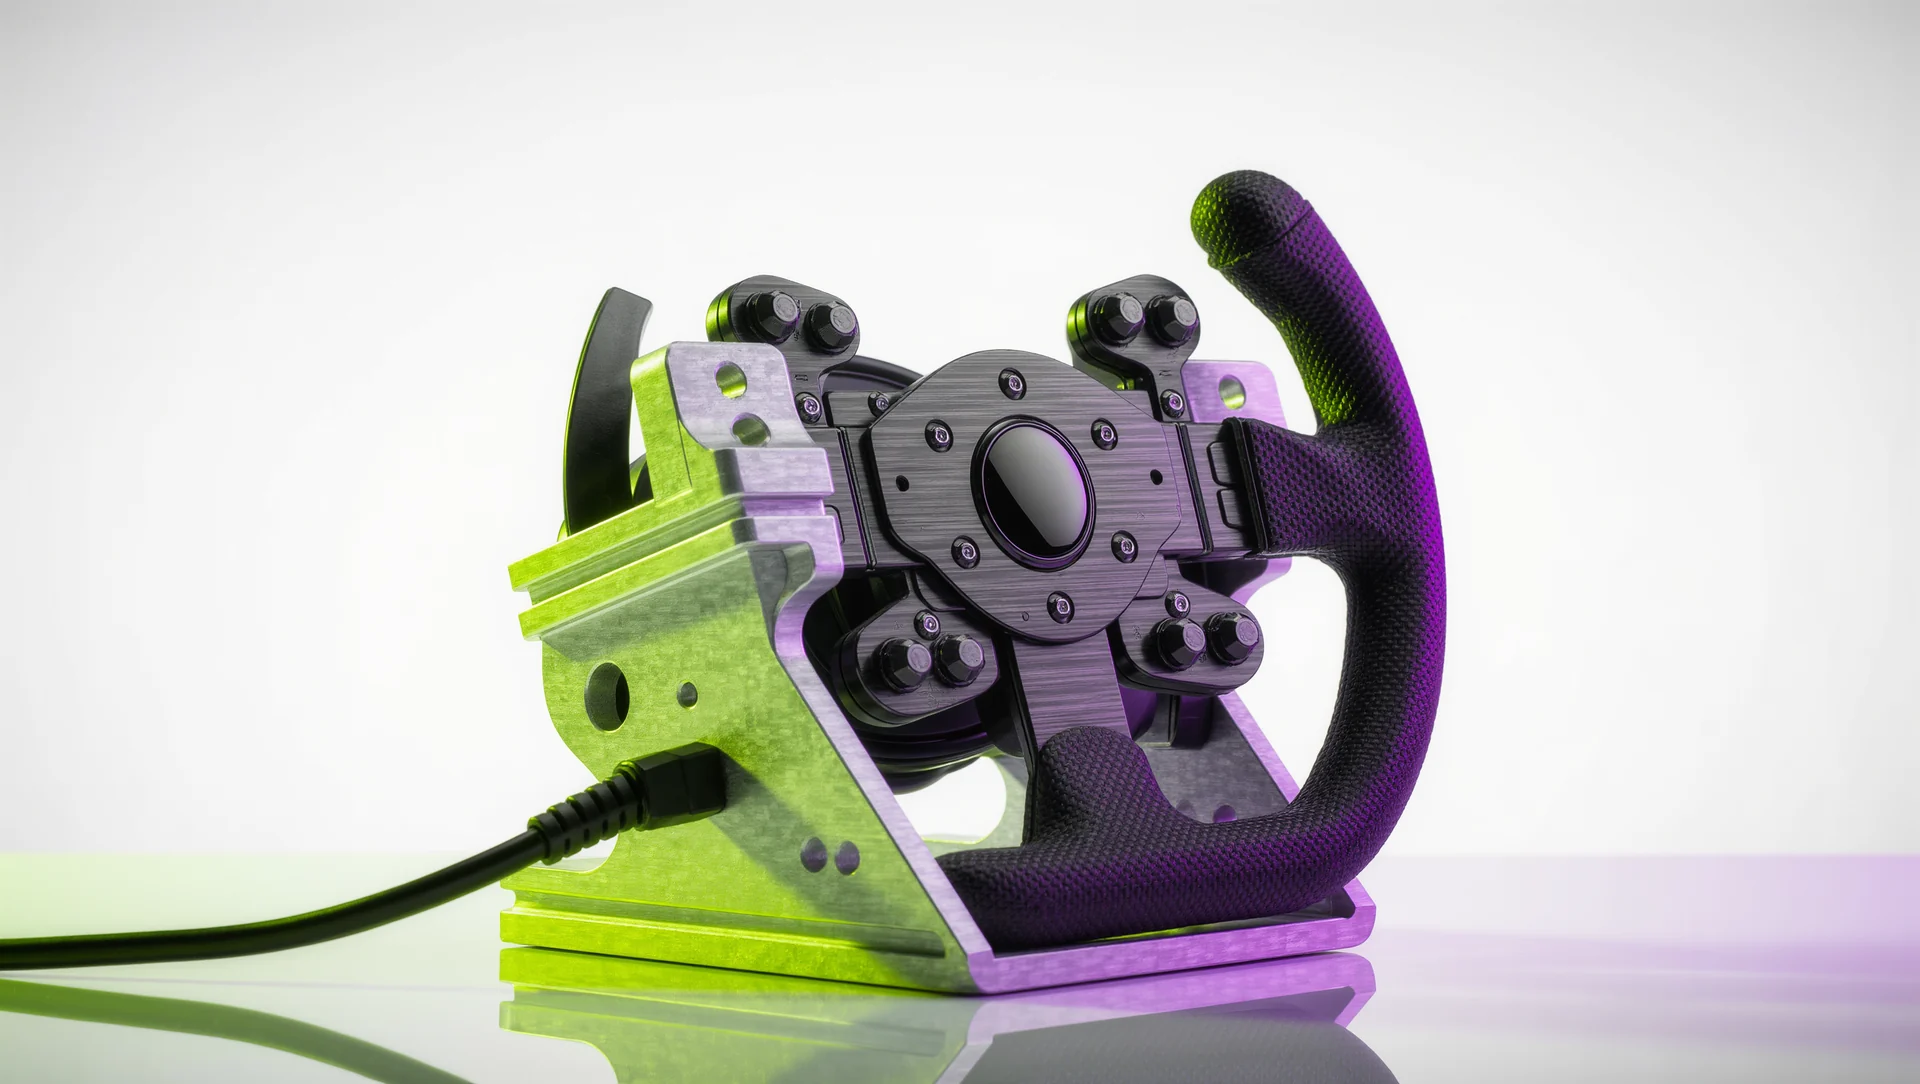
Direct drive torque compared: 5 Nm to 25 Nm across Fanatec, MOZA, Logitech and Simucube, what each level costs and where more torque stops paying.
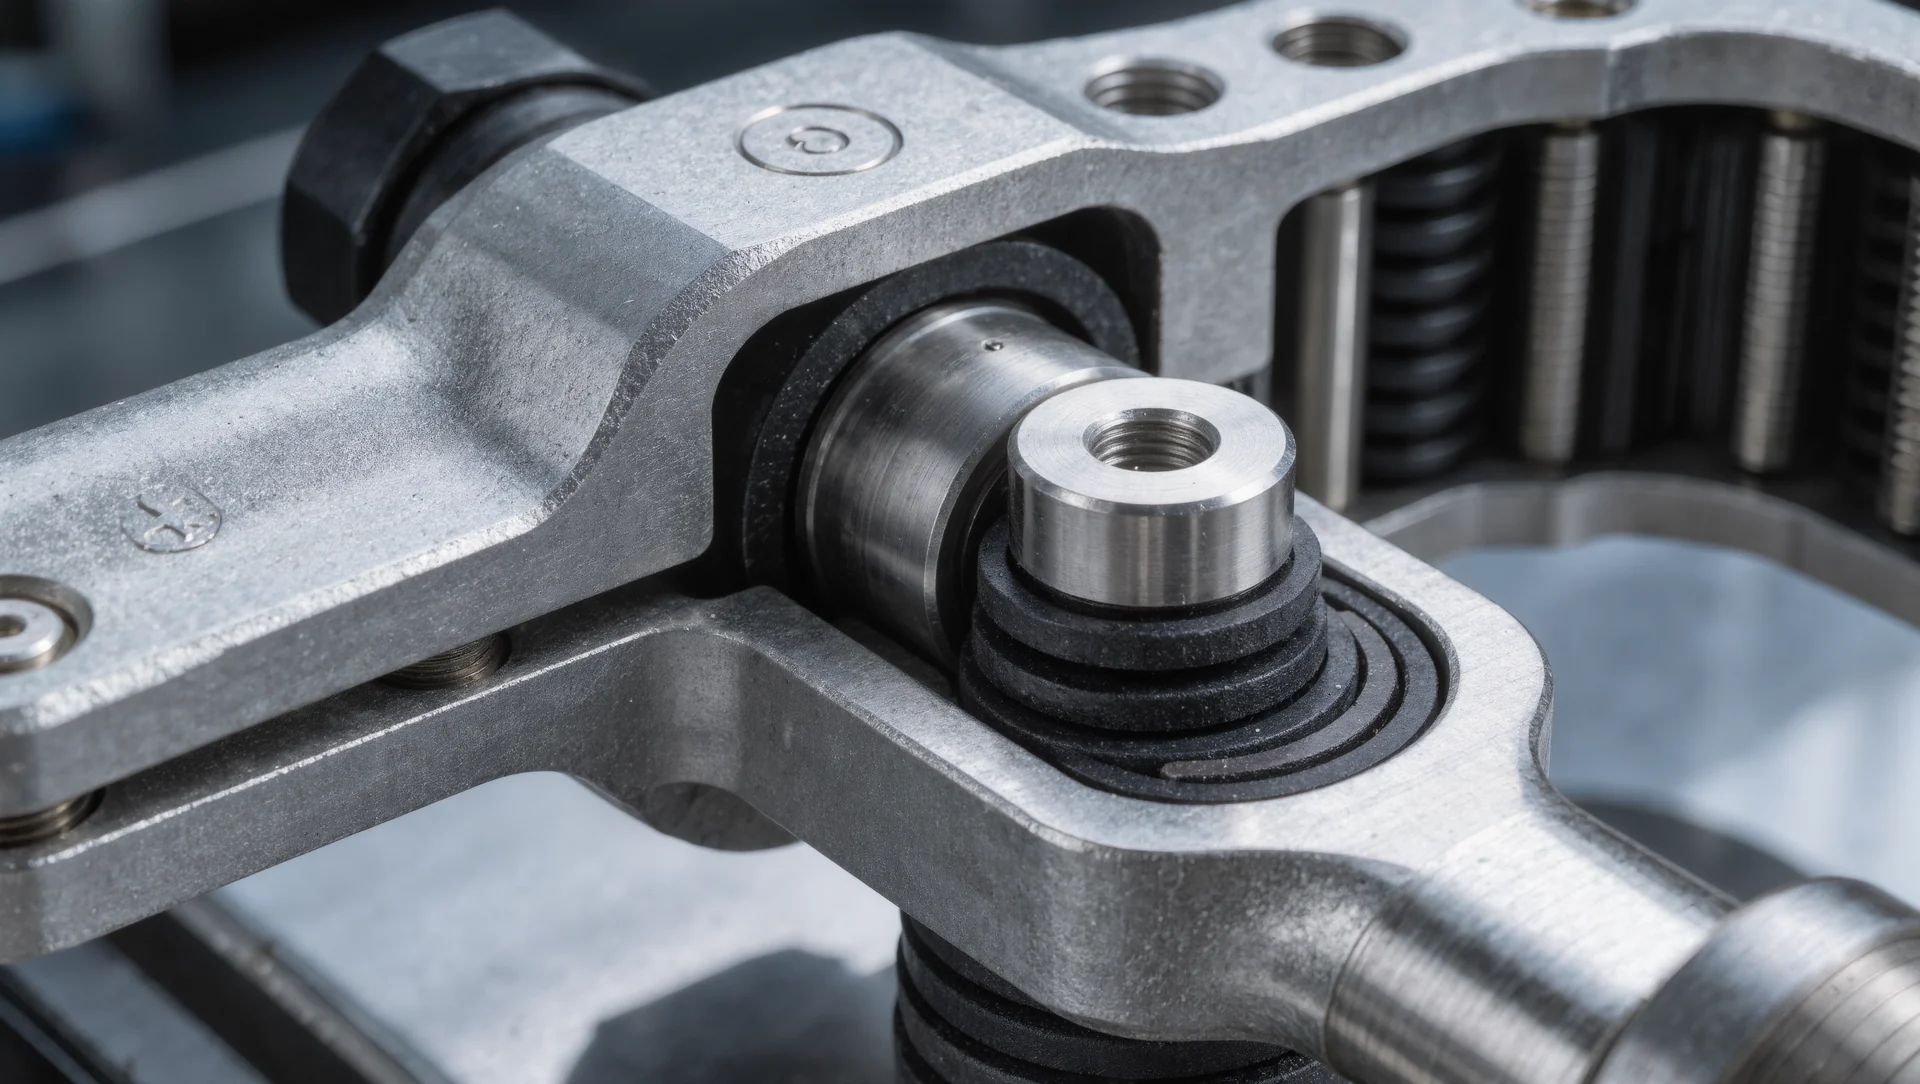
Load cell against potentiometer pedals: what changes in the braking, which figures the manufacturers publish and why the upgrade is felt on the second lap.

Calibrating the brake curve to your own leg: where to set the maximum, why the curve shape matters and how to test it in three laps instead of guessing.
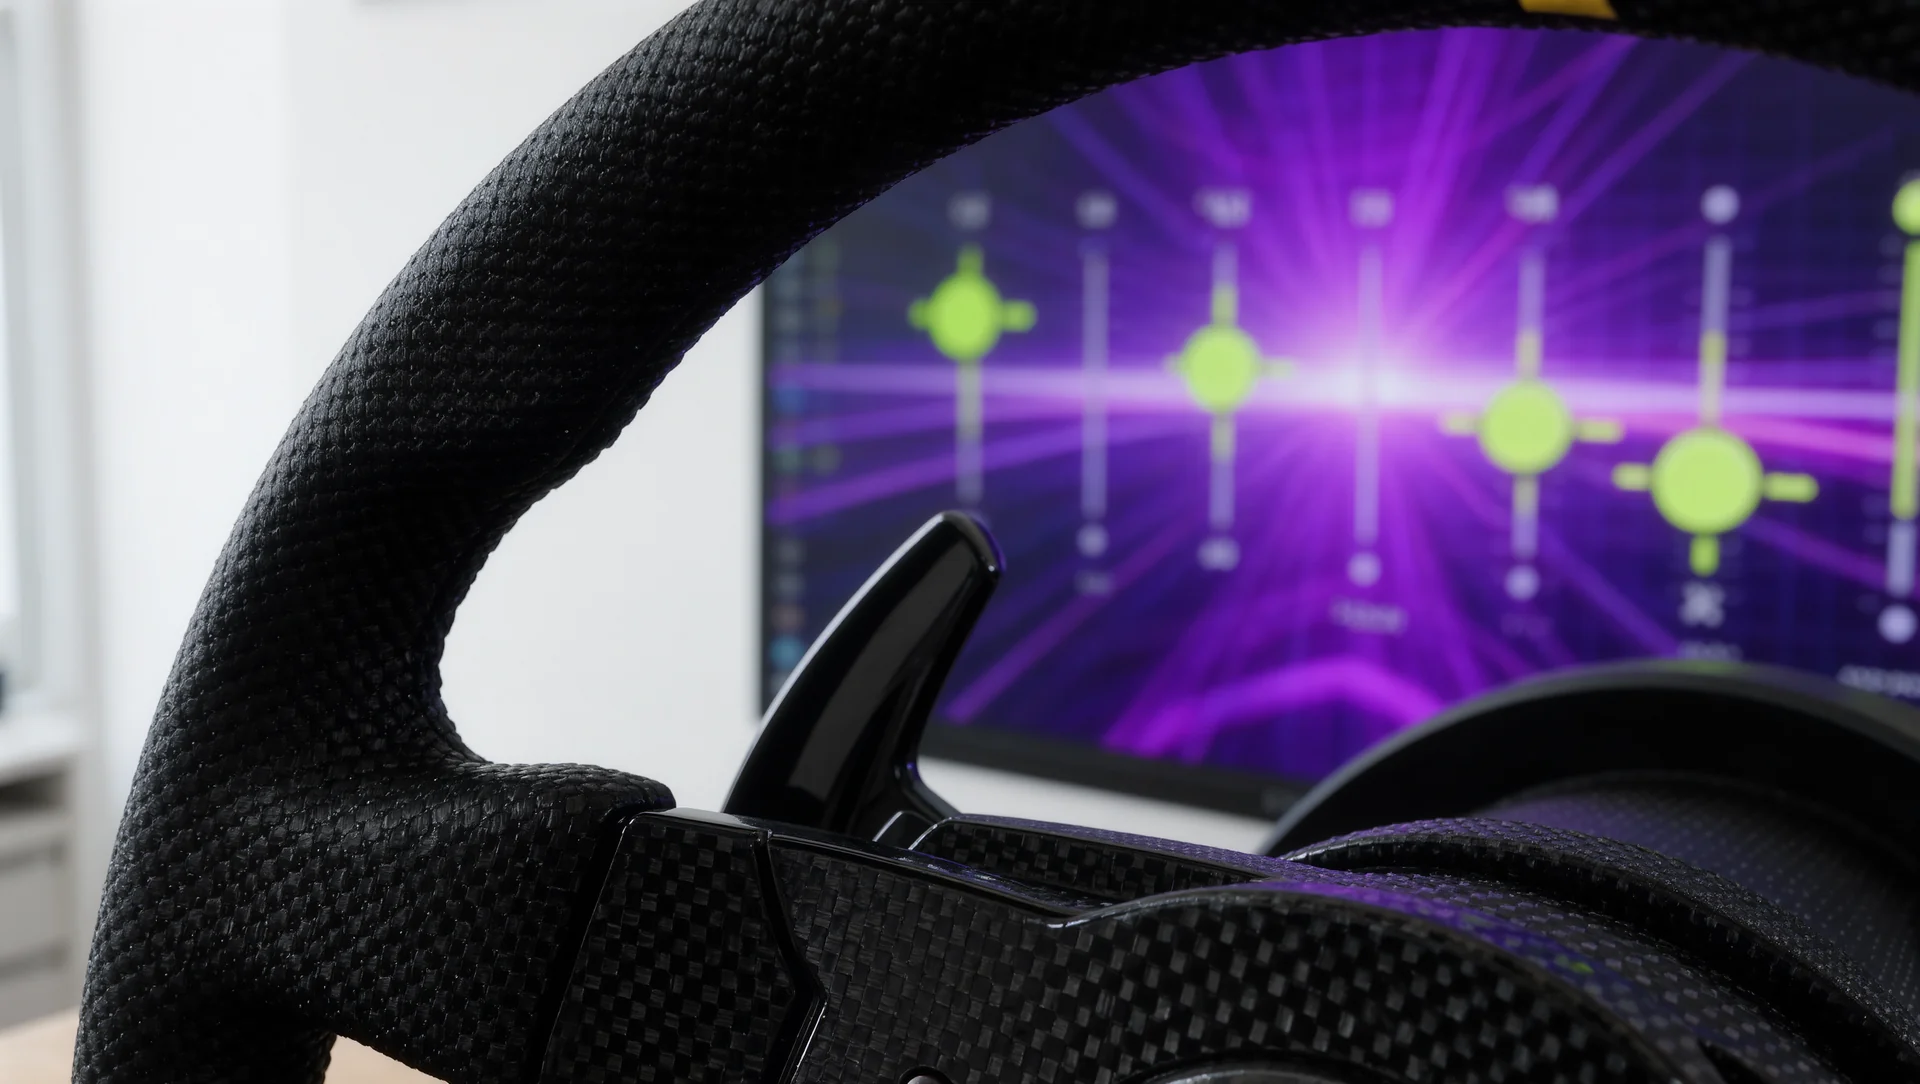
Force feedback settings explained slider by slider: what each one does to the signal, the published ranges and the order in which to set them.

Clipping explained: what the force meter shows, why the strongest setting loses detail and how iRacing sets the maximum for you.
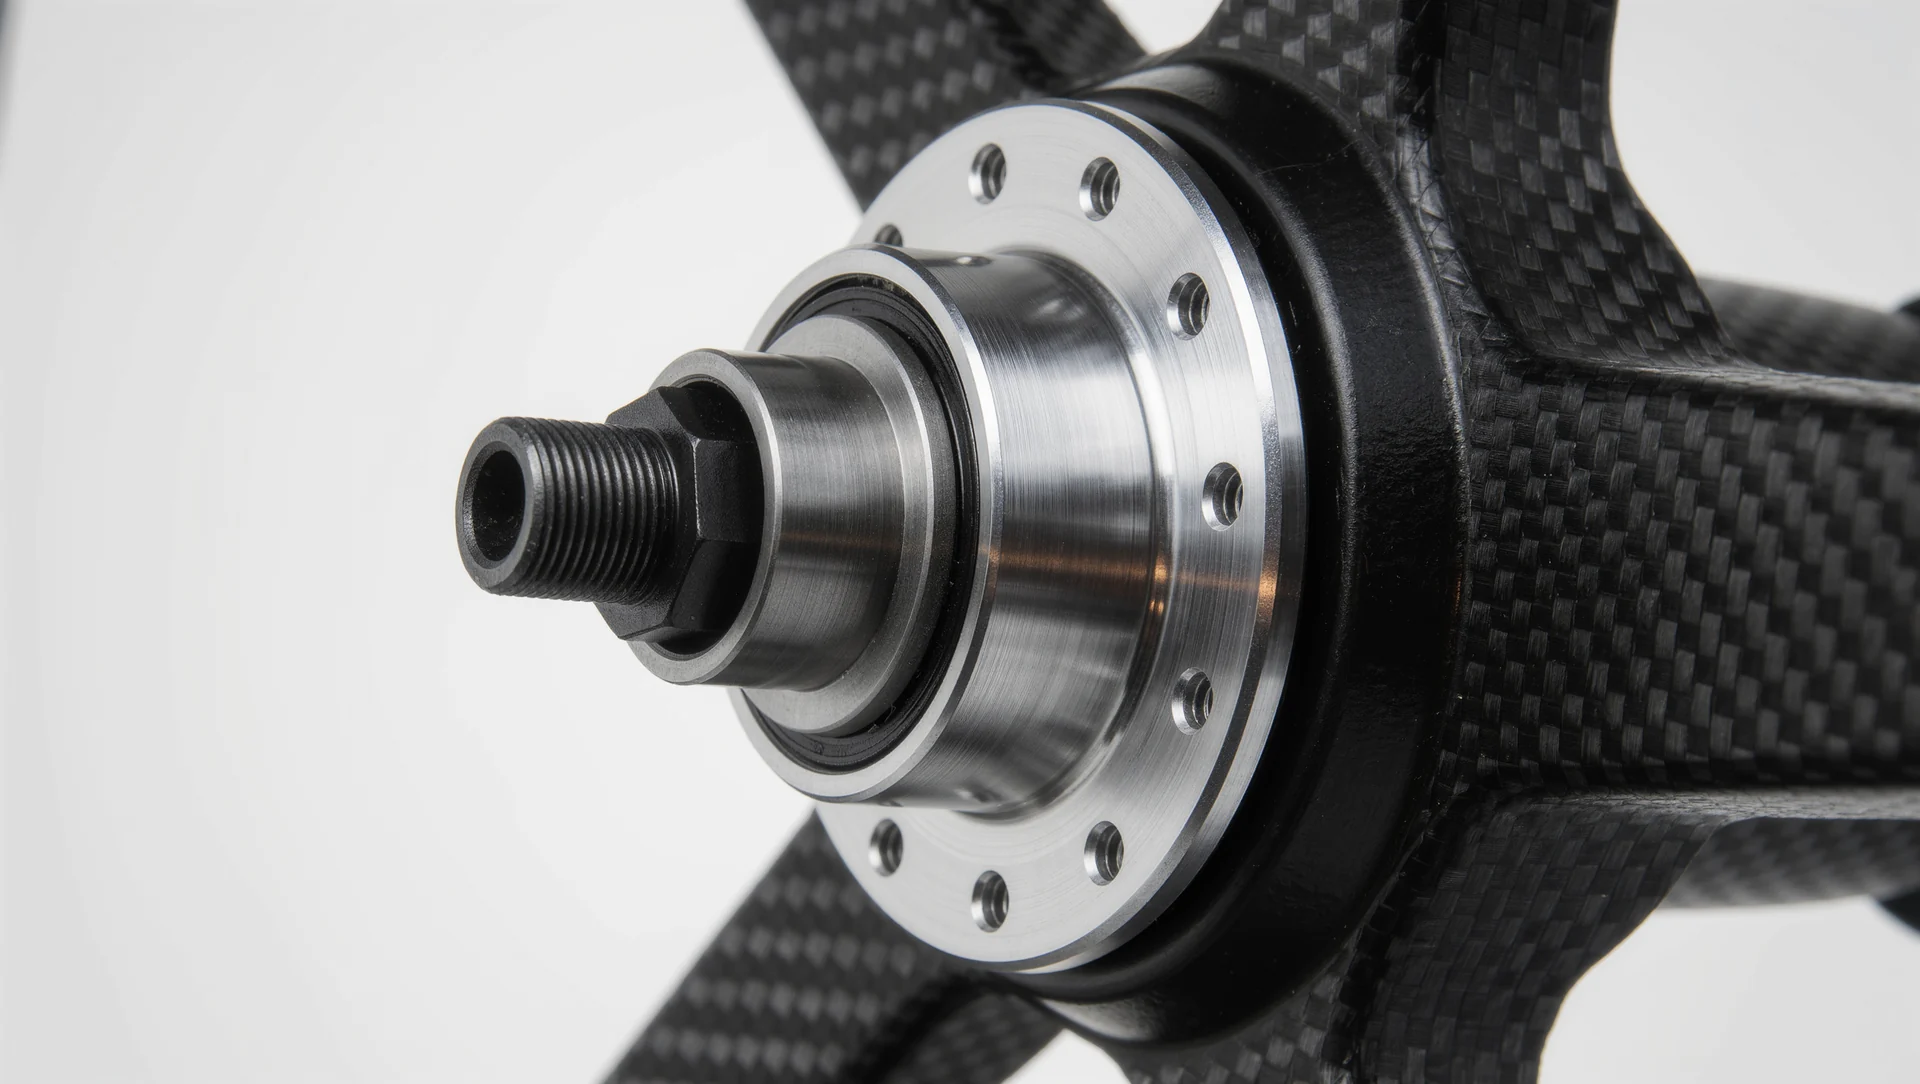
Quick release standards explained: the 70 mm bolt pattern, why QR1 and QR2 do not mix, and which variant belongs on which torque level.
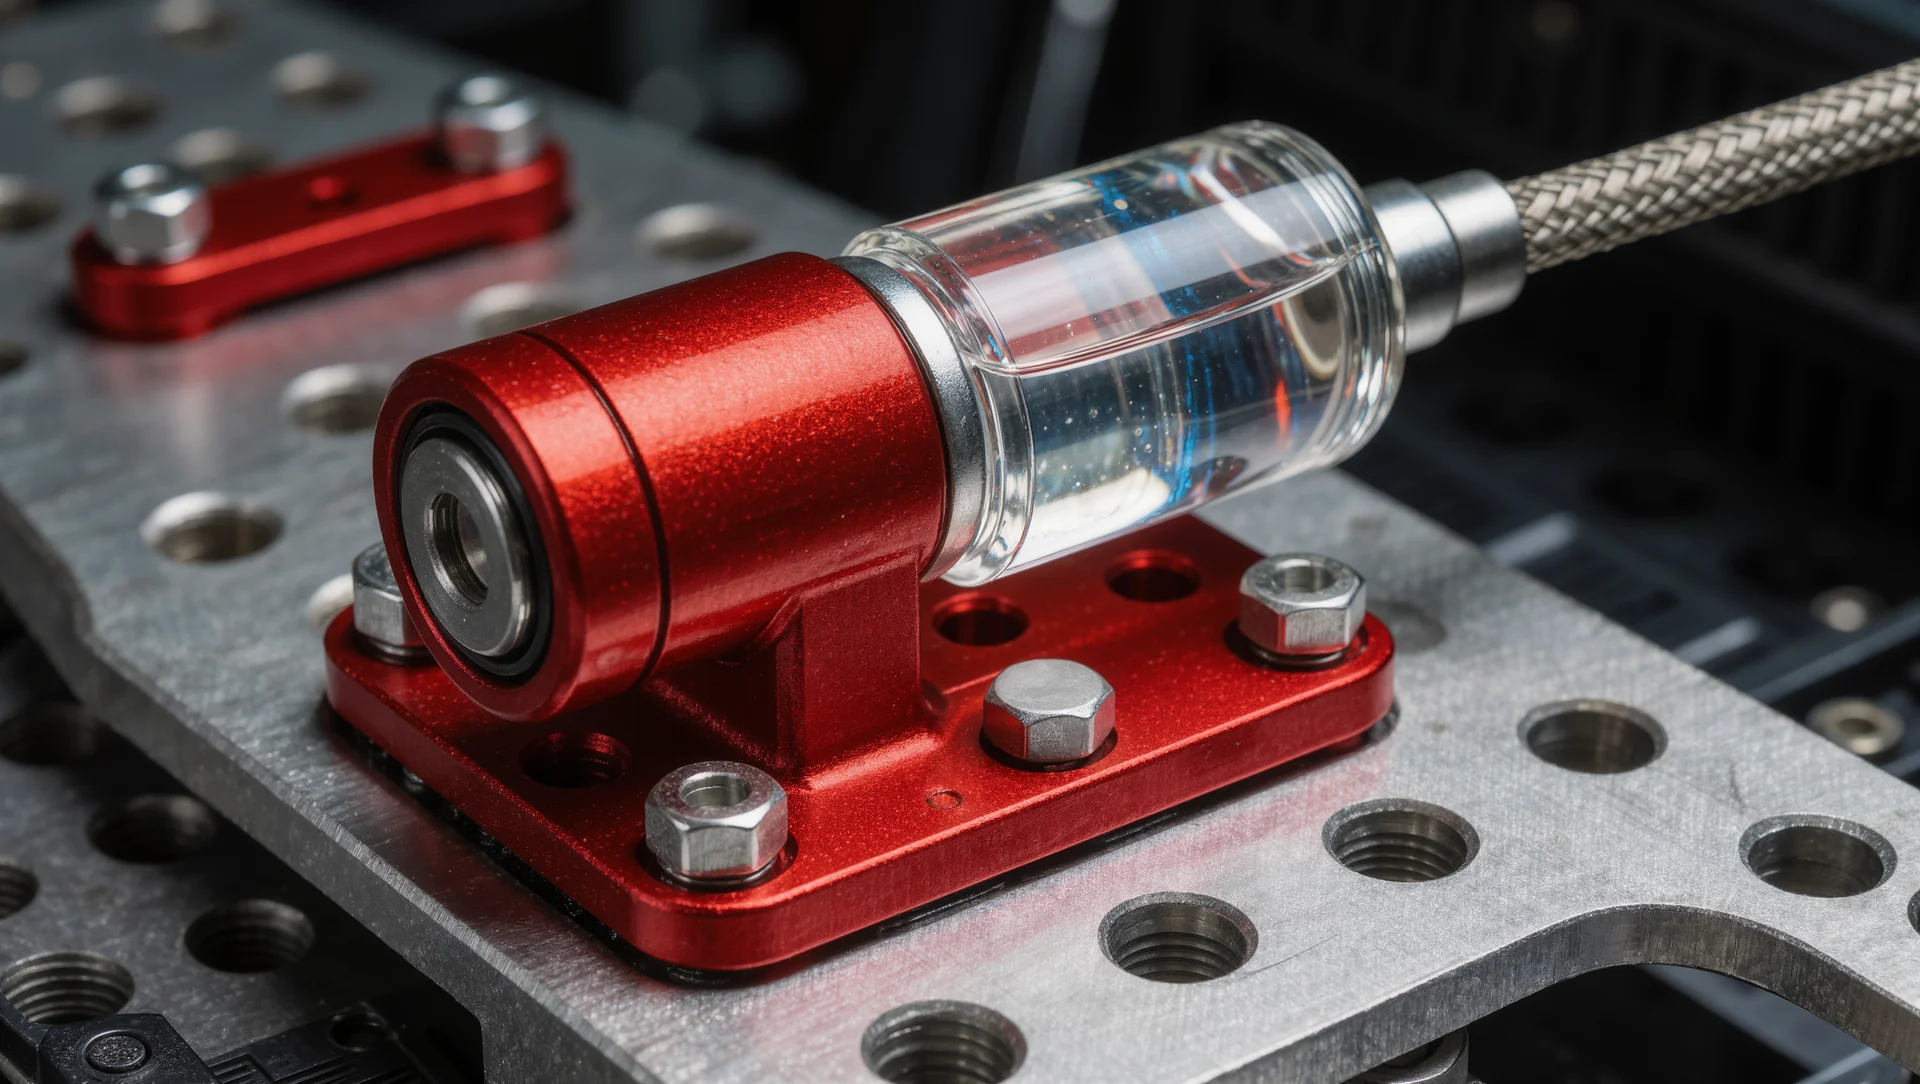
True hydraulic brake pedals against a good load cell: the published pressures, prices and maintenance, and who genuinely gains from the upgrade.
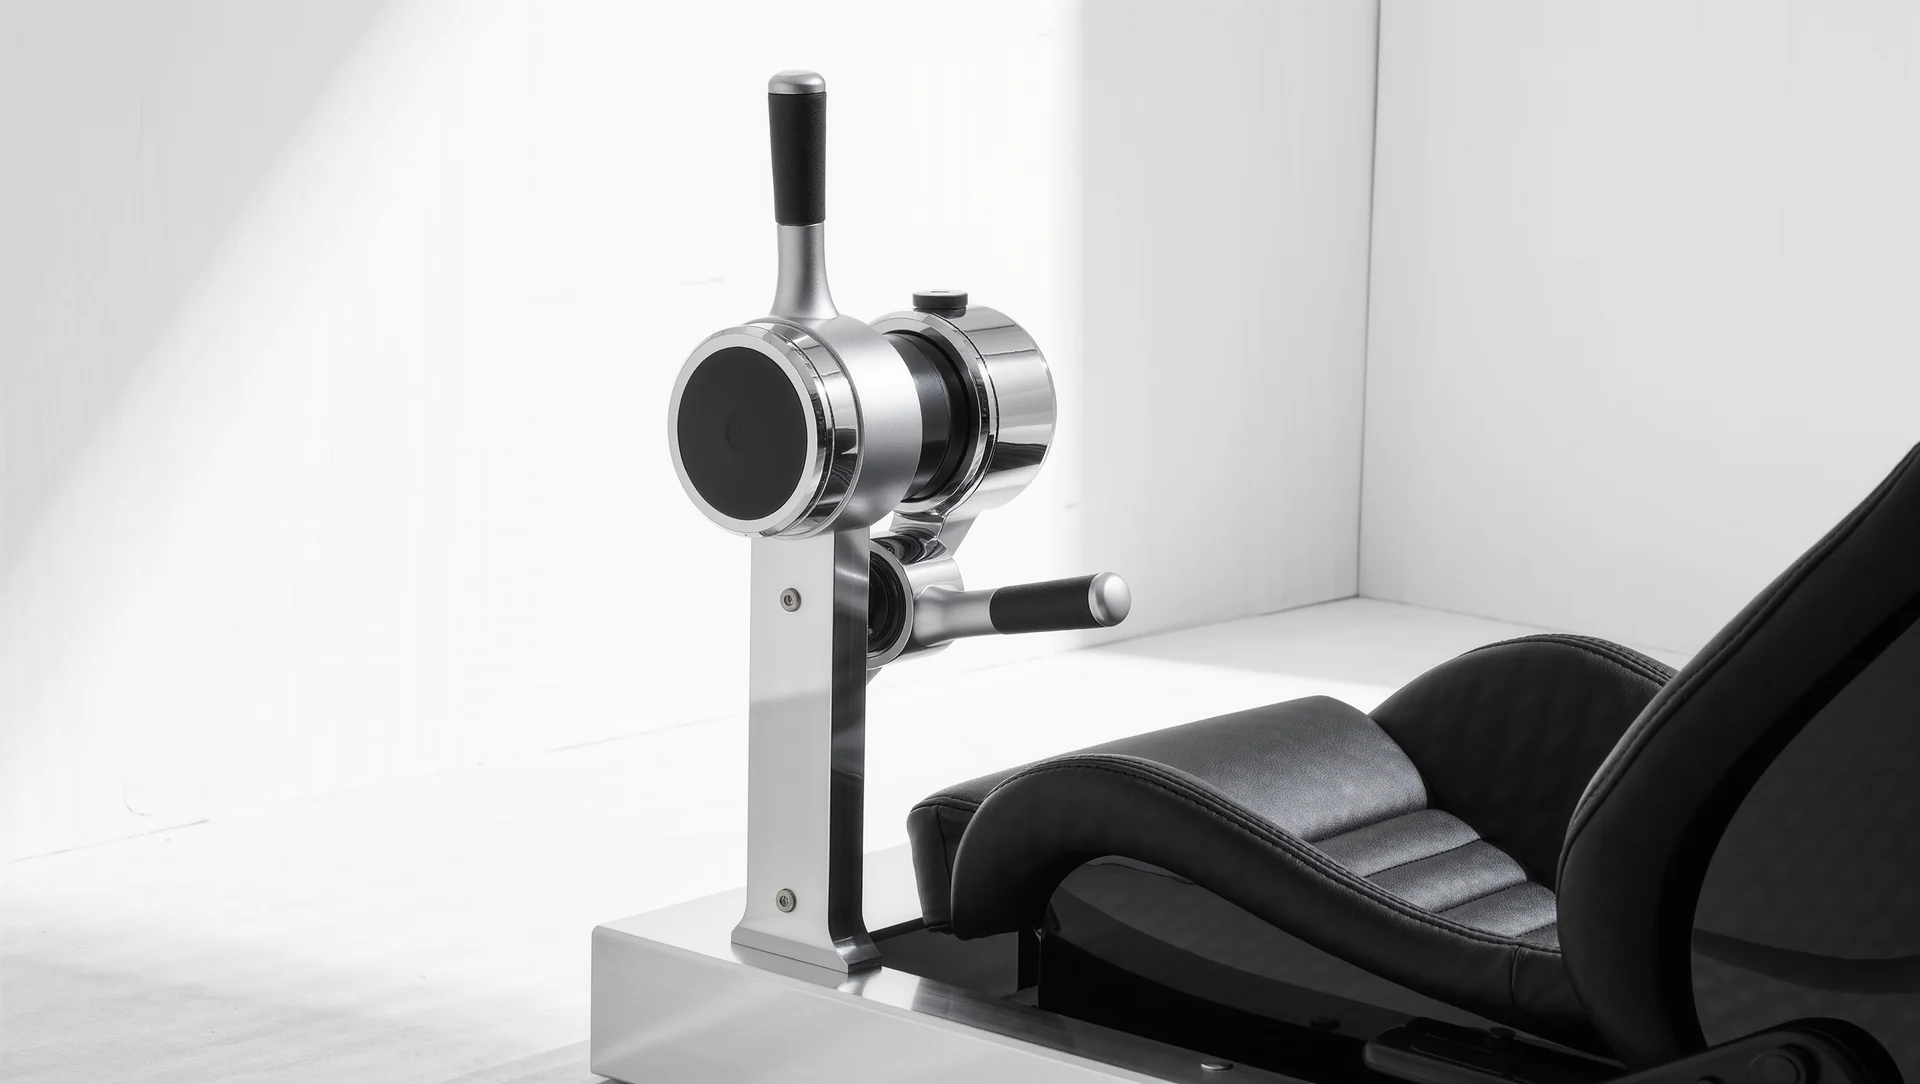
Handbrake and sequential shifter: which discipline actually needs them, the published forces and angles, and the order to buy them in.
H pattern shifting with a clutch in a simulator: which cars need it, what the hardware costs and how heel and toe actually works without a real gearbox.
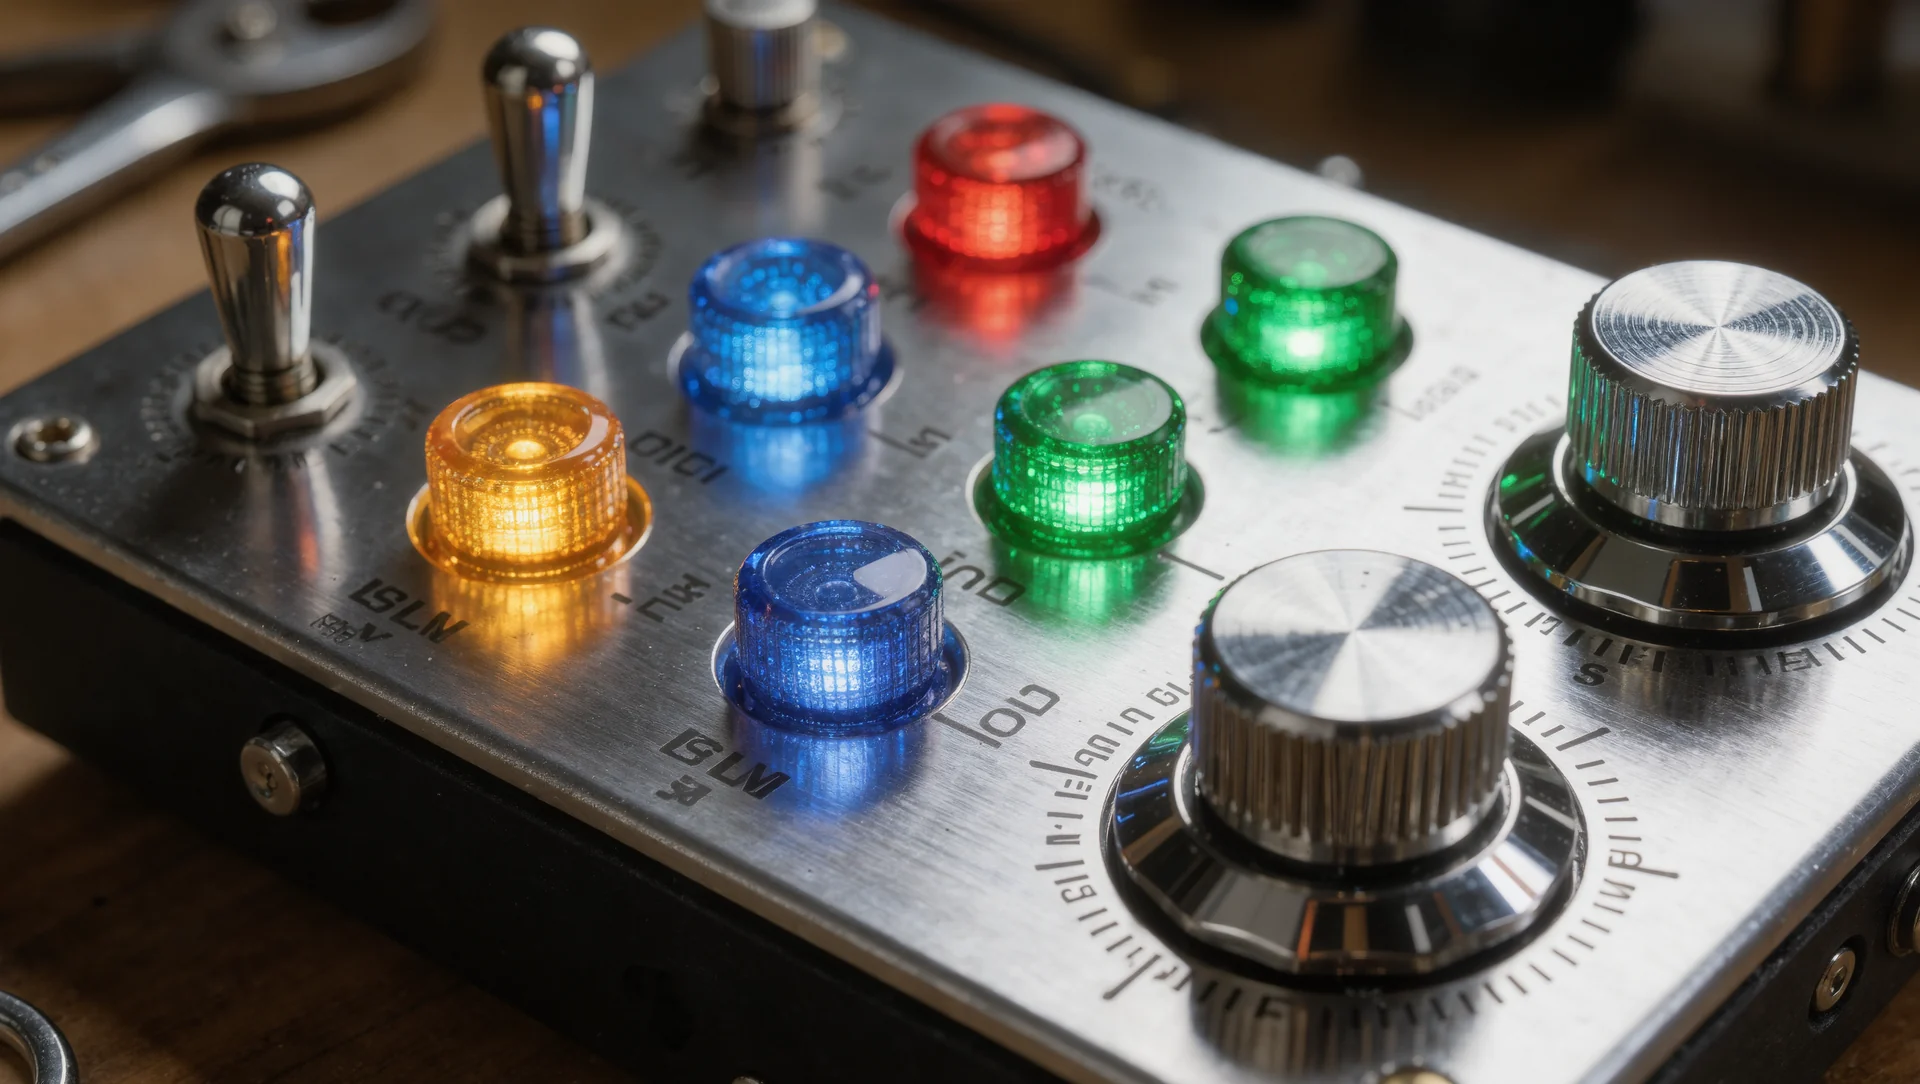
Button box mapping that survives a race: the published input limits, which functions belong where and the rule that keeps you from pressing the wrong one.
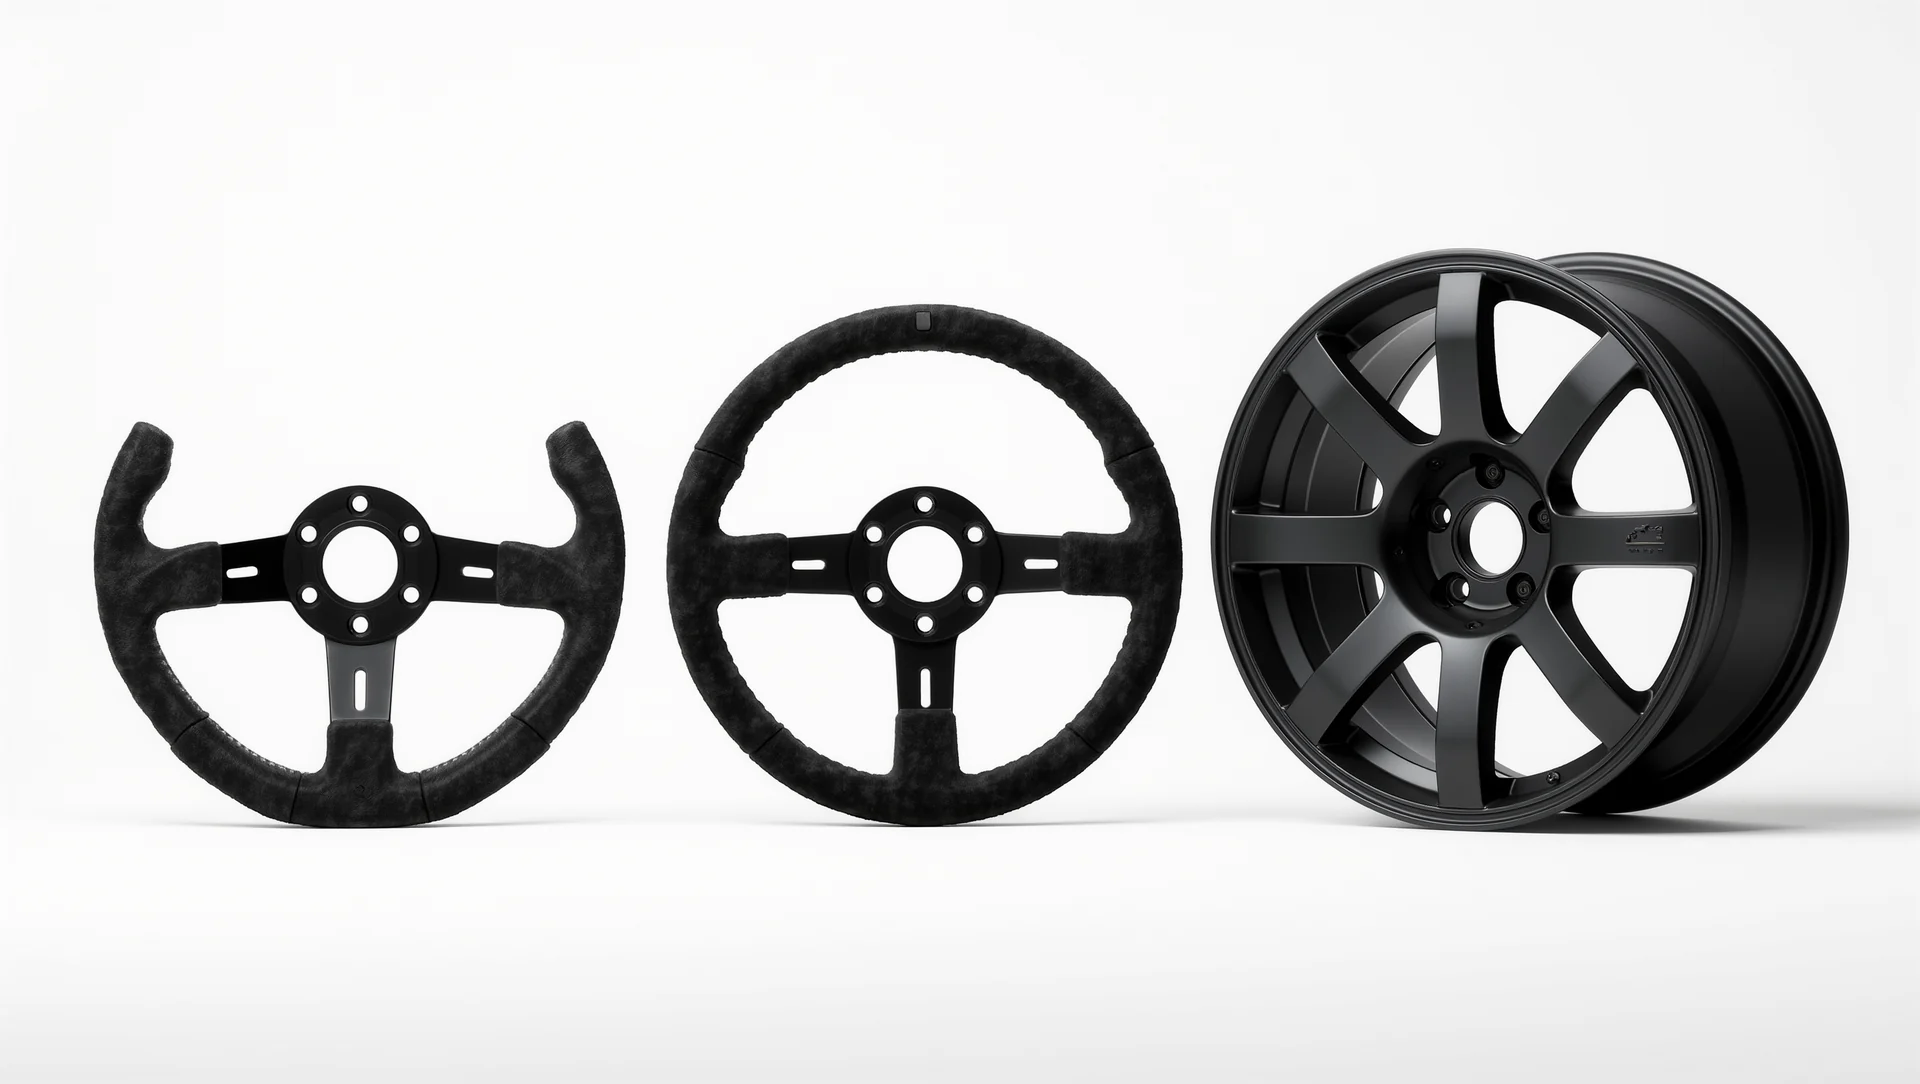
Wheel rim diameter for formula, GT and rally: the published sizes and weights, what each one changes in the force and how to choose without buying four.

Maintenance that doubles the life of sim racing hardware: what the manufacturers let you service yourself, what to check on a schedule and what to leave alone.
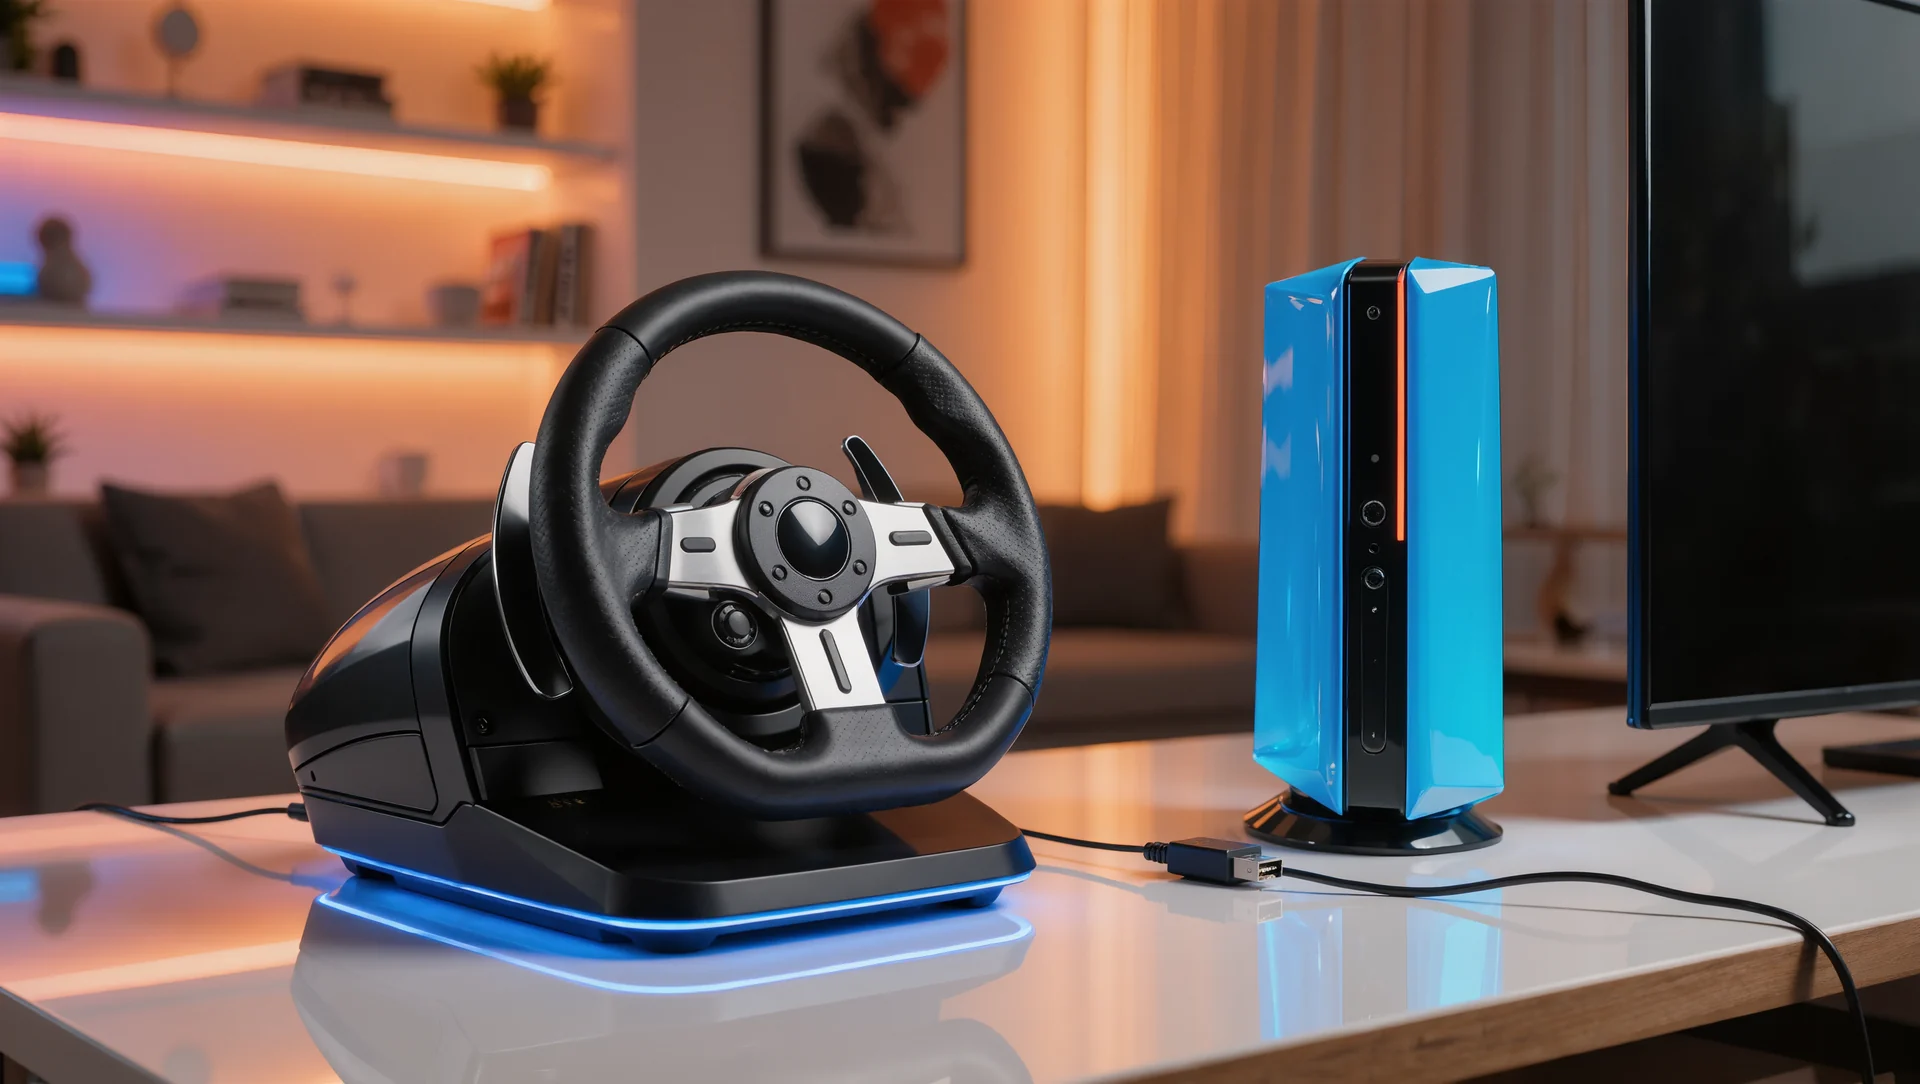
Console wheel compatibility explained by where the licensing chip sits, which combinations work on which platform and what that means before you buy.
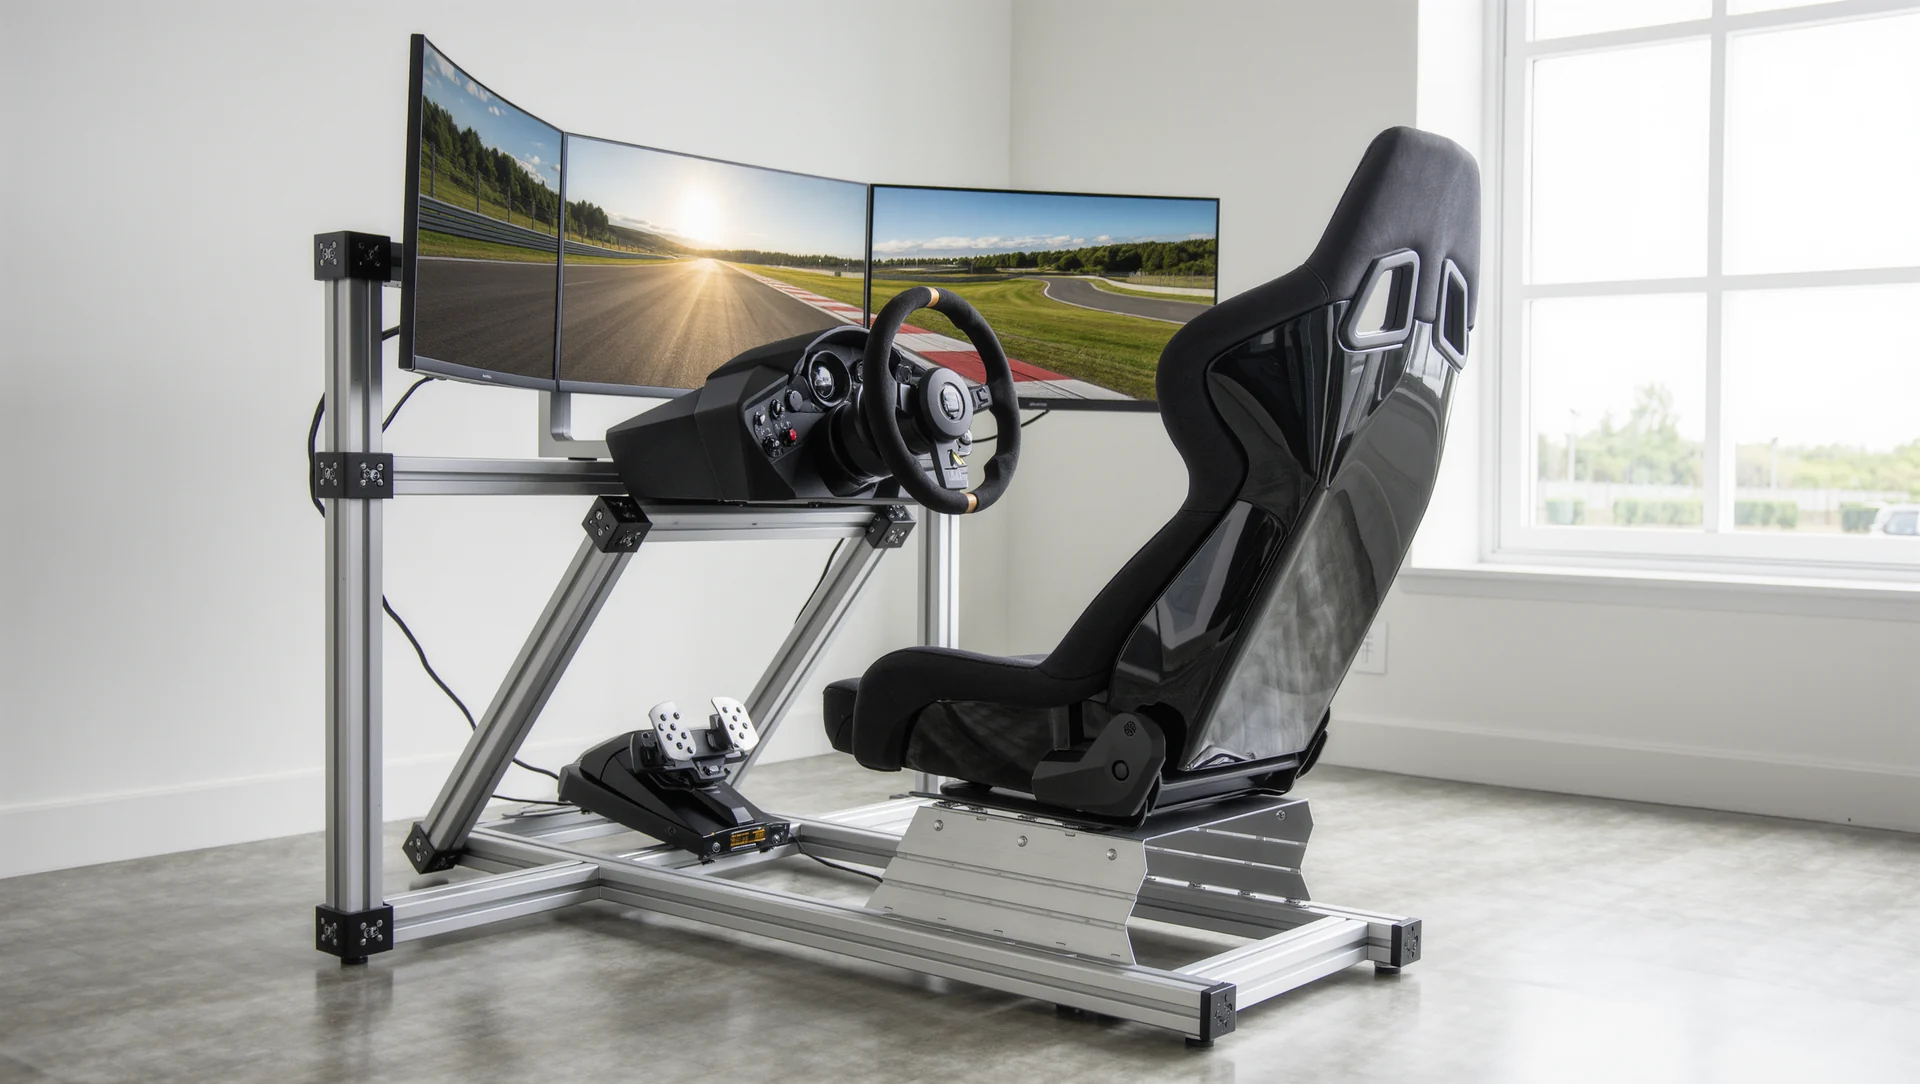
What iRacing costs in the first year: subscription tiers from 13 to 199 dollars, car and track prices, the volume discount ladder and the free content included.

The first ten hours in Assetto Corsa Competizione: what the game contains, what to ignore at the start and the order that gets you racing rather than tinkering.

Le Mans Ultimate in 2026: the published content, the physics figures, what the season update changed and who the simulator is now for.
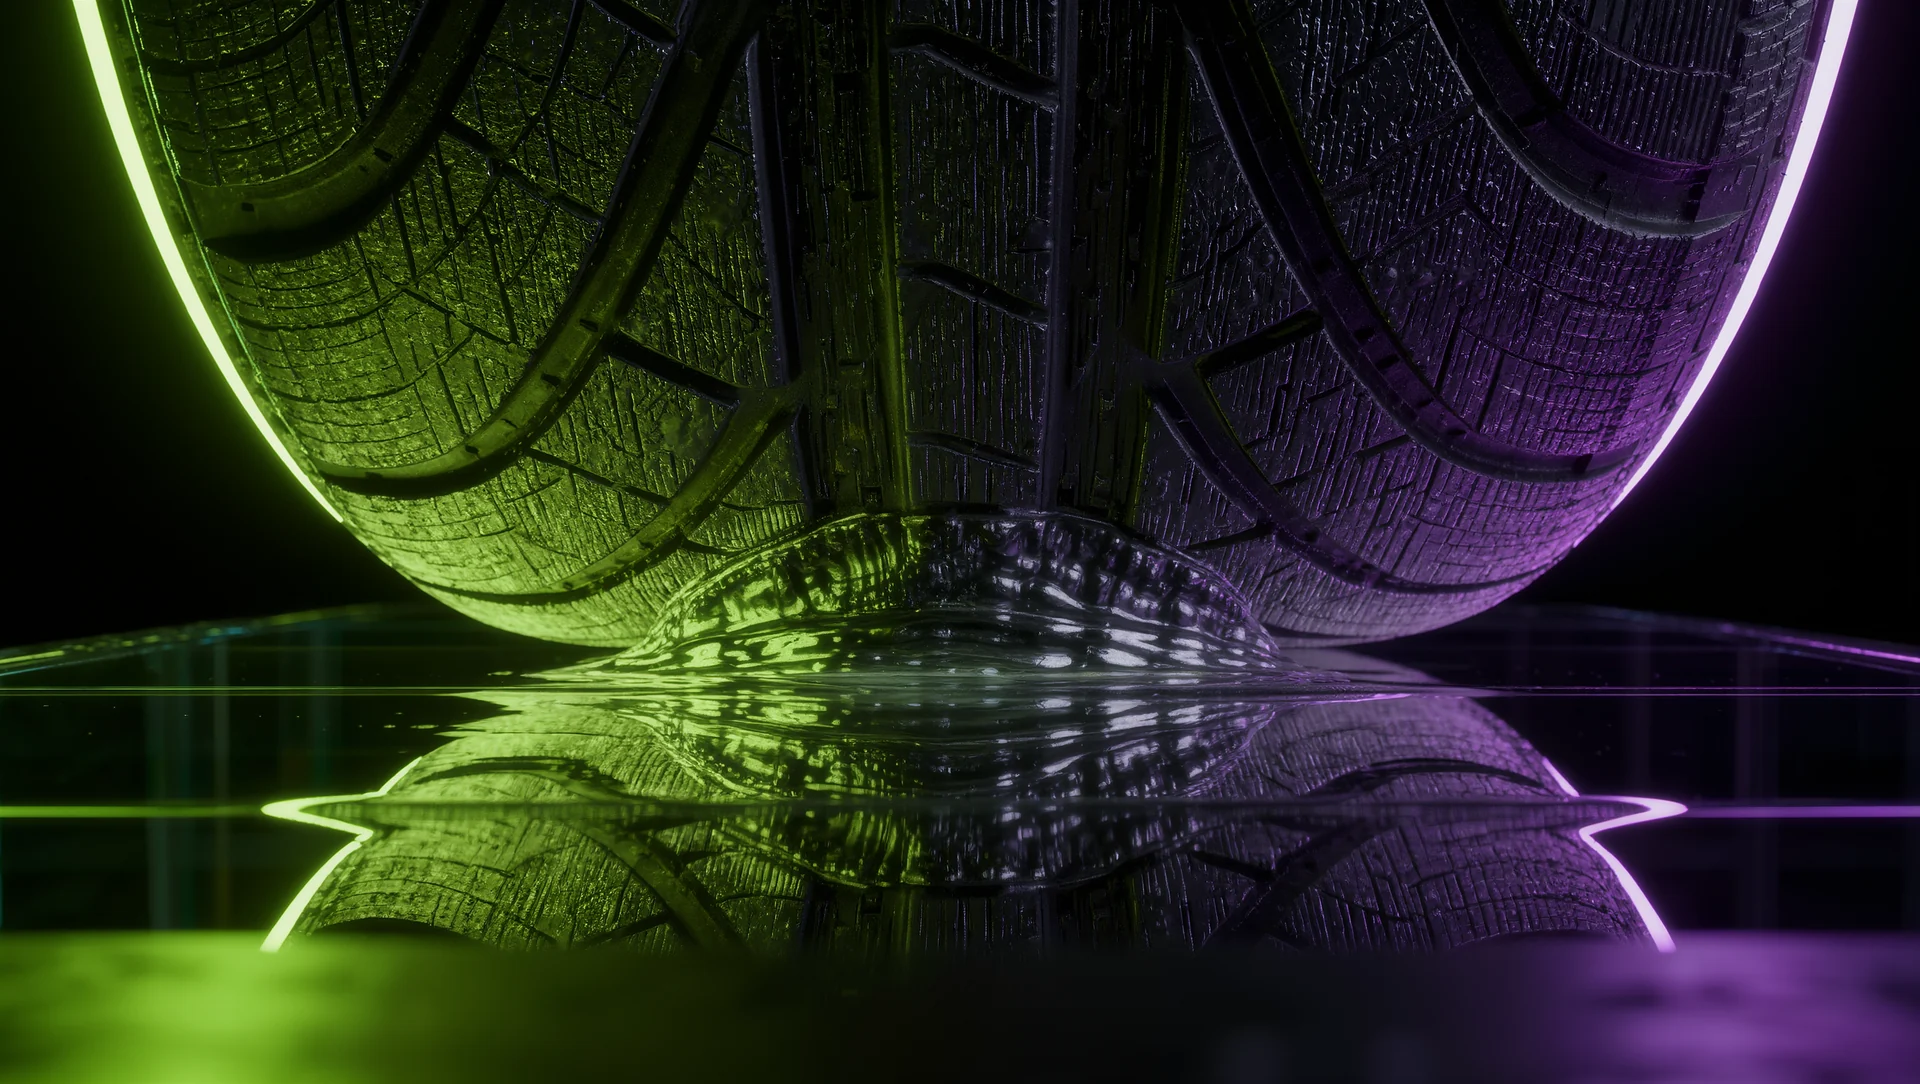
Where the big simulators really differ: not graphics or content, but the tyre model and the rate it runs at. What the published figures mean at the wheel.

Assetto Corsa mods between quality, safety and copyright: what the official tools allow, where converted content crosses a line and how to judge a mod before installing it.
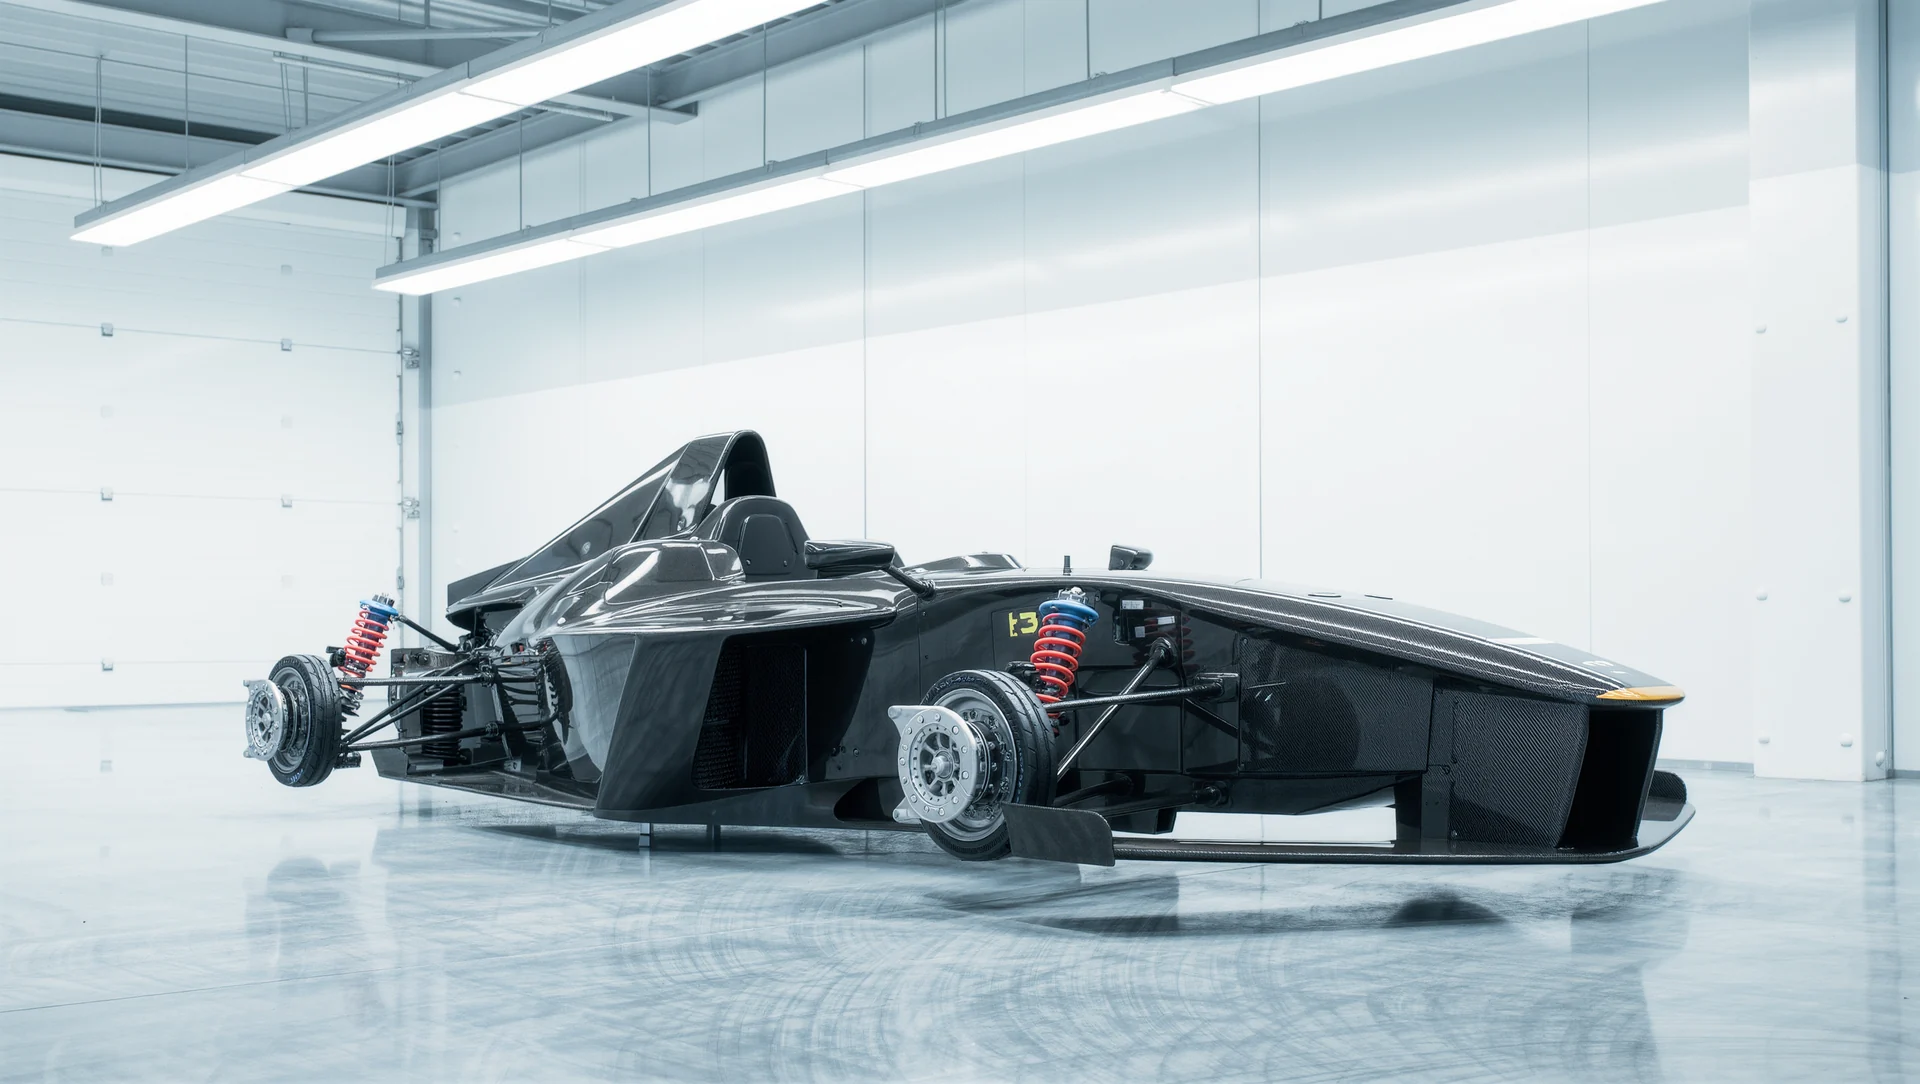
rFactor 2 in 2026: what it still does better than anything else, what the published requirements tell you and whether it is worth starting now.

Automobilista 2 examined honestly: the published requirements and features, where its breadth pays off and which drivers it genuinely suits.

Gran Turismo as a training tool rather than a toy: what the console simulator teaches that transfers, where it stops and how the racing AI changed the case.
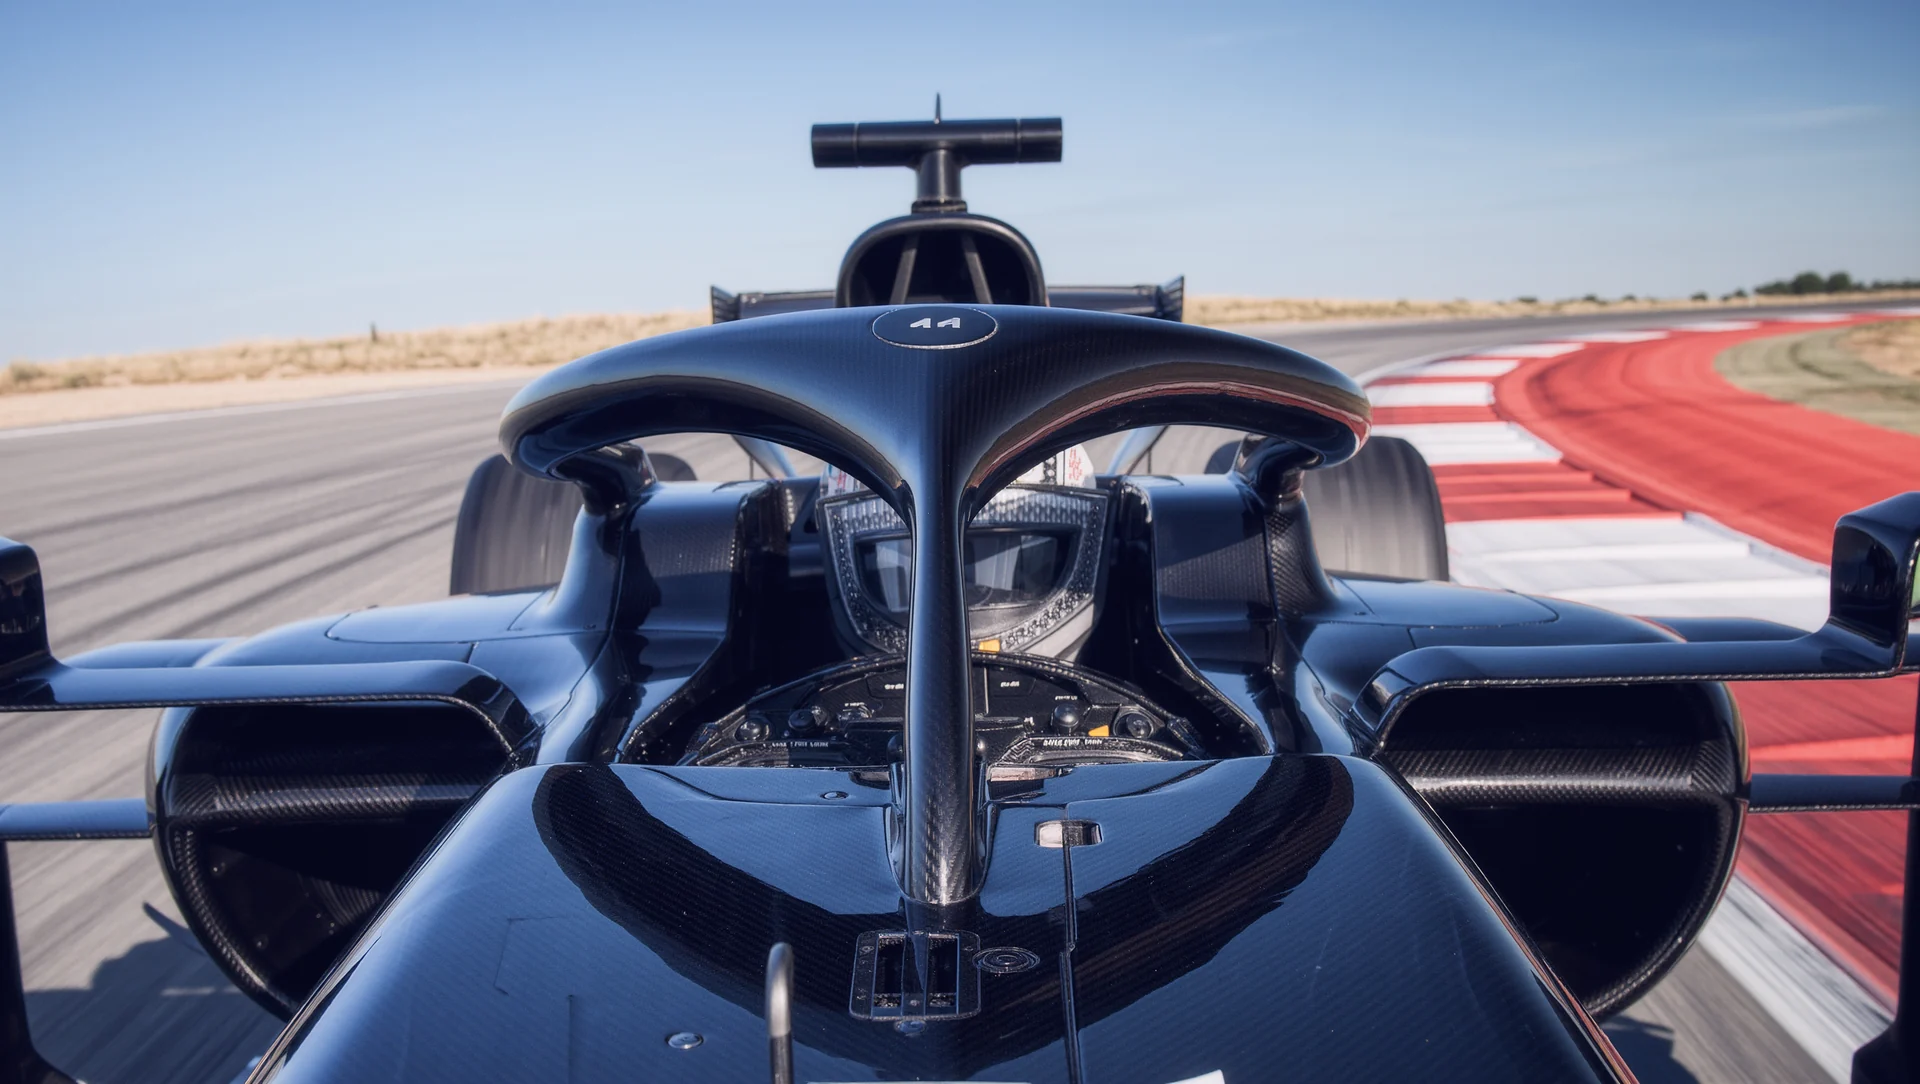
The official F1 game against a hardcore simulator: what actually transfers between them, what does not and how to use both without confusing yourself.

Choosing your first racing simulator without wasting a year: the three questions that decide it, the published prices and what each choice costs you later.
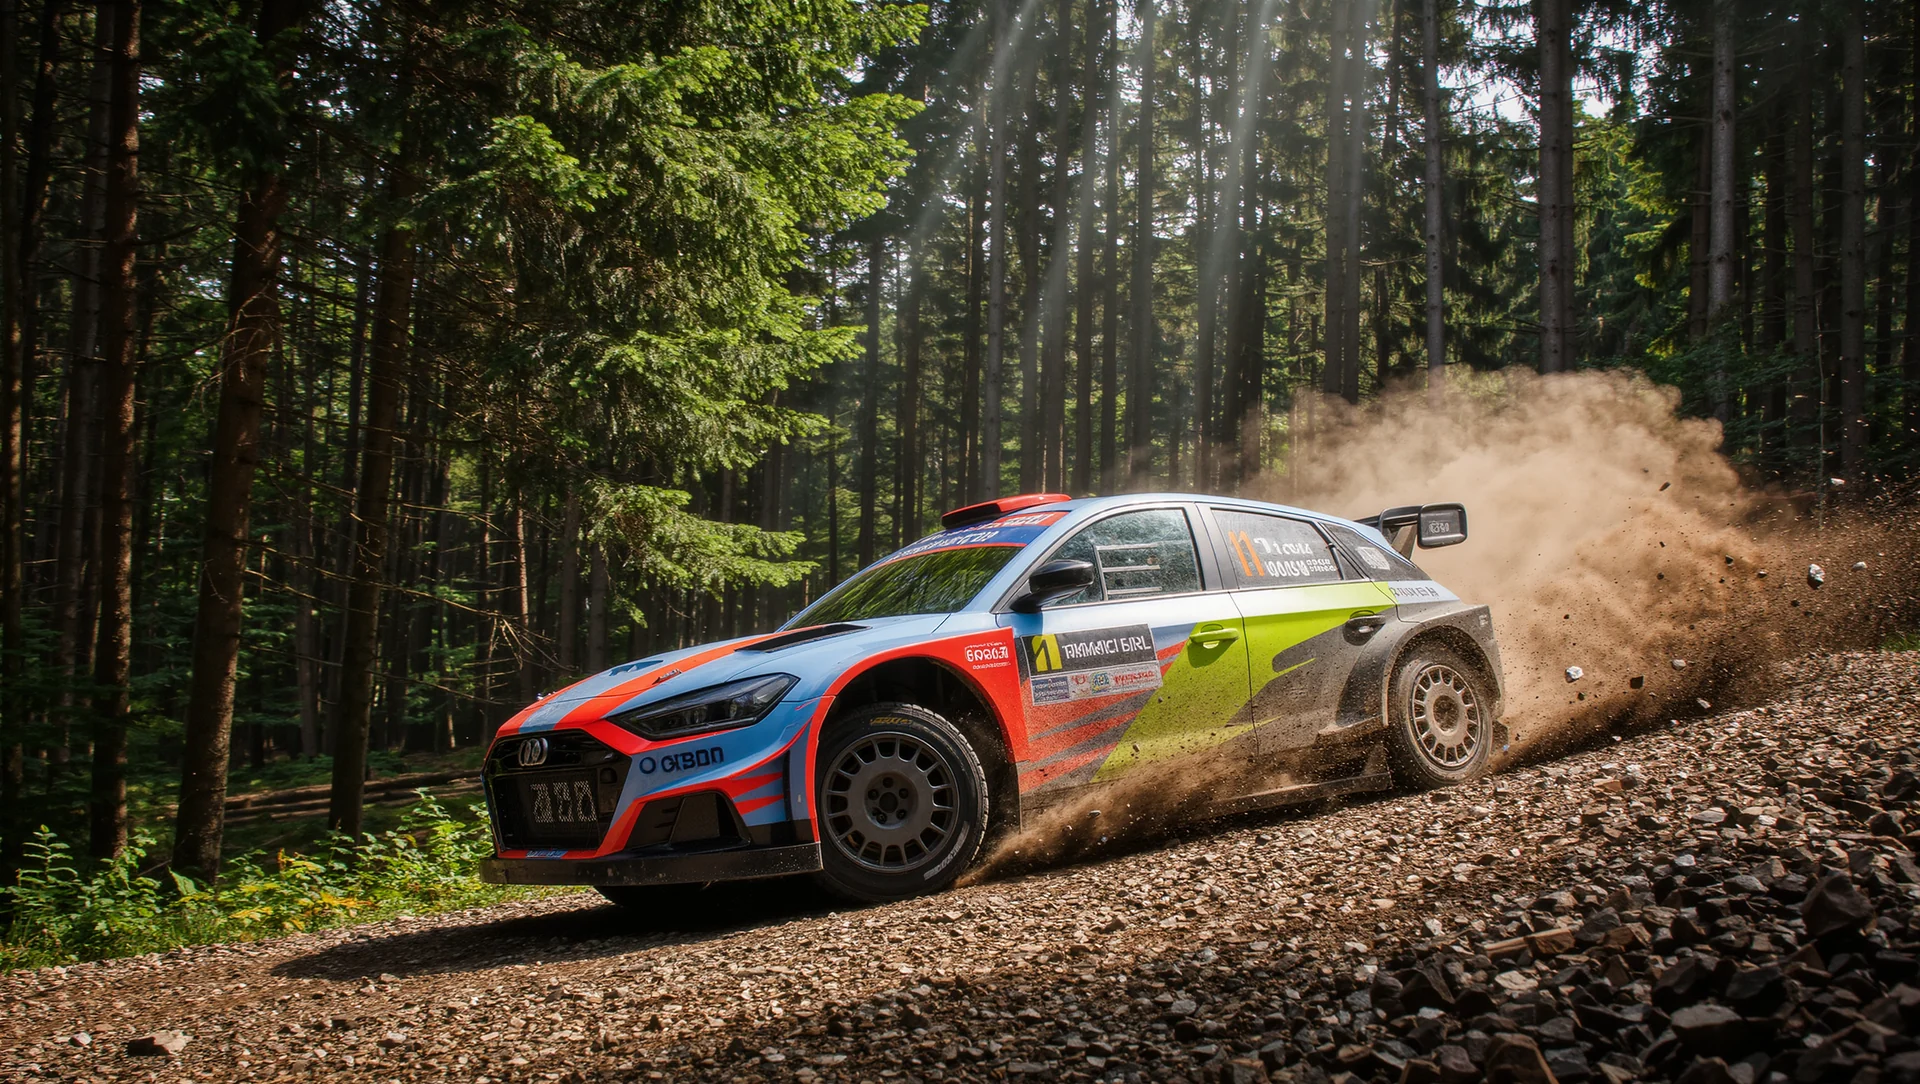
Why gravel rewrites everything circuit racing taught you, what the official rally simulator contains and the three techniques that transfer in the other direction.
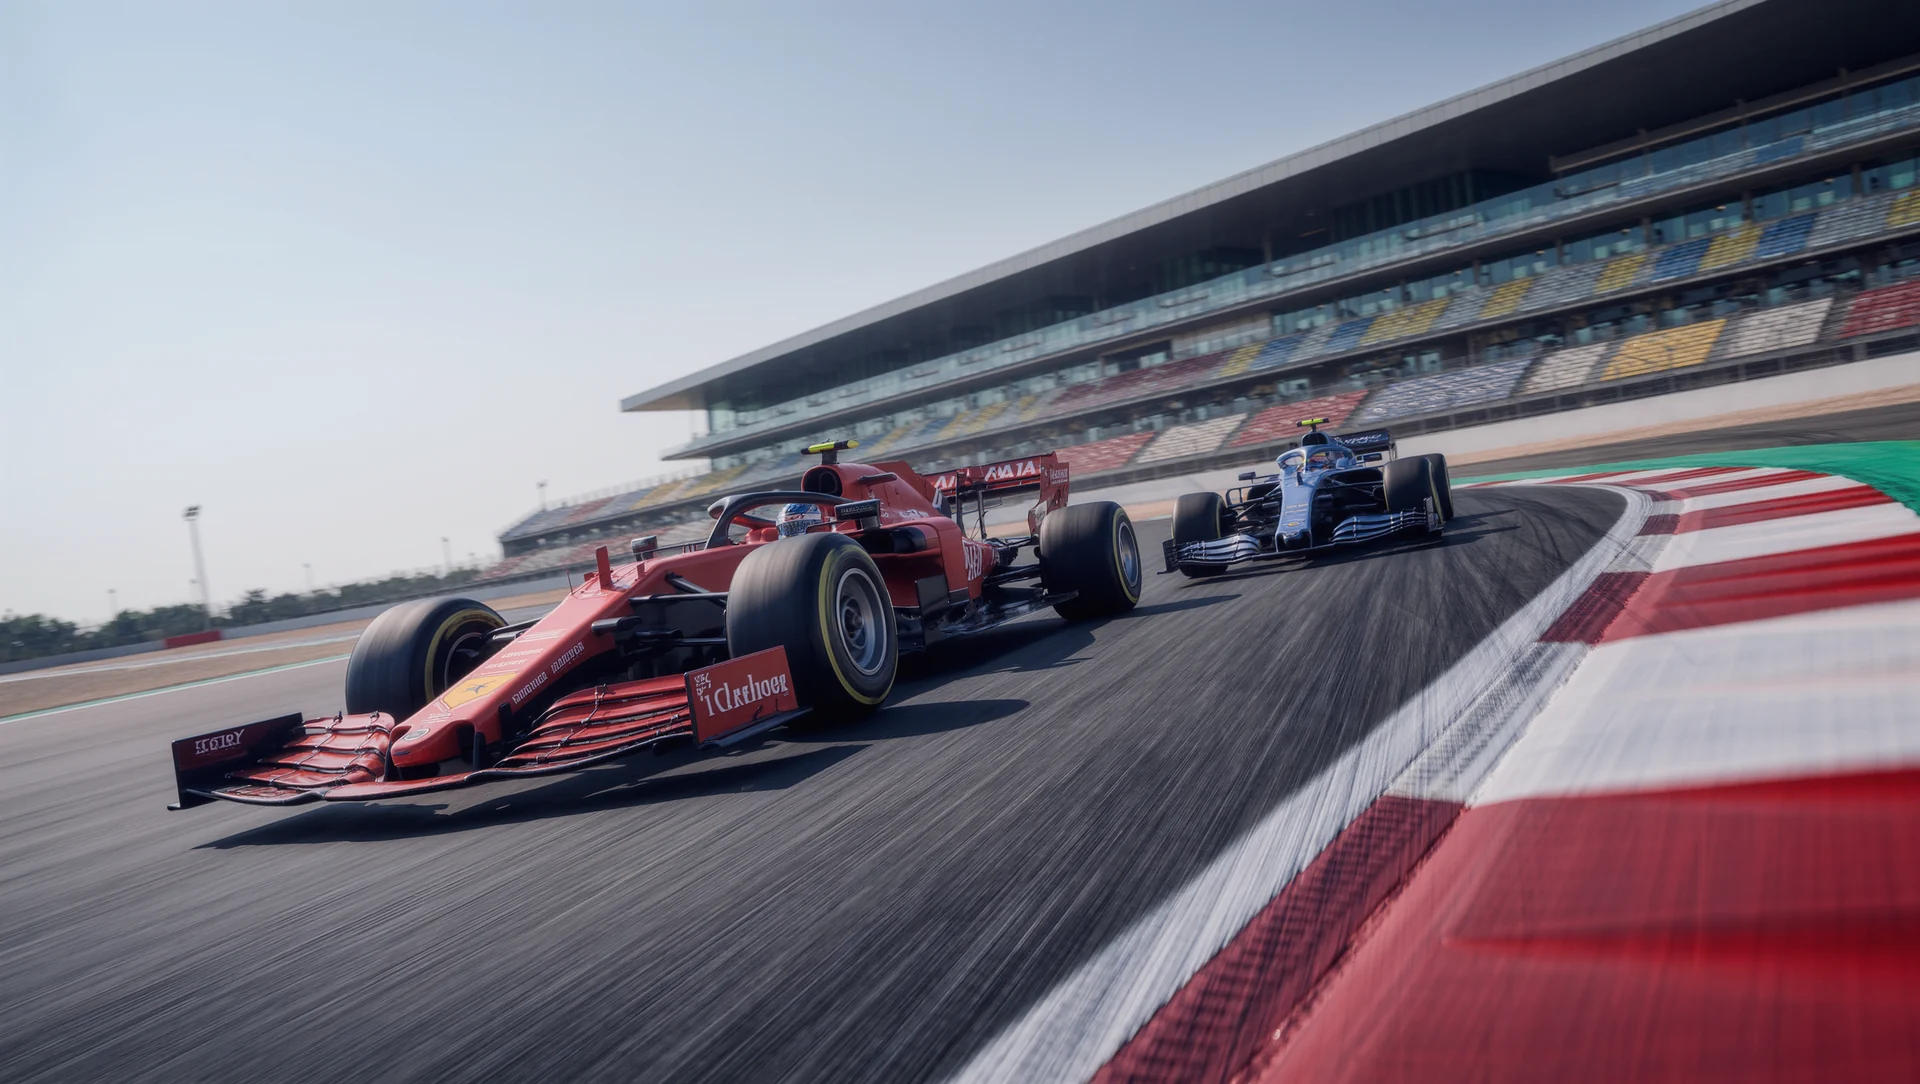
Oval racing is the discipline road racers underestimate: what actually makes it hard, how the simulators support it and the first month done properly.

Updates that break your mods and your settings: why it happens, how to survive it and the routine that turns a lost weekend into ten minutes.
Braking points you can repeat rather than remember: the arithmetic behind the distances, why markers fail and the method that survives a race.

Trail braking explained through the friction circle: why it works, what it costs when done wrong and how to learn it in one session per corner.
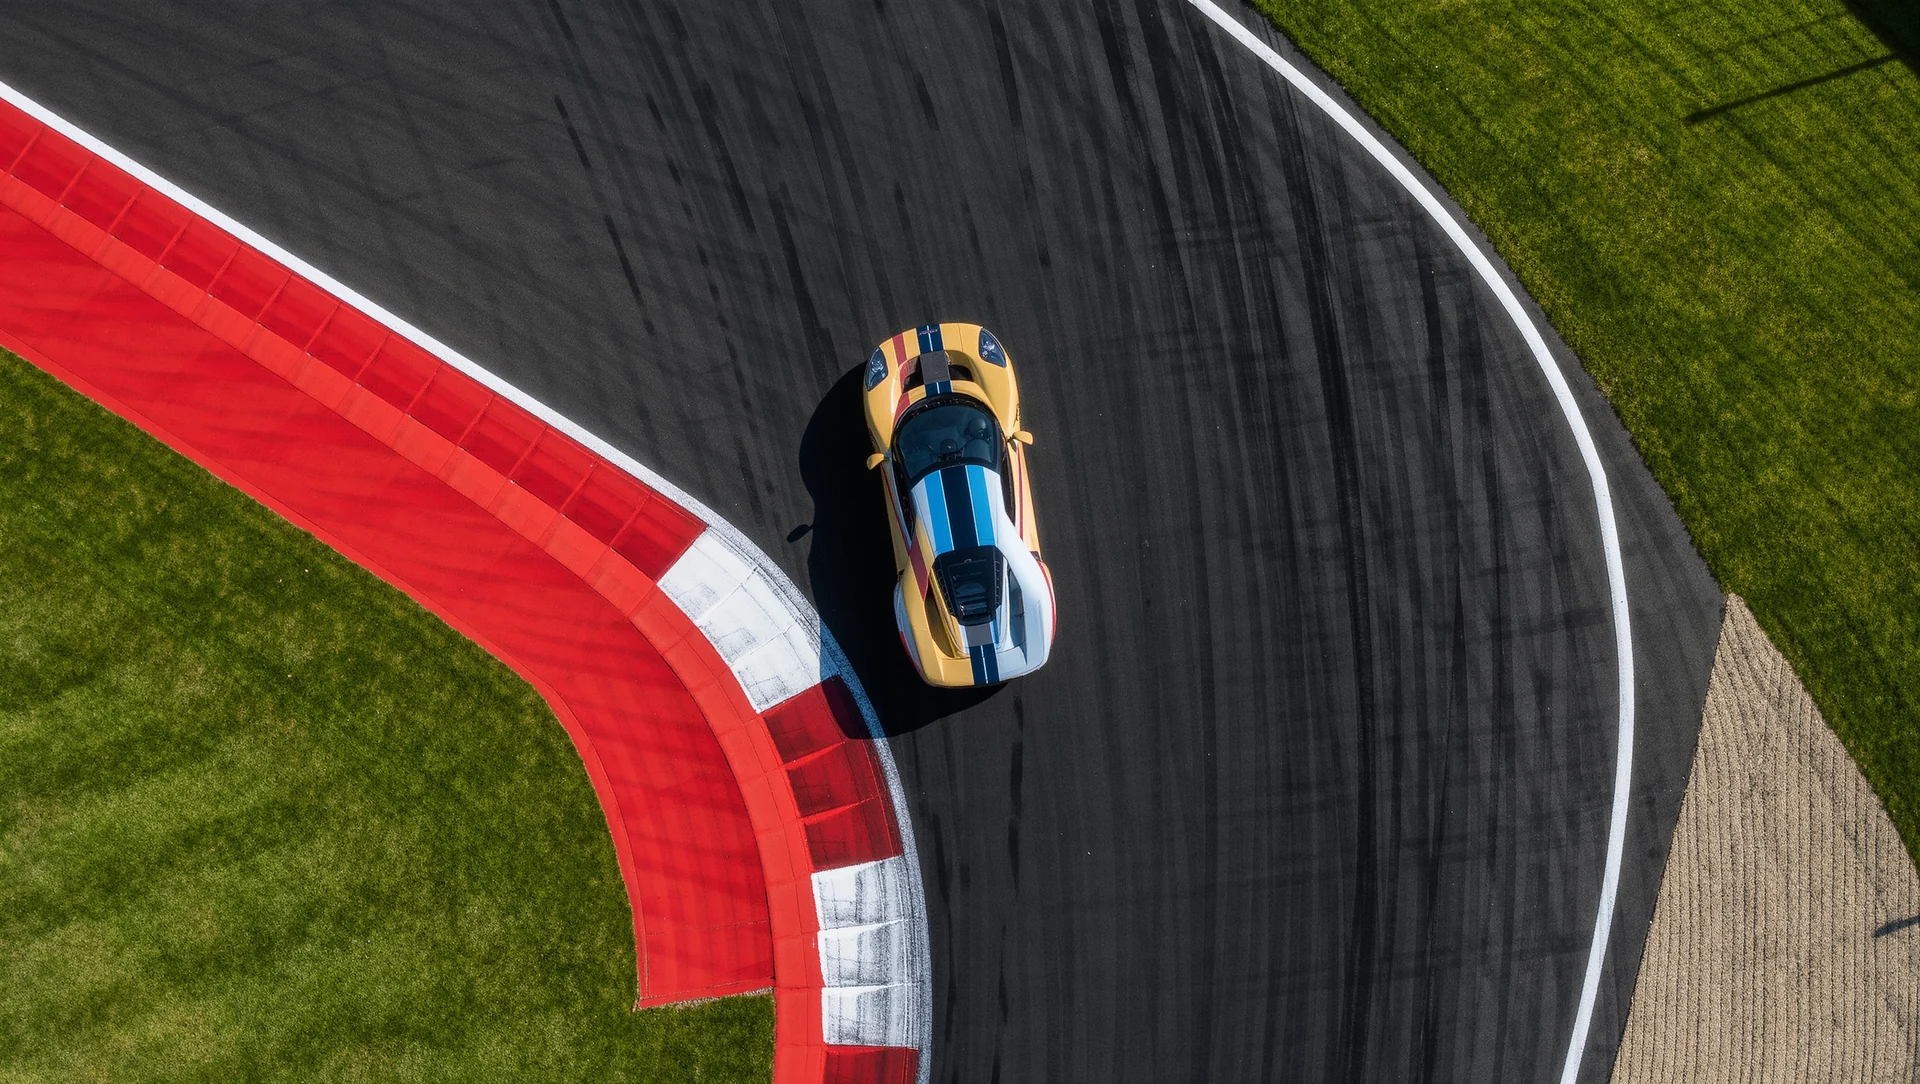
Early apex or late apex and why: the radius arithmetic behind the racing line, what each choice costs and how to pick one per corner rather than per driver.
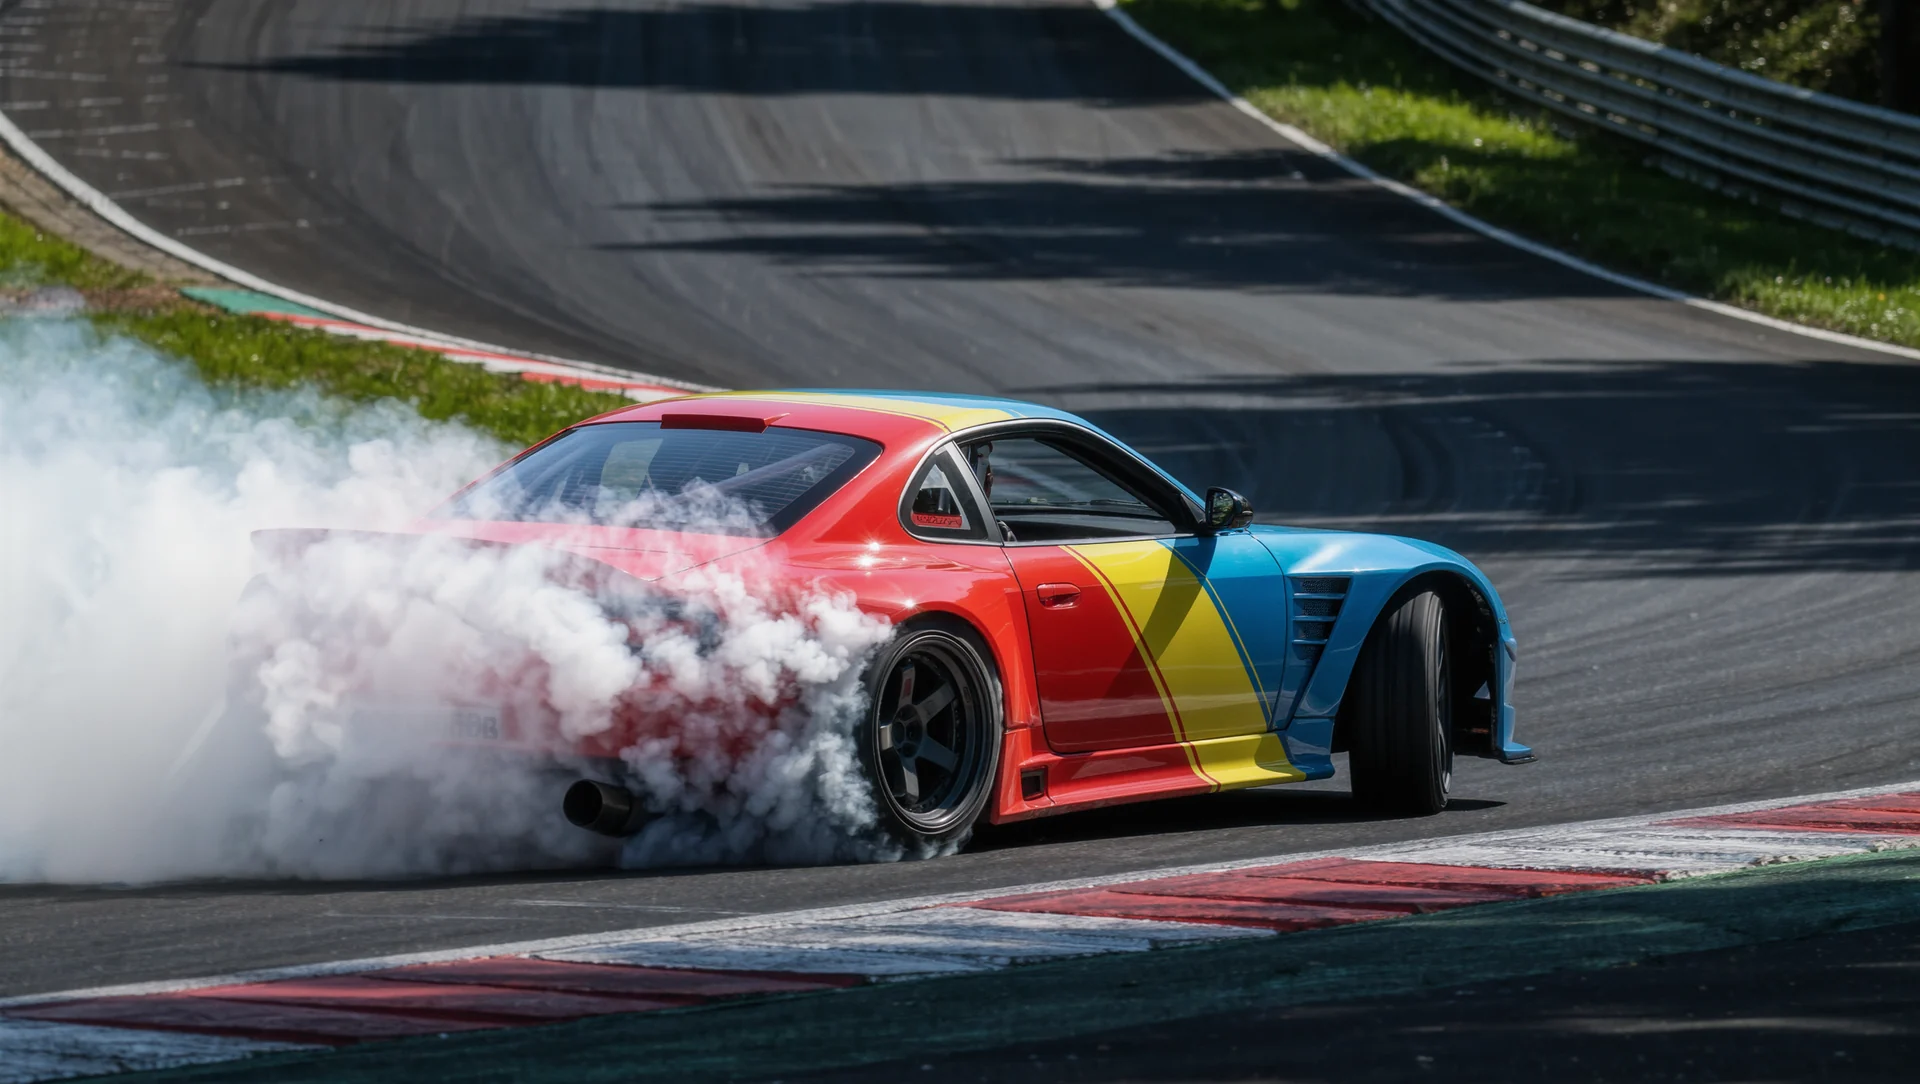
Catching oversteer before the car decides for you: the timing, why most catches arrive late and the drill that shortens your reaction.
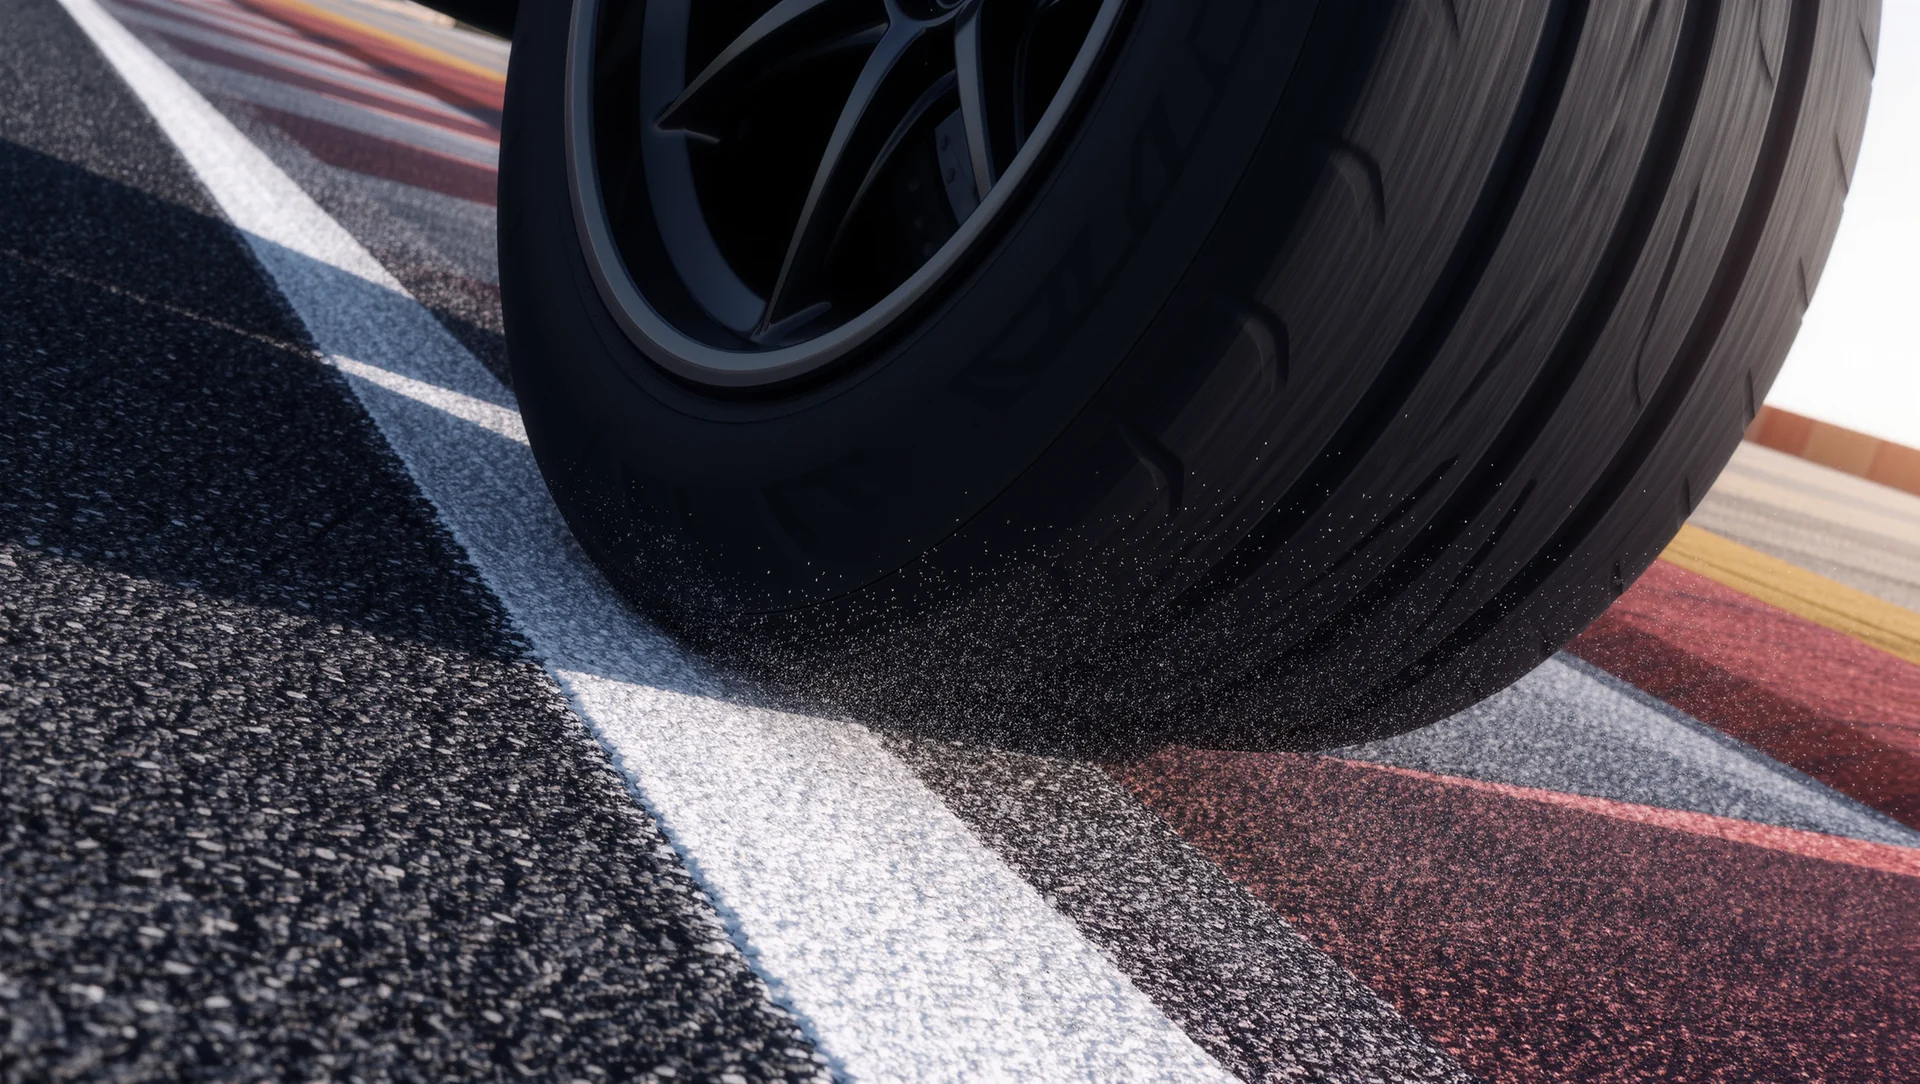
Understeer diagnosed properly: driver, setup or tyre temperature, and the order in which to rule each one out before touching the car.

Consistency training: the unglamorous drill that wins races, why the fastest lap is the wrong target and how to measure progress in a way that does not lie.
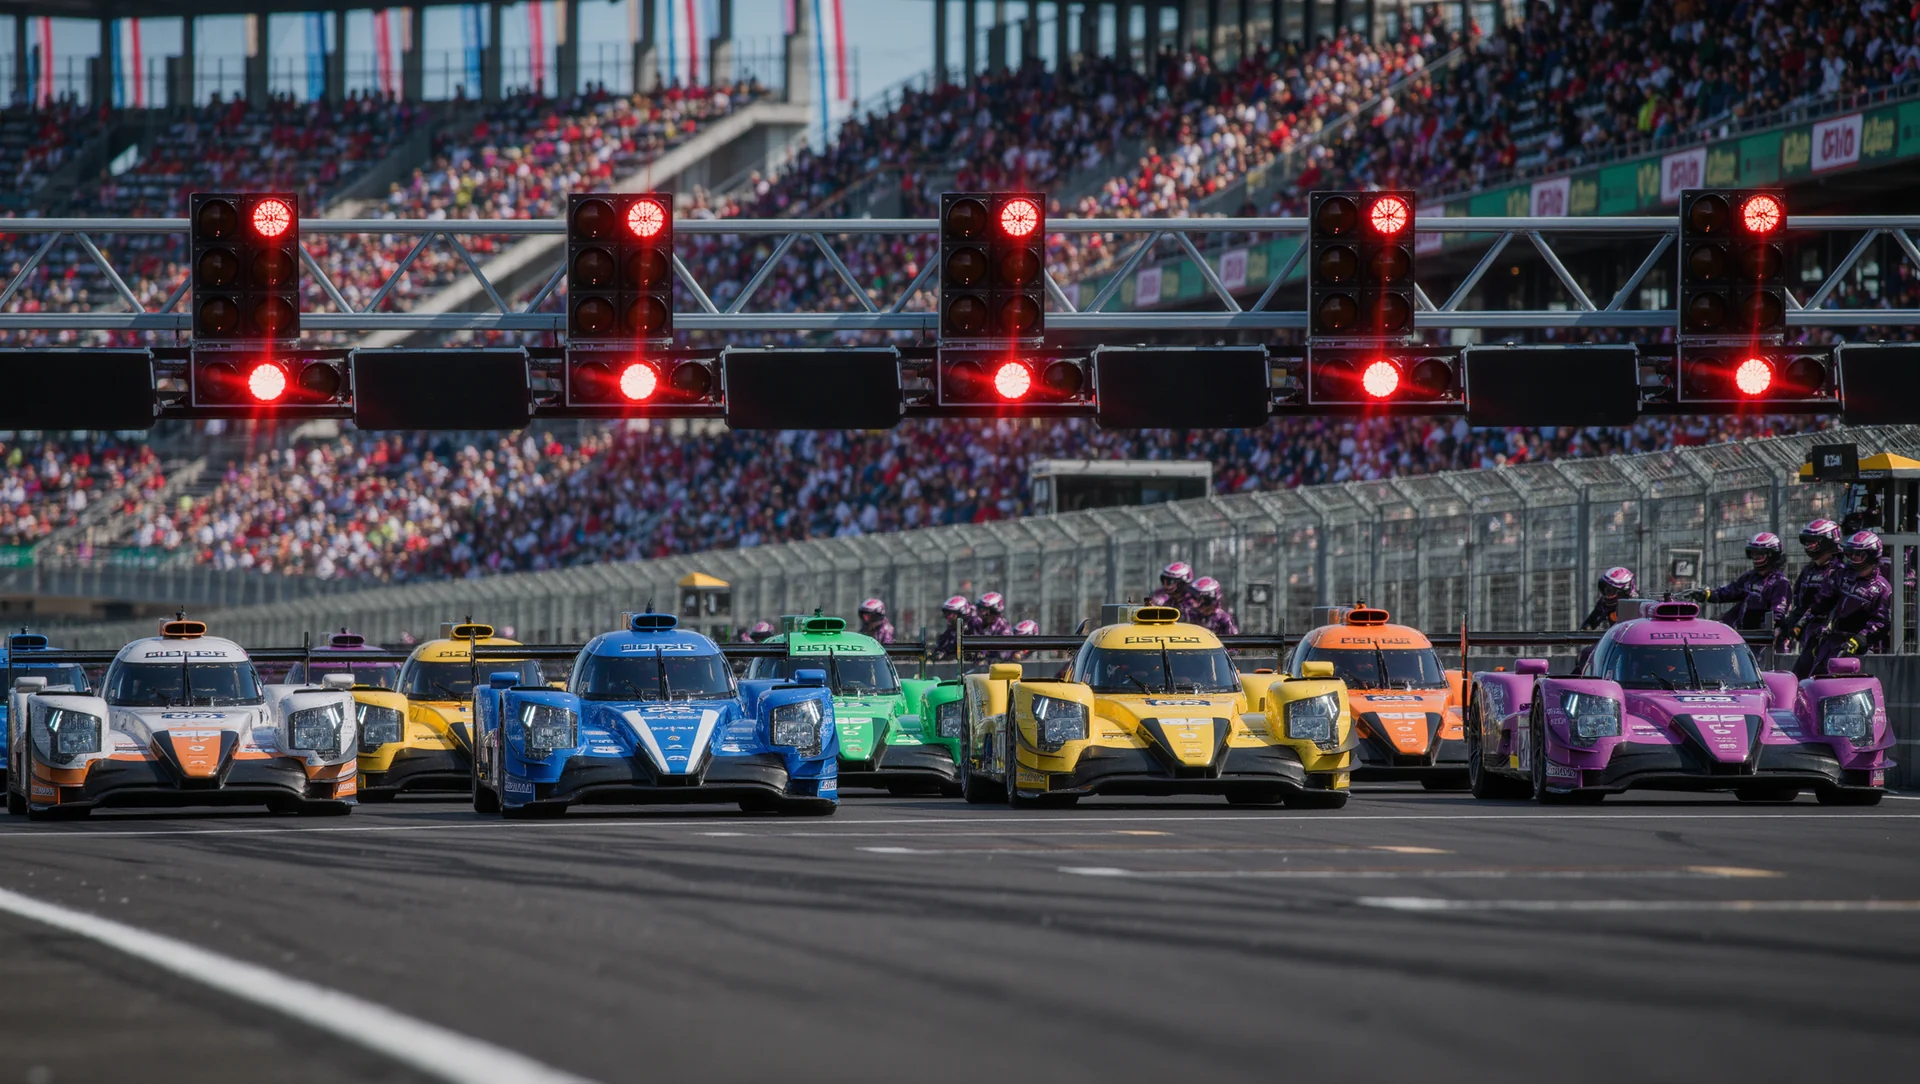
The start: clutch, bite point and the first corner, with the timing arithmetic and the three mistakes that end more races than any overtake.

Overtaking without collecting penalties: what the rulebook actually charges for, where the responsibility sits and the three moves that pay.

Wet racing: why the line moves, where the grip actually is and the three adjustments that turn a survival exercise into a result.
The tyre window: how to get into it, how to stay there and which of the four readings on the screen actually tells you something.
Lift and coast: the arithmetic of saving fuel without losing the position, when it pays and the three ways drivers get it wrong.
Learning a new circuit in three structured sessions instead of ten unstructured ones, with what each session is for and how to know it worked.
The replay session: finding the mistake you cannot feel, which four channels to look at first and how to turn a replay into a change.
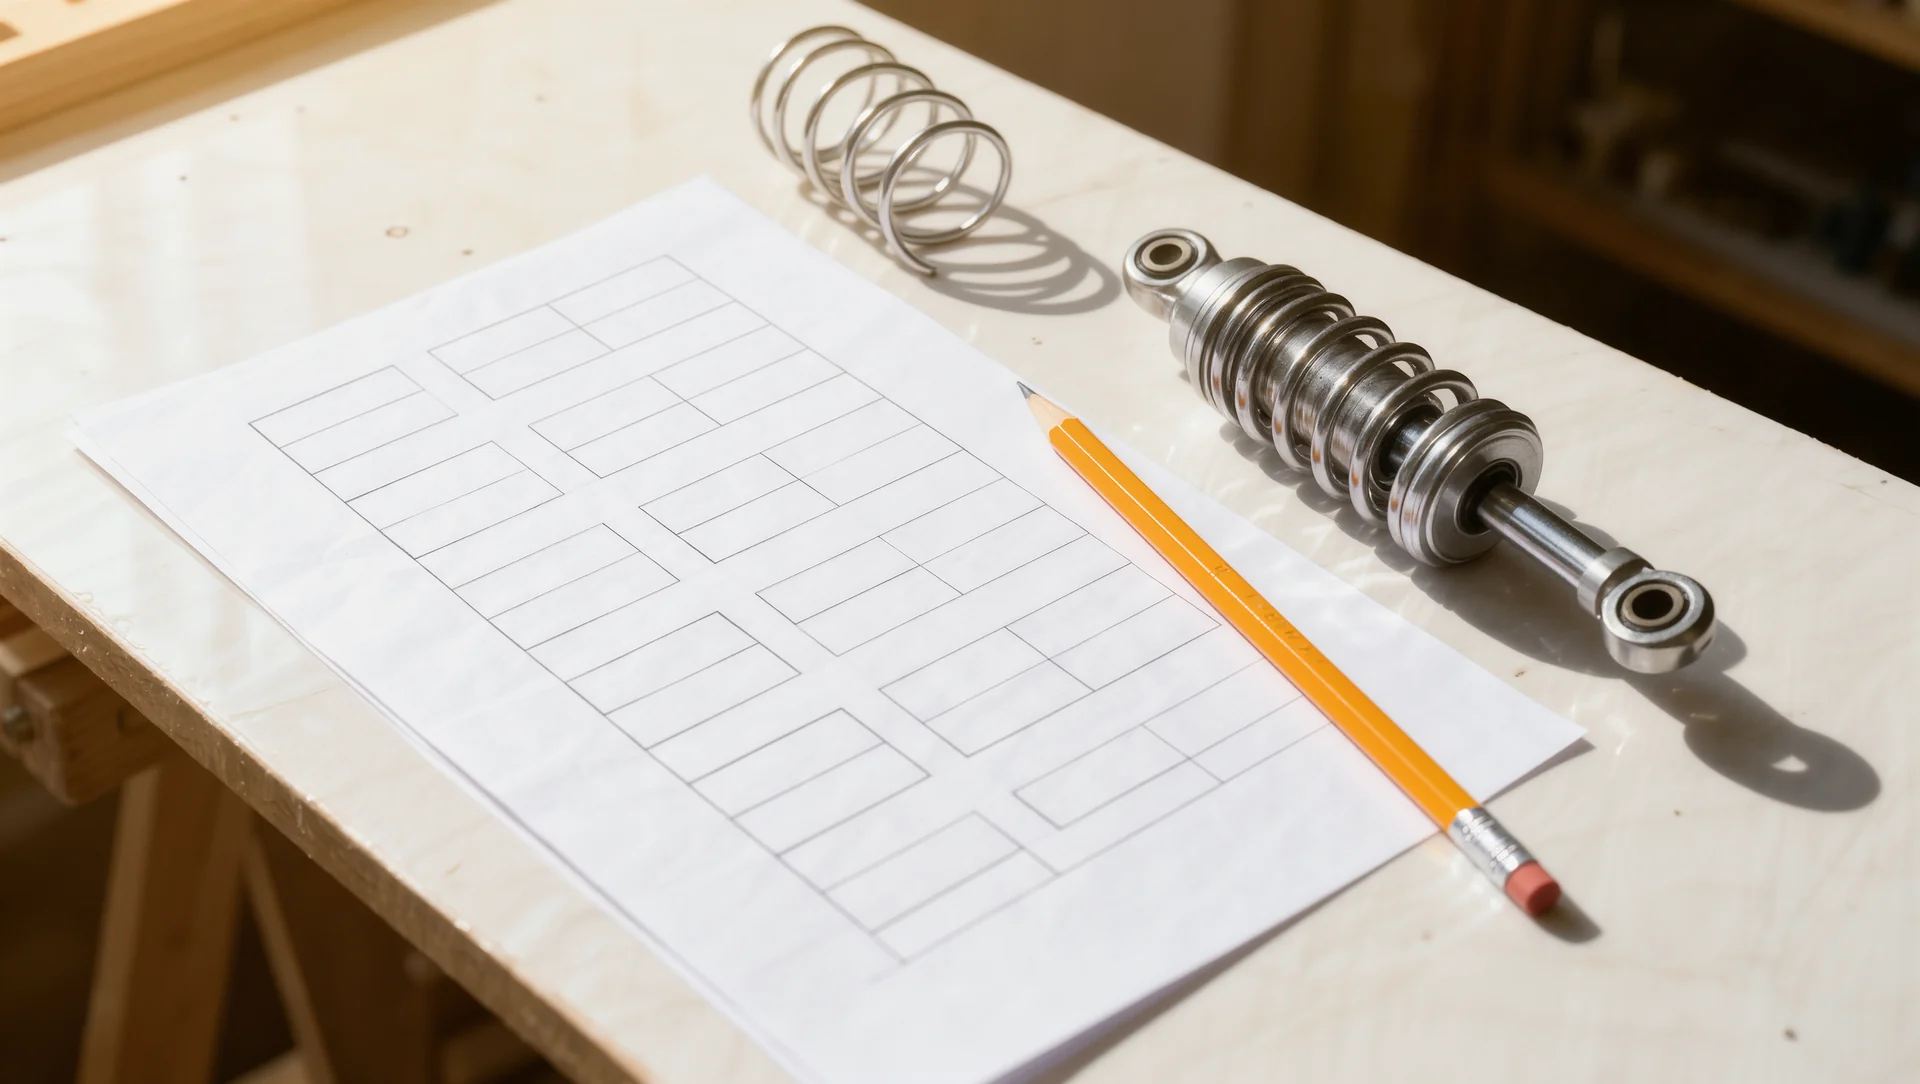
Setup work in the right order: why one change at a time is not pedantry, which adjustment comes first and how to know when to stop.
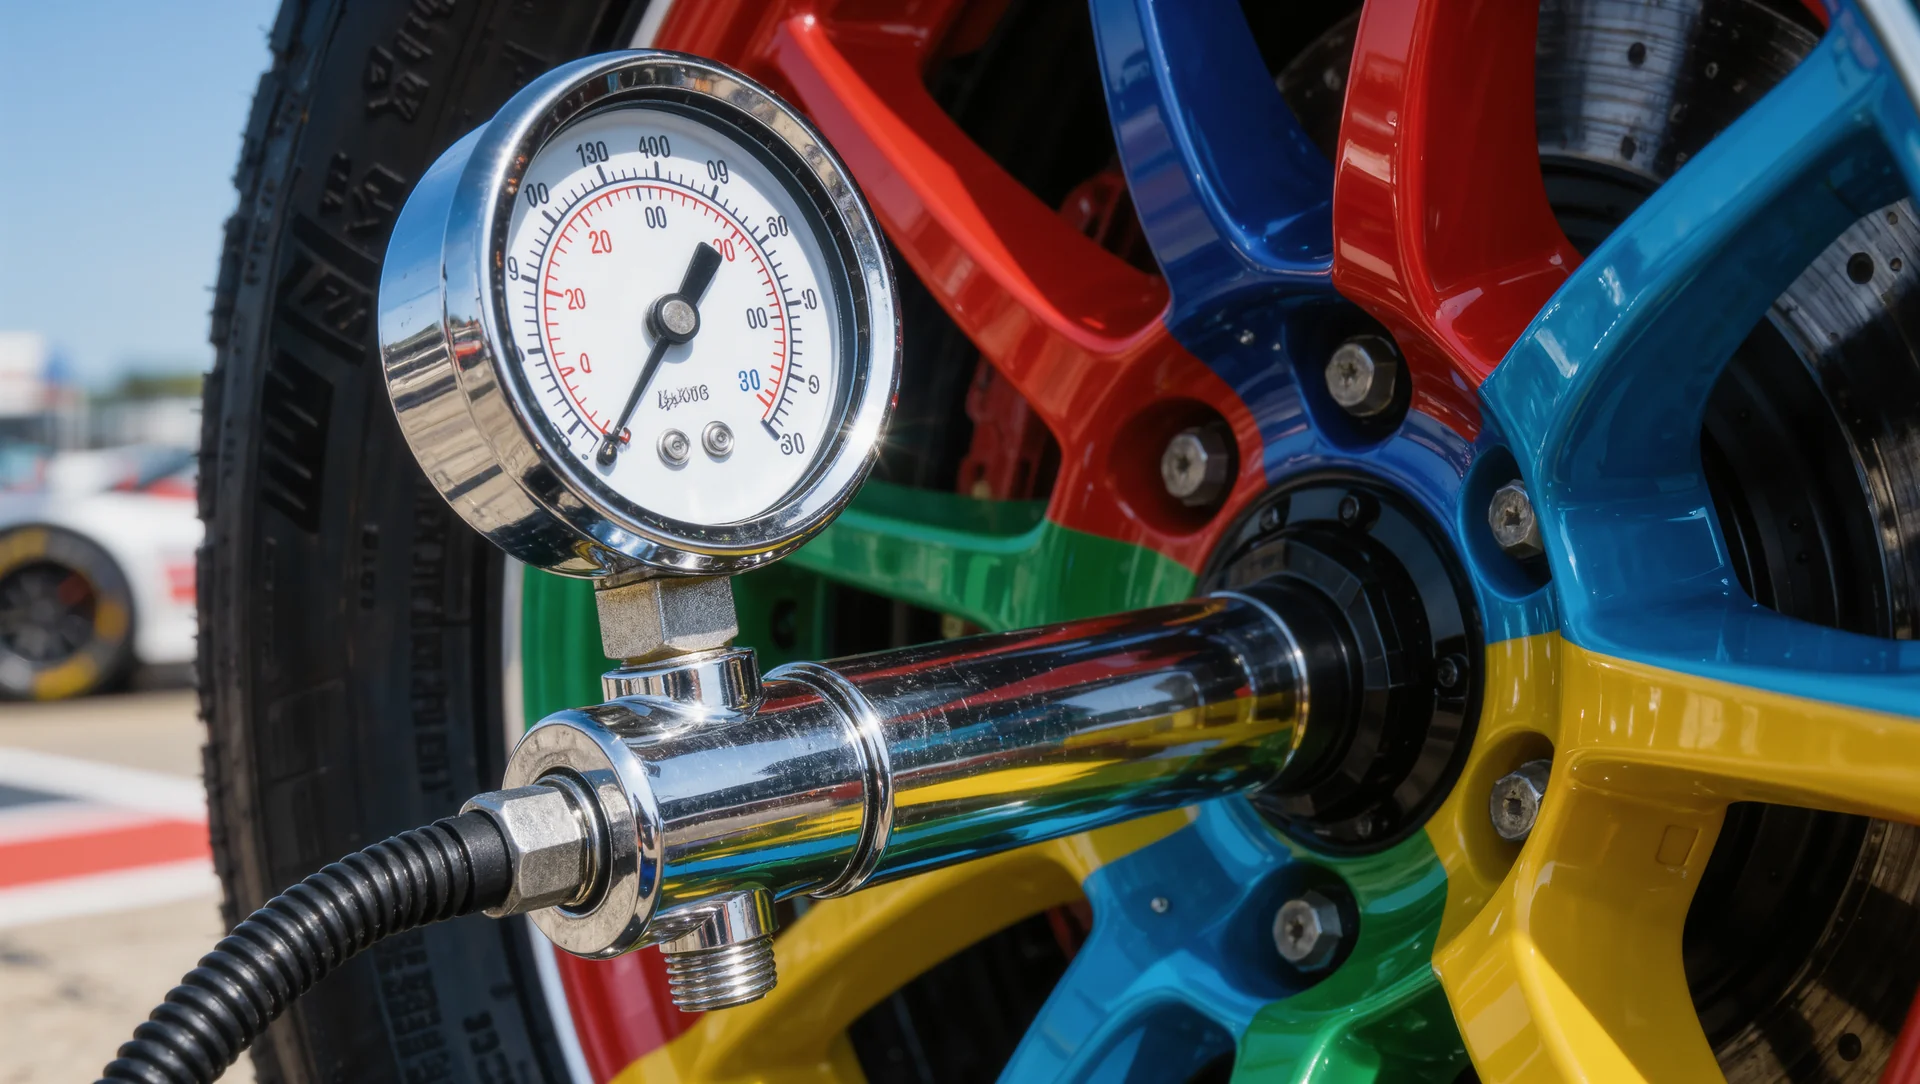
Tyre pressure is the fastest free lap time available: what it actually changes, the workflow that finds the right figure and why the answer moves during a race.
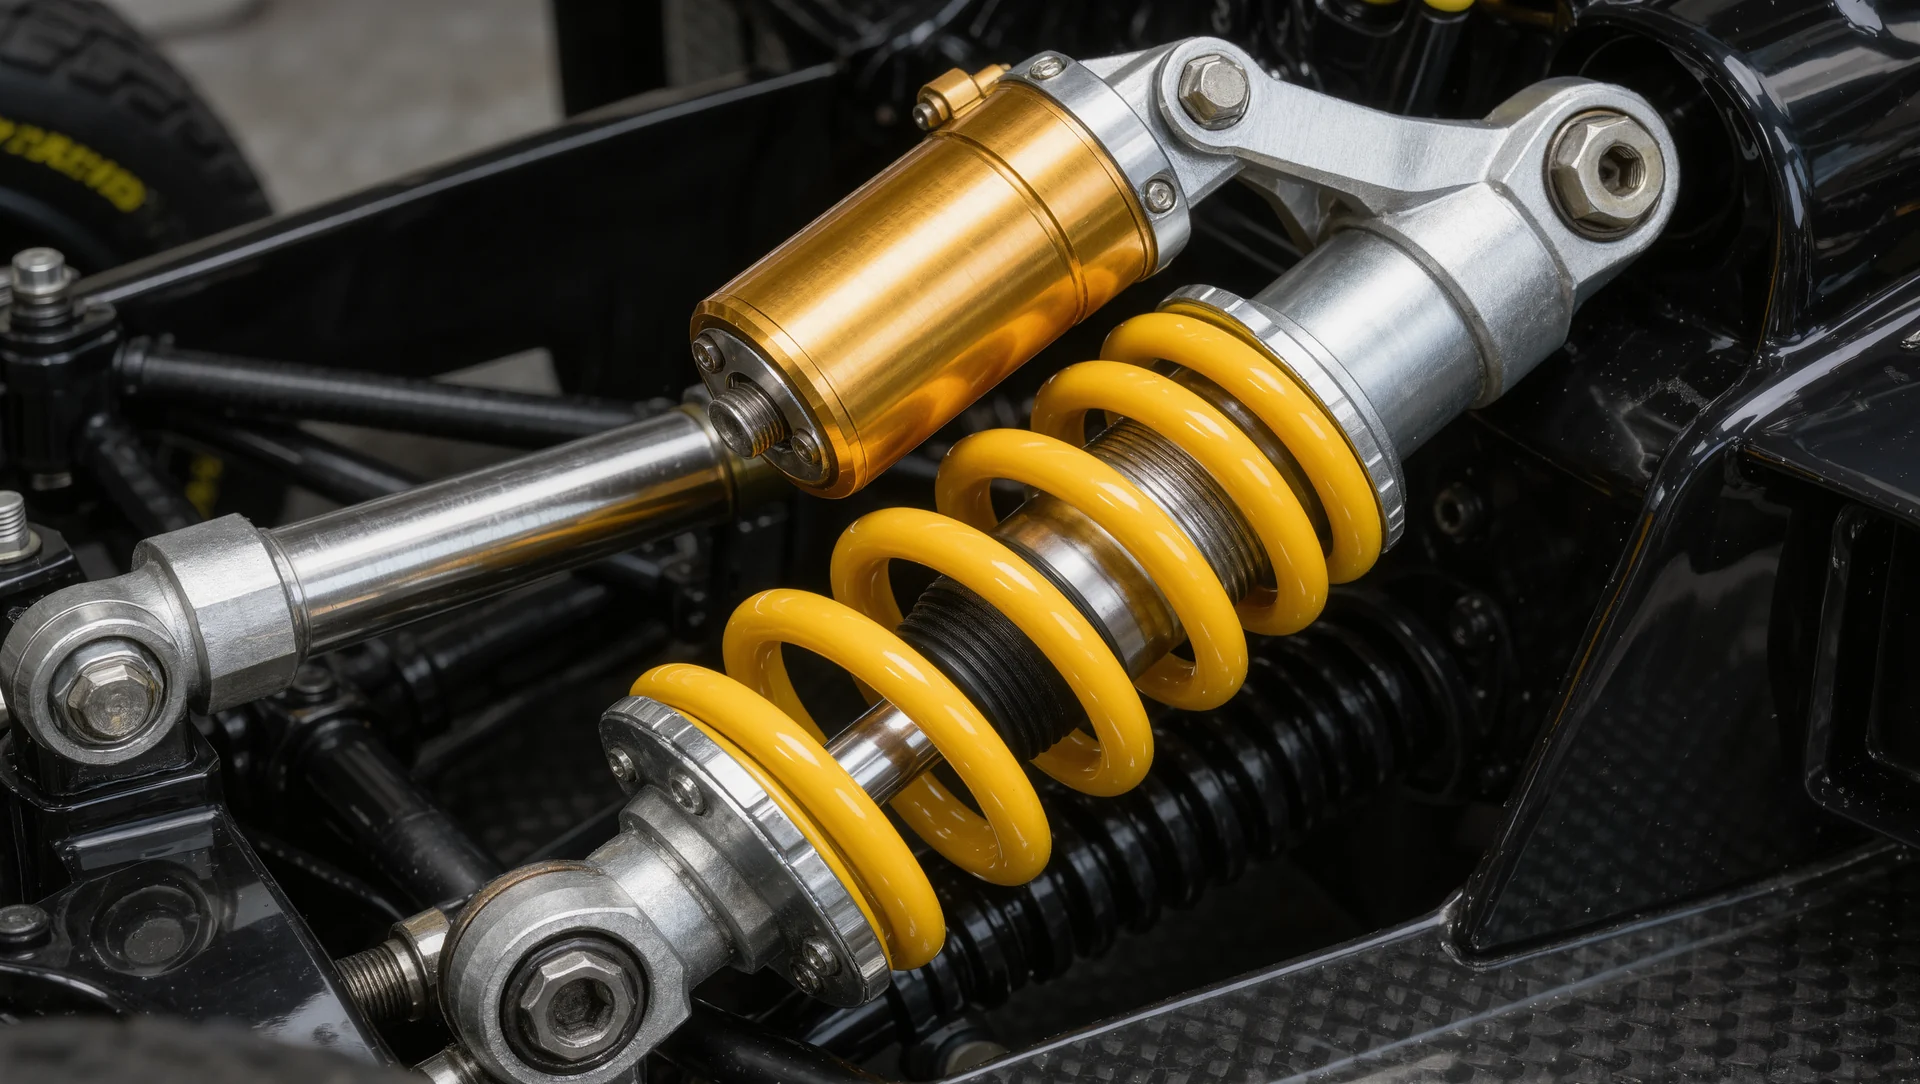
Springs and dampers: what each one actually controls, why they are not interchangeable and the order to change them in.
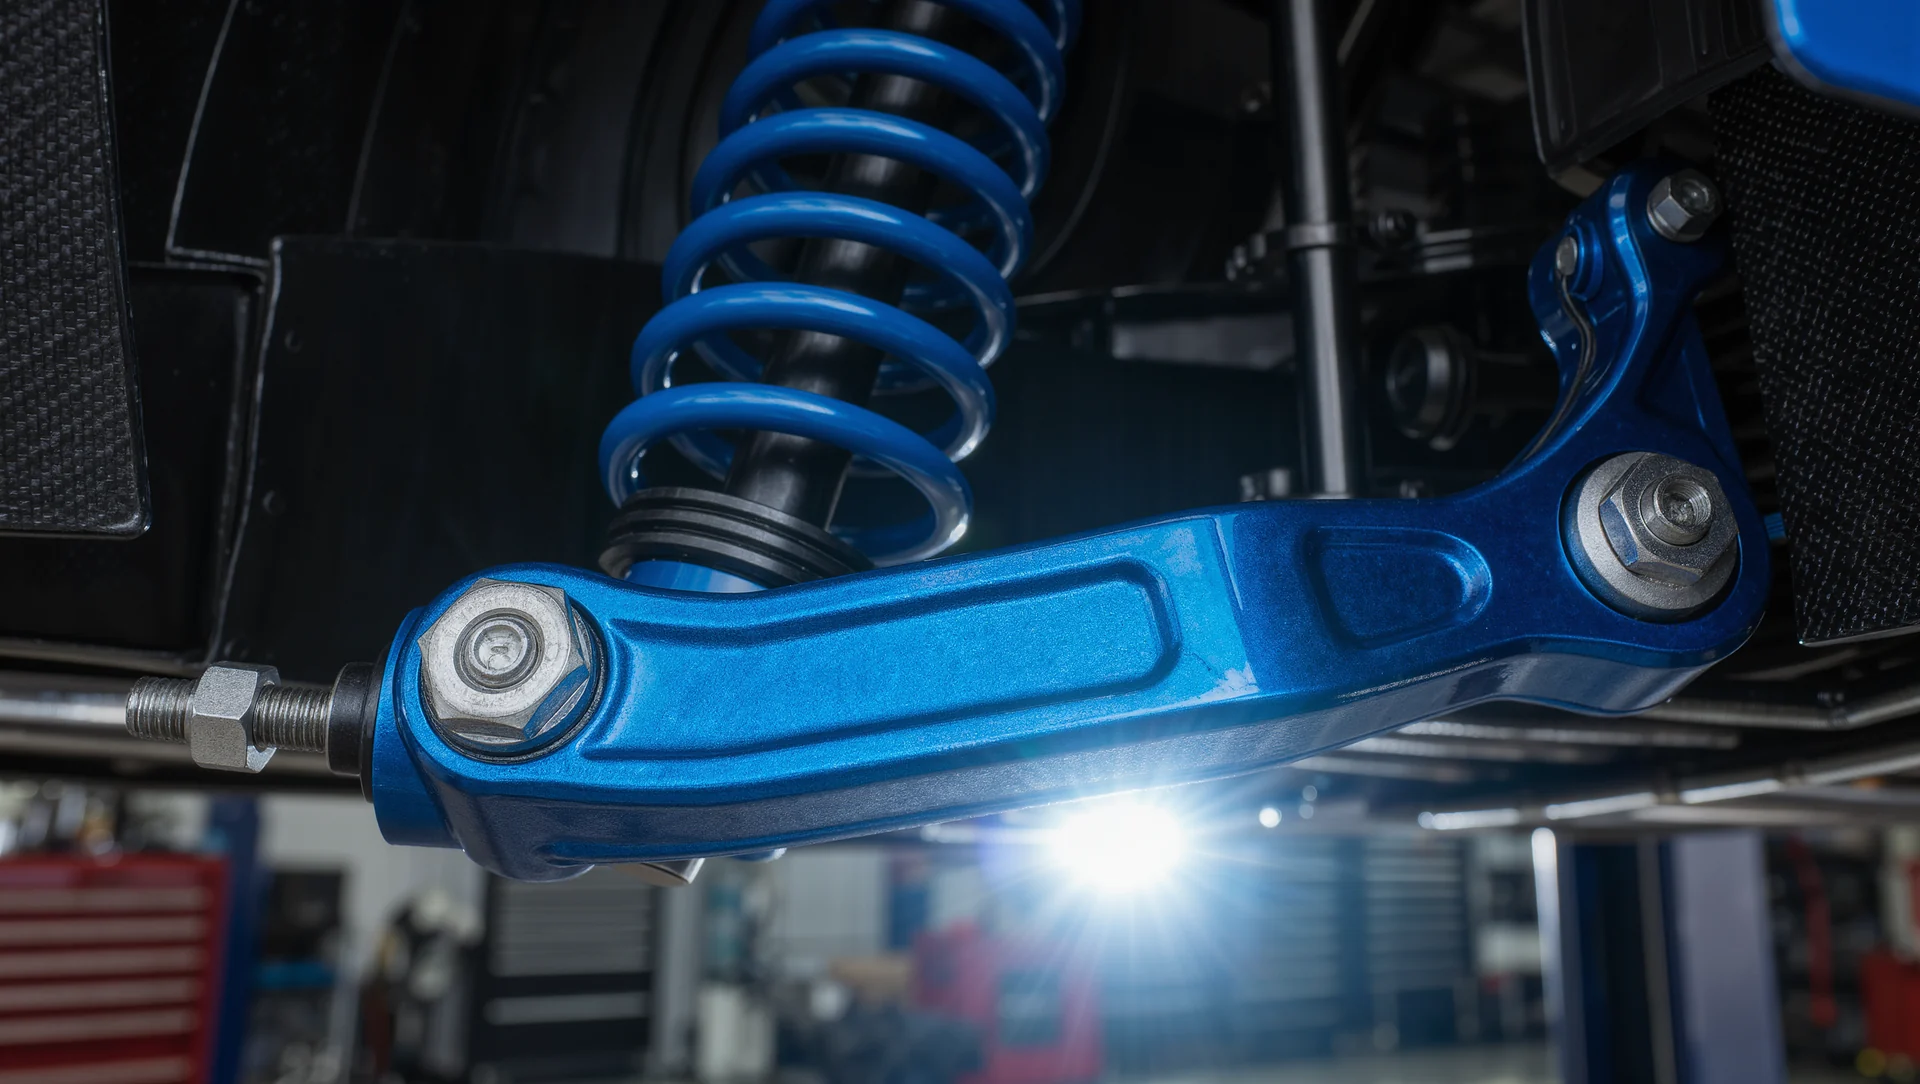
Anti roll bars are the fastest way to move the balance: what each end does, the trap of stiffening both and how to tell roll oversteer from snap oversteer.
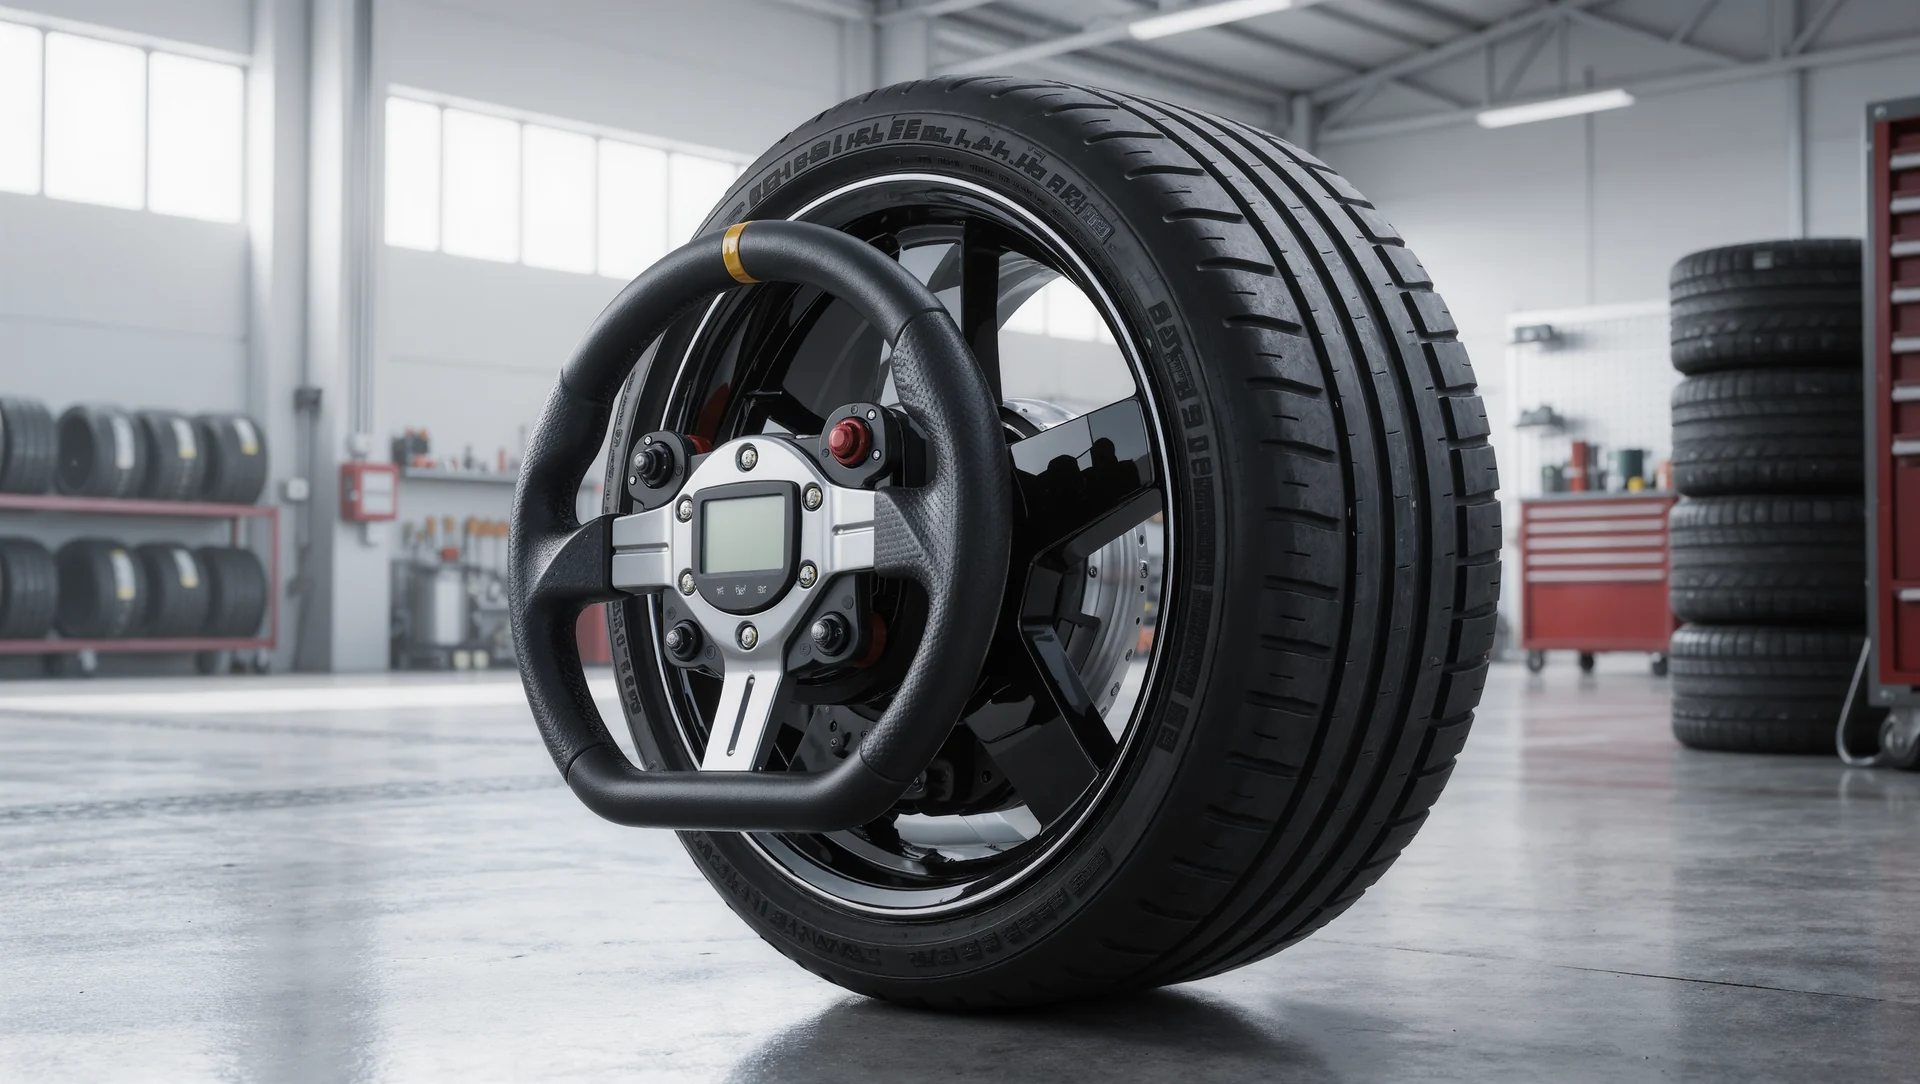
Camber and toe: grip now against tyre life later, what each setting does at which point of the corner and how to read the tread temperatures that judge them.
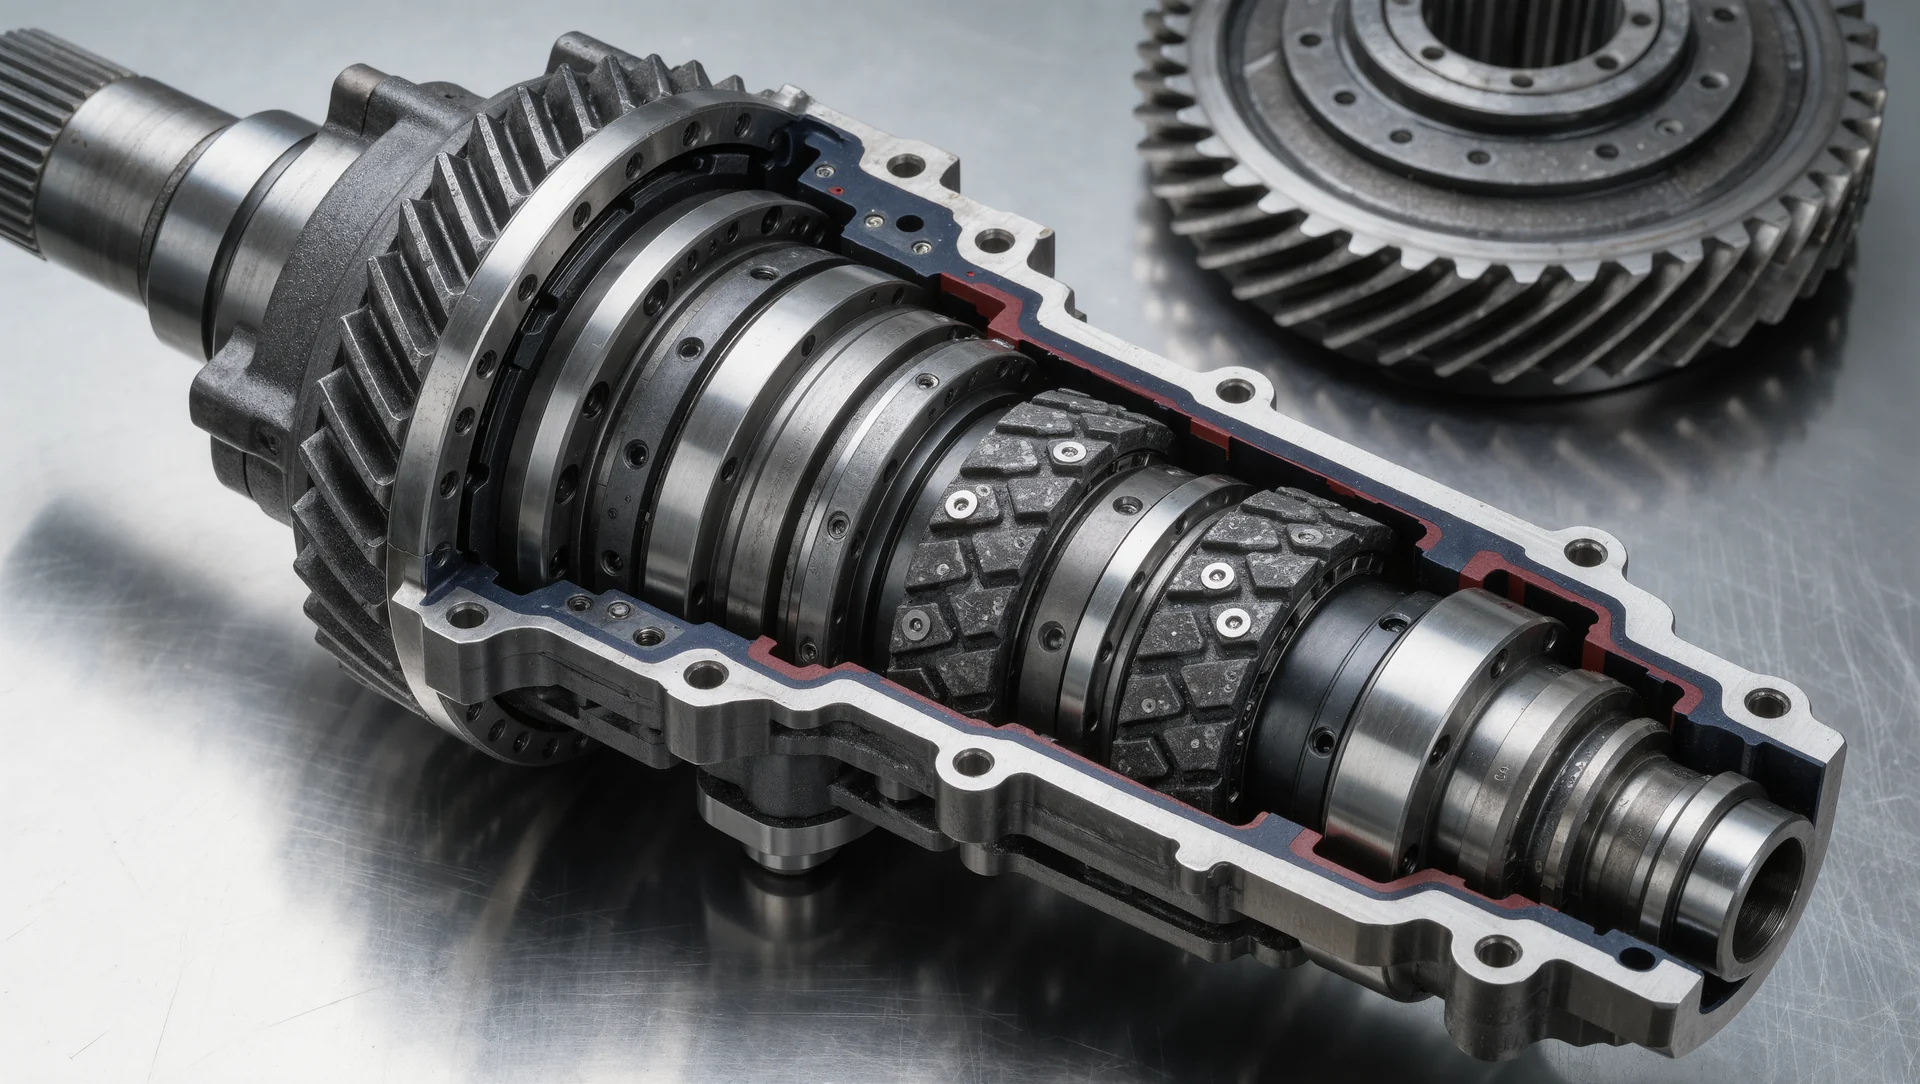
Differential settings explained: preload, power and coast, what each number does at which point of the corner and the published ranges behind them.
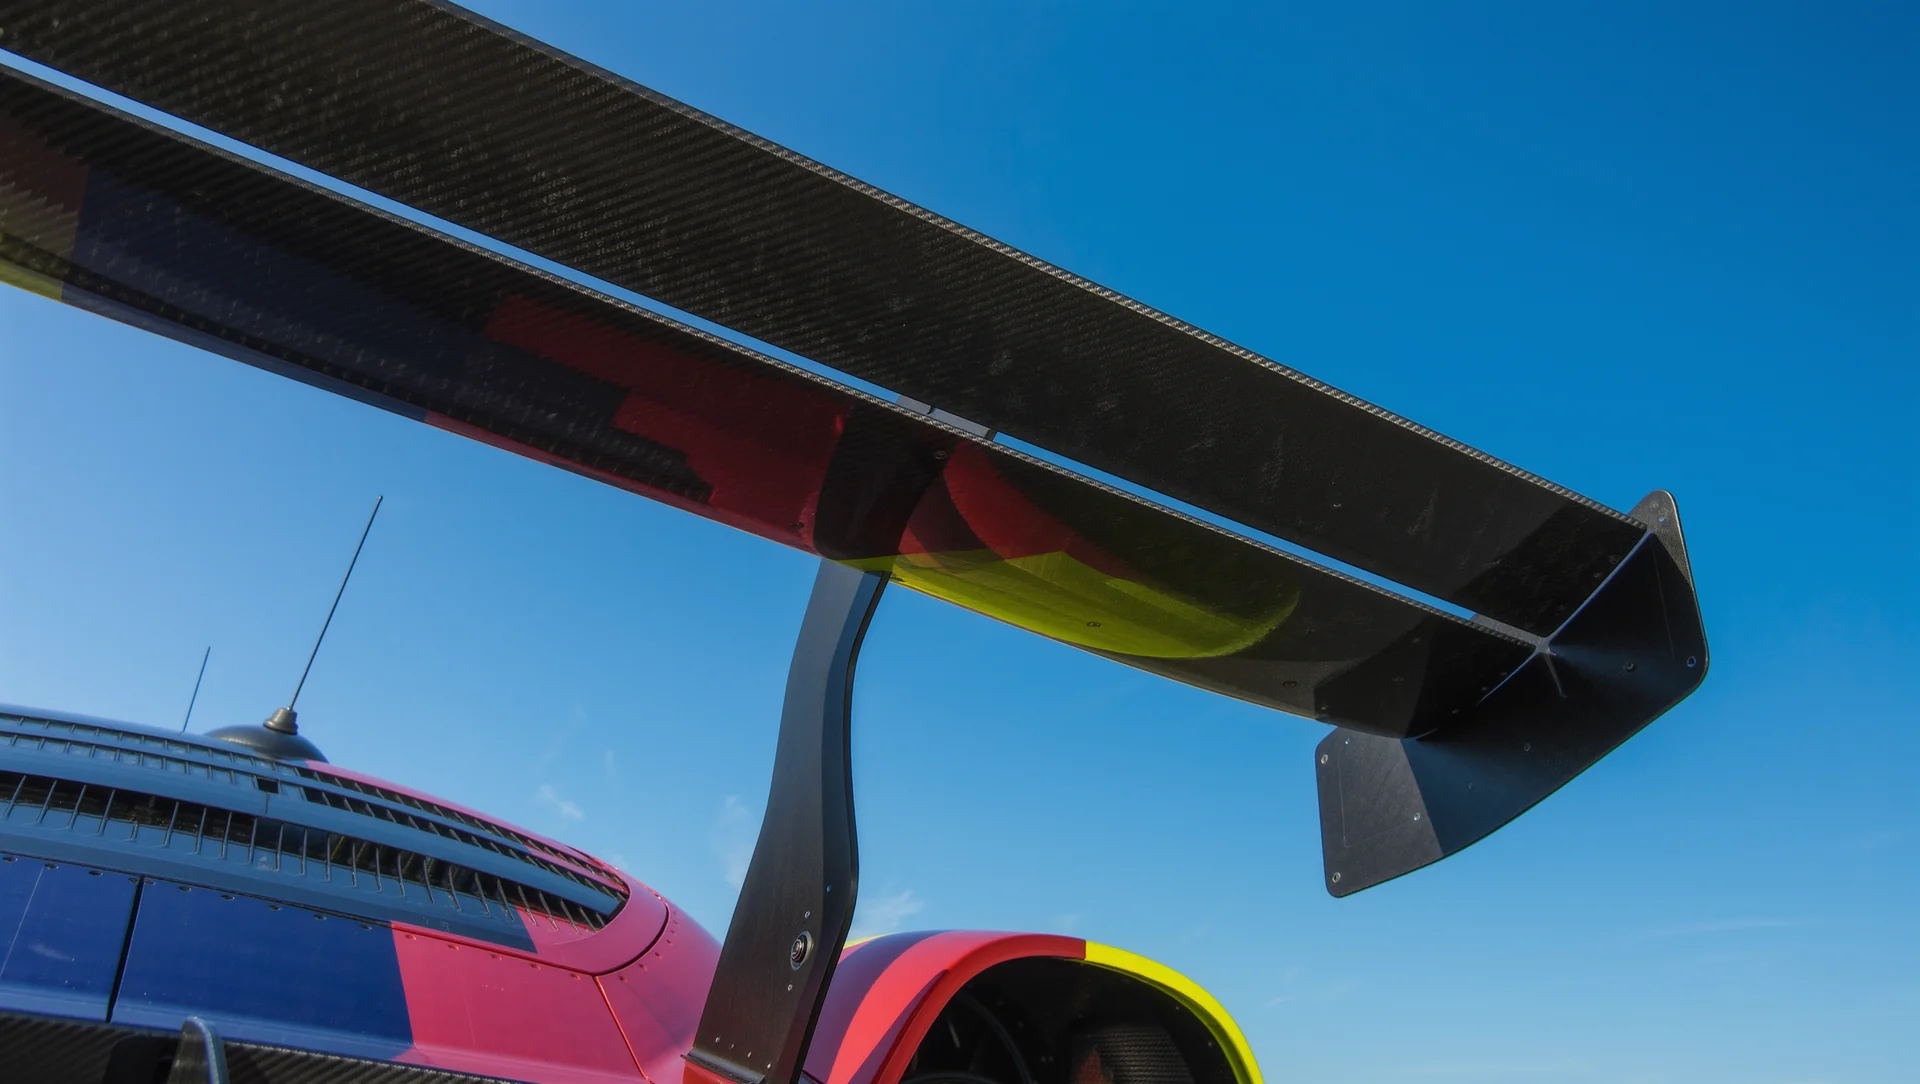
Downforce against drag: how to read a circuit before deciding the wing, why the answer changes with the field and the arithmetic behind the trade.
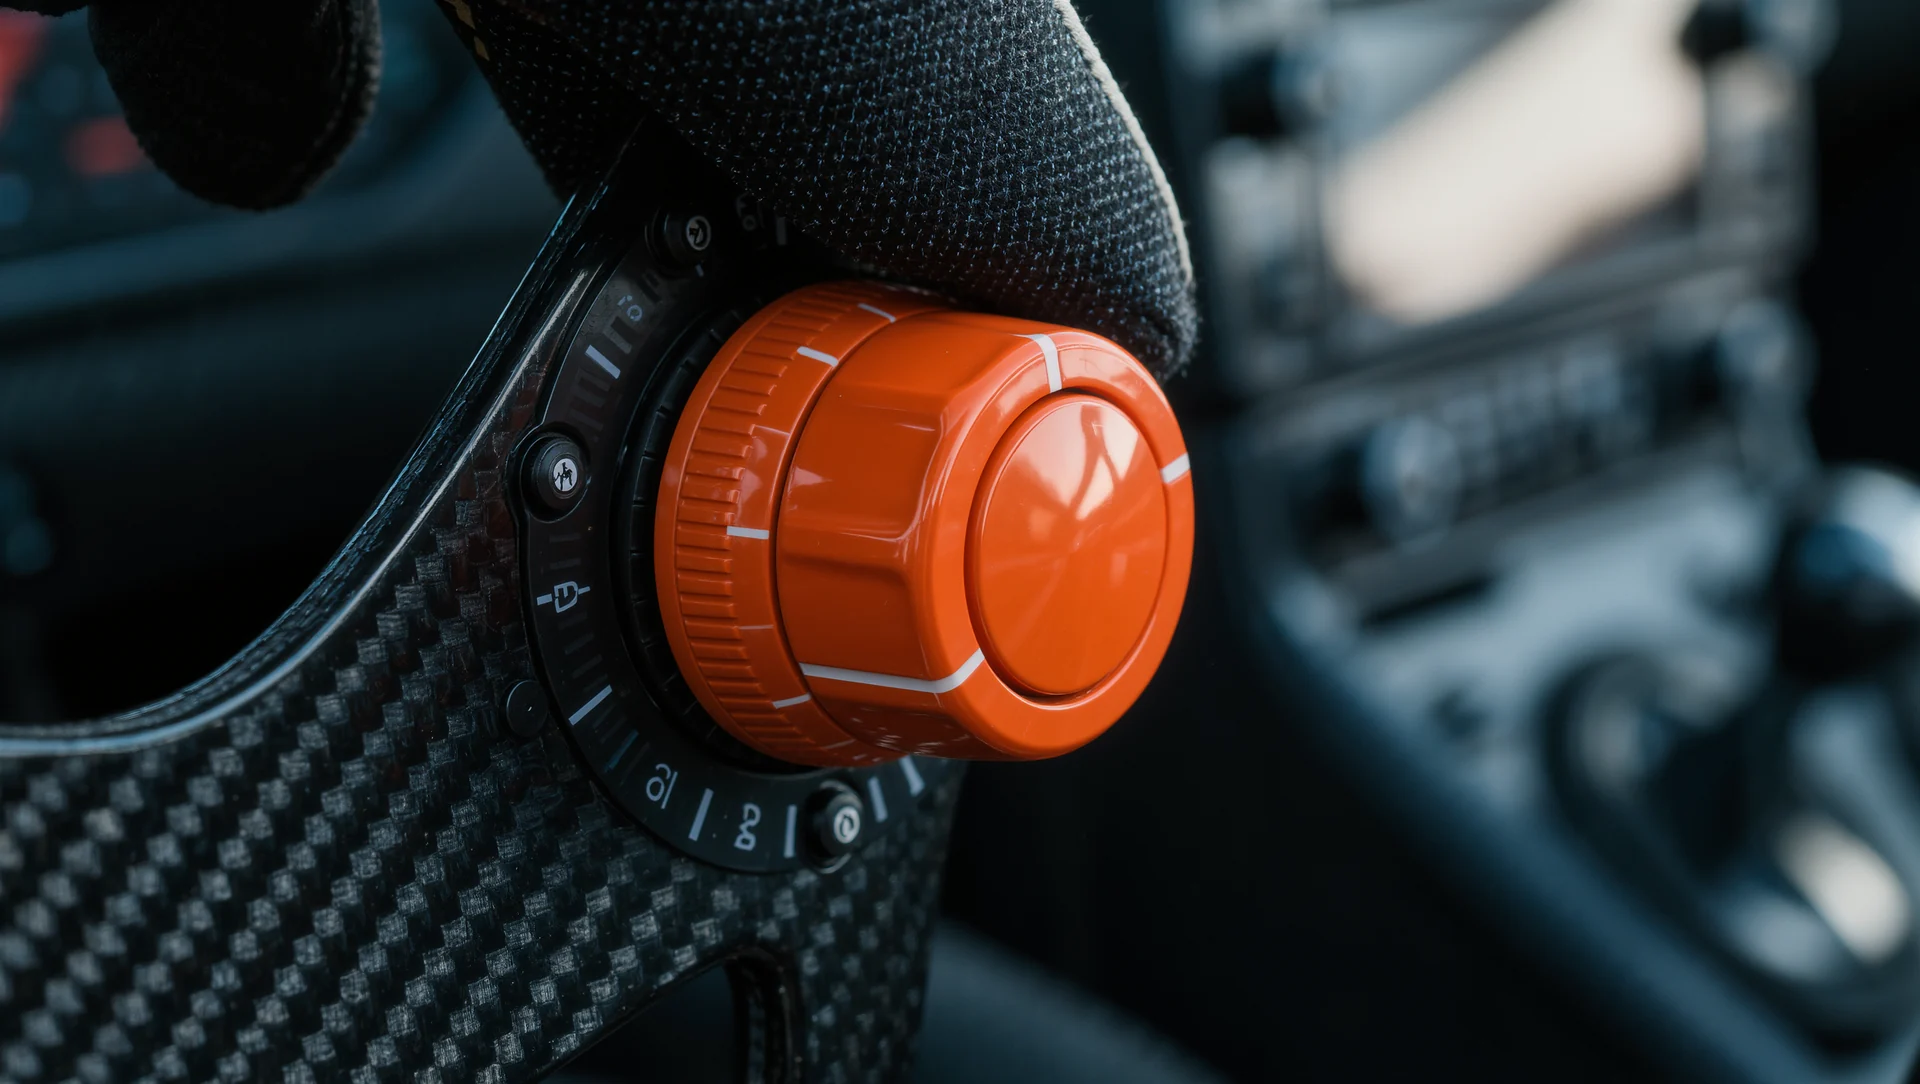
Brake bias: what moving it forward and rearward actually does, why the best drivers move it during the lap and where the dangerous end of the range is.

Reading telemetry: the four channels that matter first, what each curve shape means and how to turn a trace into a change you can test.

Comparing two setups with data instead of feel: the four measurements that settle it, how many laps you actually need and the mistake that invalidates the result.

Downloaded setups are a useful start and a terrible destination: what transfers, what does not and how to turn somebody else's file into your own.
Qualifying setup against race setup: what actually differs, how much a grid position is worth and when one setup for both is the right answer.
Joining your first league without embarrassing yourself: what to prepare, what the numbers should look like before you enter and the etiquette of a first season.
How iRacing Safety Rating works: the 0.00 to 4.99 scale, the 3.00 and 4.00 promotion thresholds, the 0.40 bumper at whole numbers and the participation minimum.
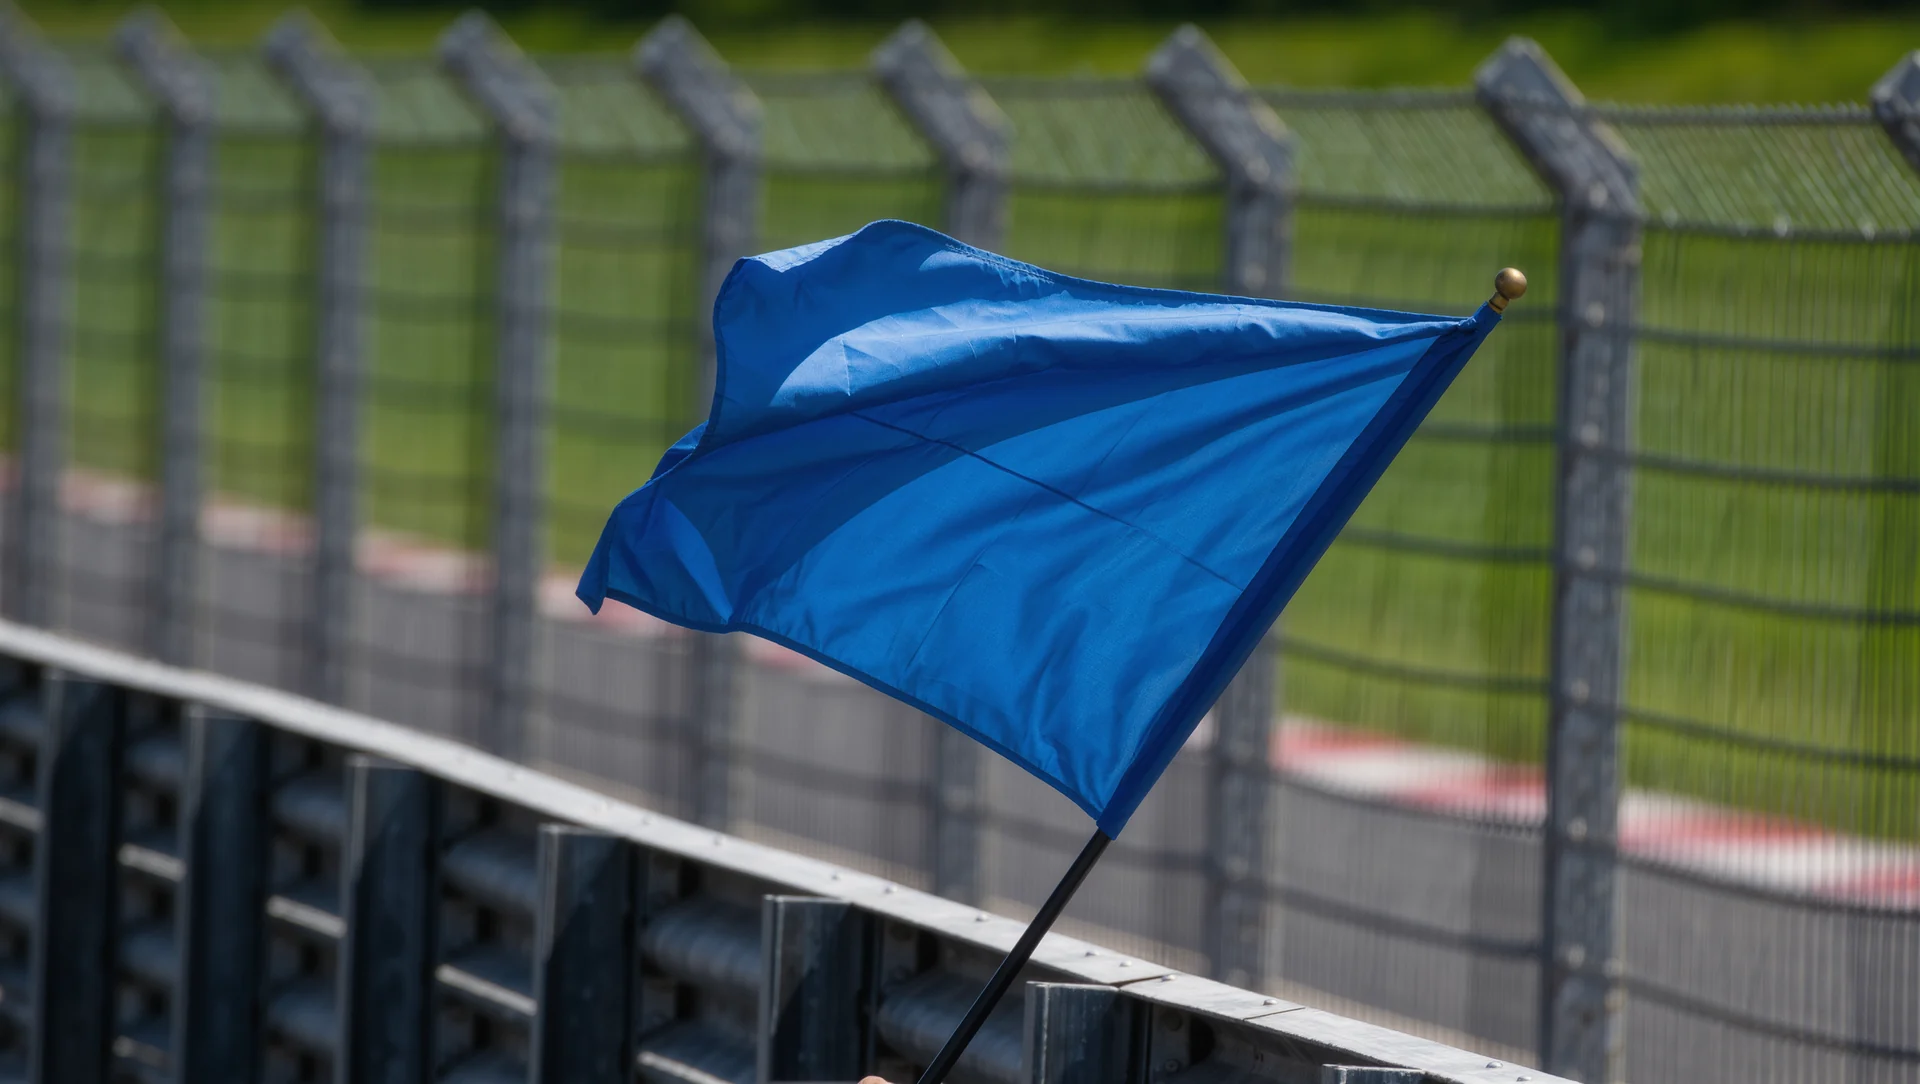
Flags and etiquette: what each flag actually means in the rulebook, what it obliges you to do and the unwritten rules that come with them.
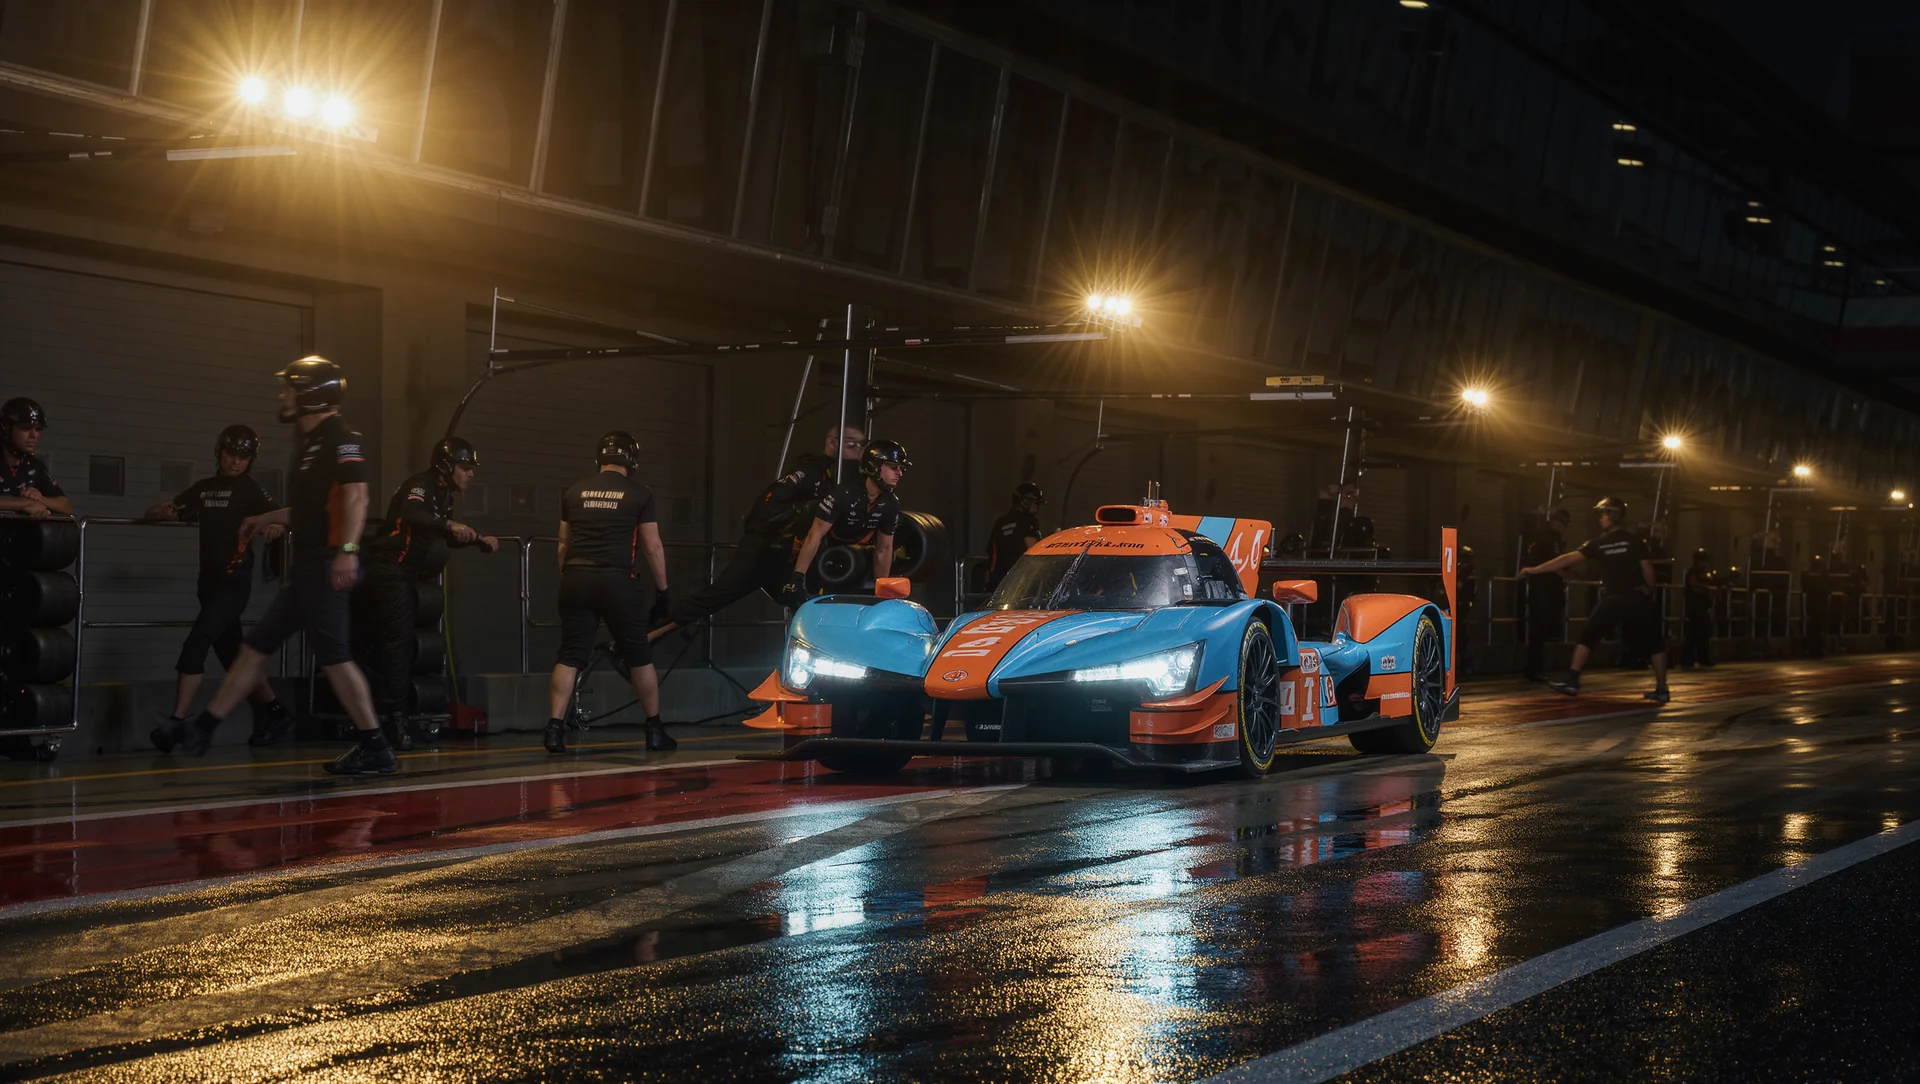
Driver swaps: the rule that disqualifies teams, the arithmetic behind a fair share and the choreography that loses or wins hours.
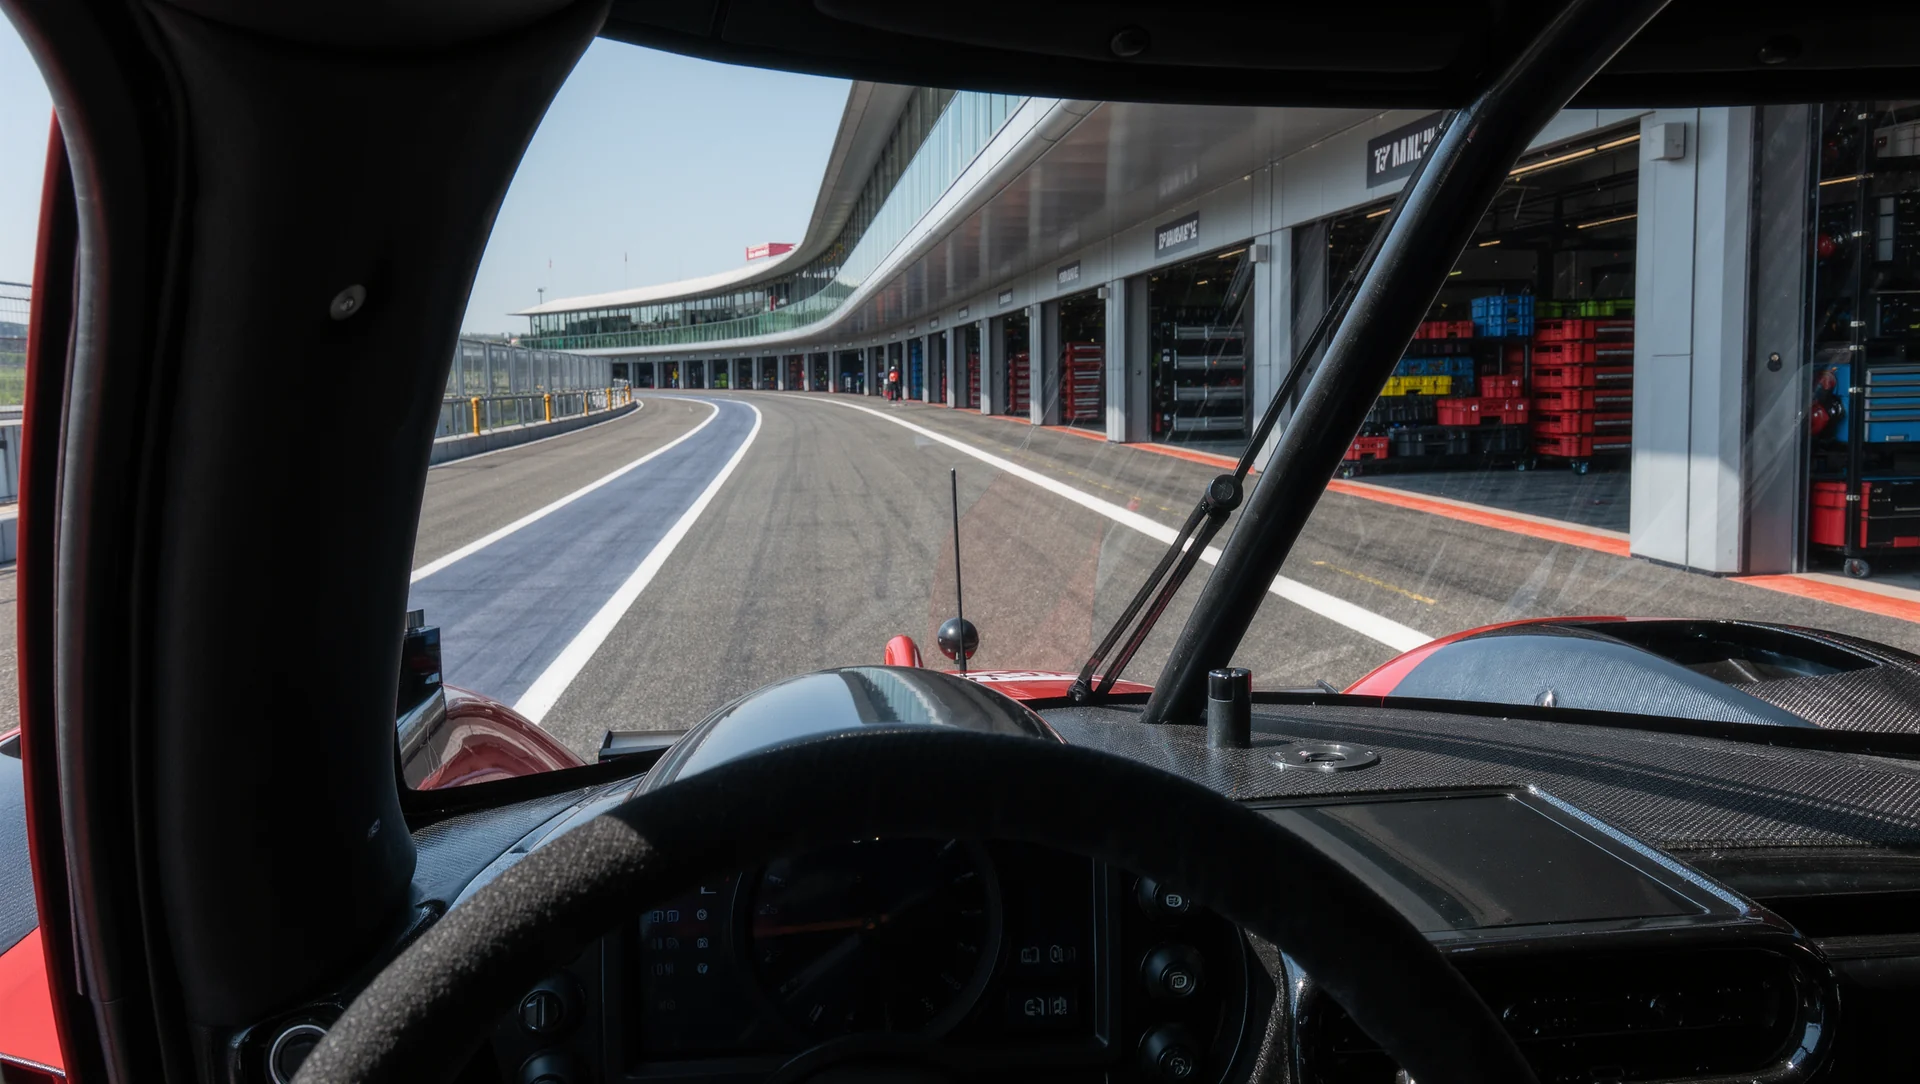
Pit strategy: undercut, overcut and the safety car, with the arithmetic that decides each one and the published rules that limit your options.

Founding a team: the roles that actually matter, the rules that bind a team and the first season planned so it survives to the second.

What sim racing actually pays: the published prize pools, what they look like divided by the field and why prize money is not an income.
How a protest is judged, step by step: who may file, what evidence is required, the deadlines and what happens when a protest is found frivolous.
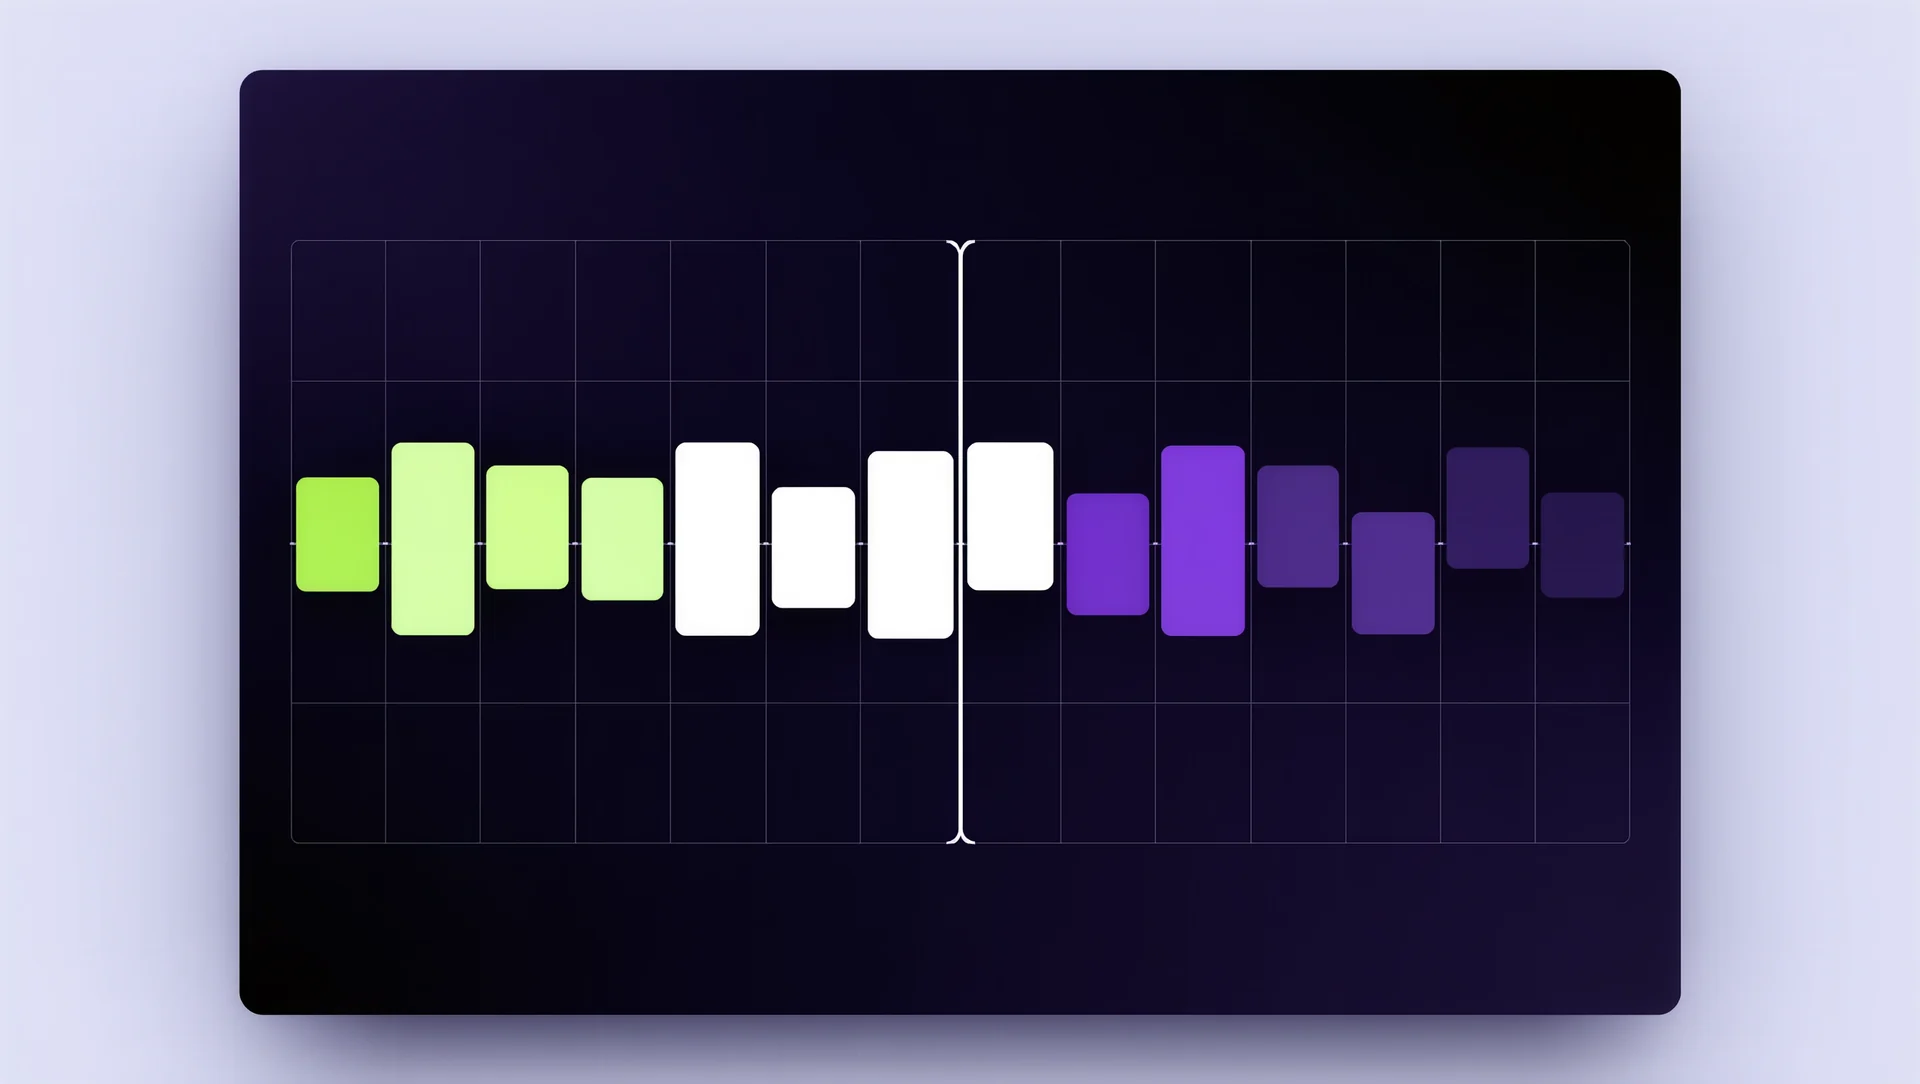
The tools a league actually needs: what has to be tracked, what a spreadsheet still does better than an application and where automation earns its keep.

Streaming your races without wrecking them: the encoder numbers that matter, the headroom the simulator needs and the setup that survives a full race distance.
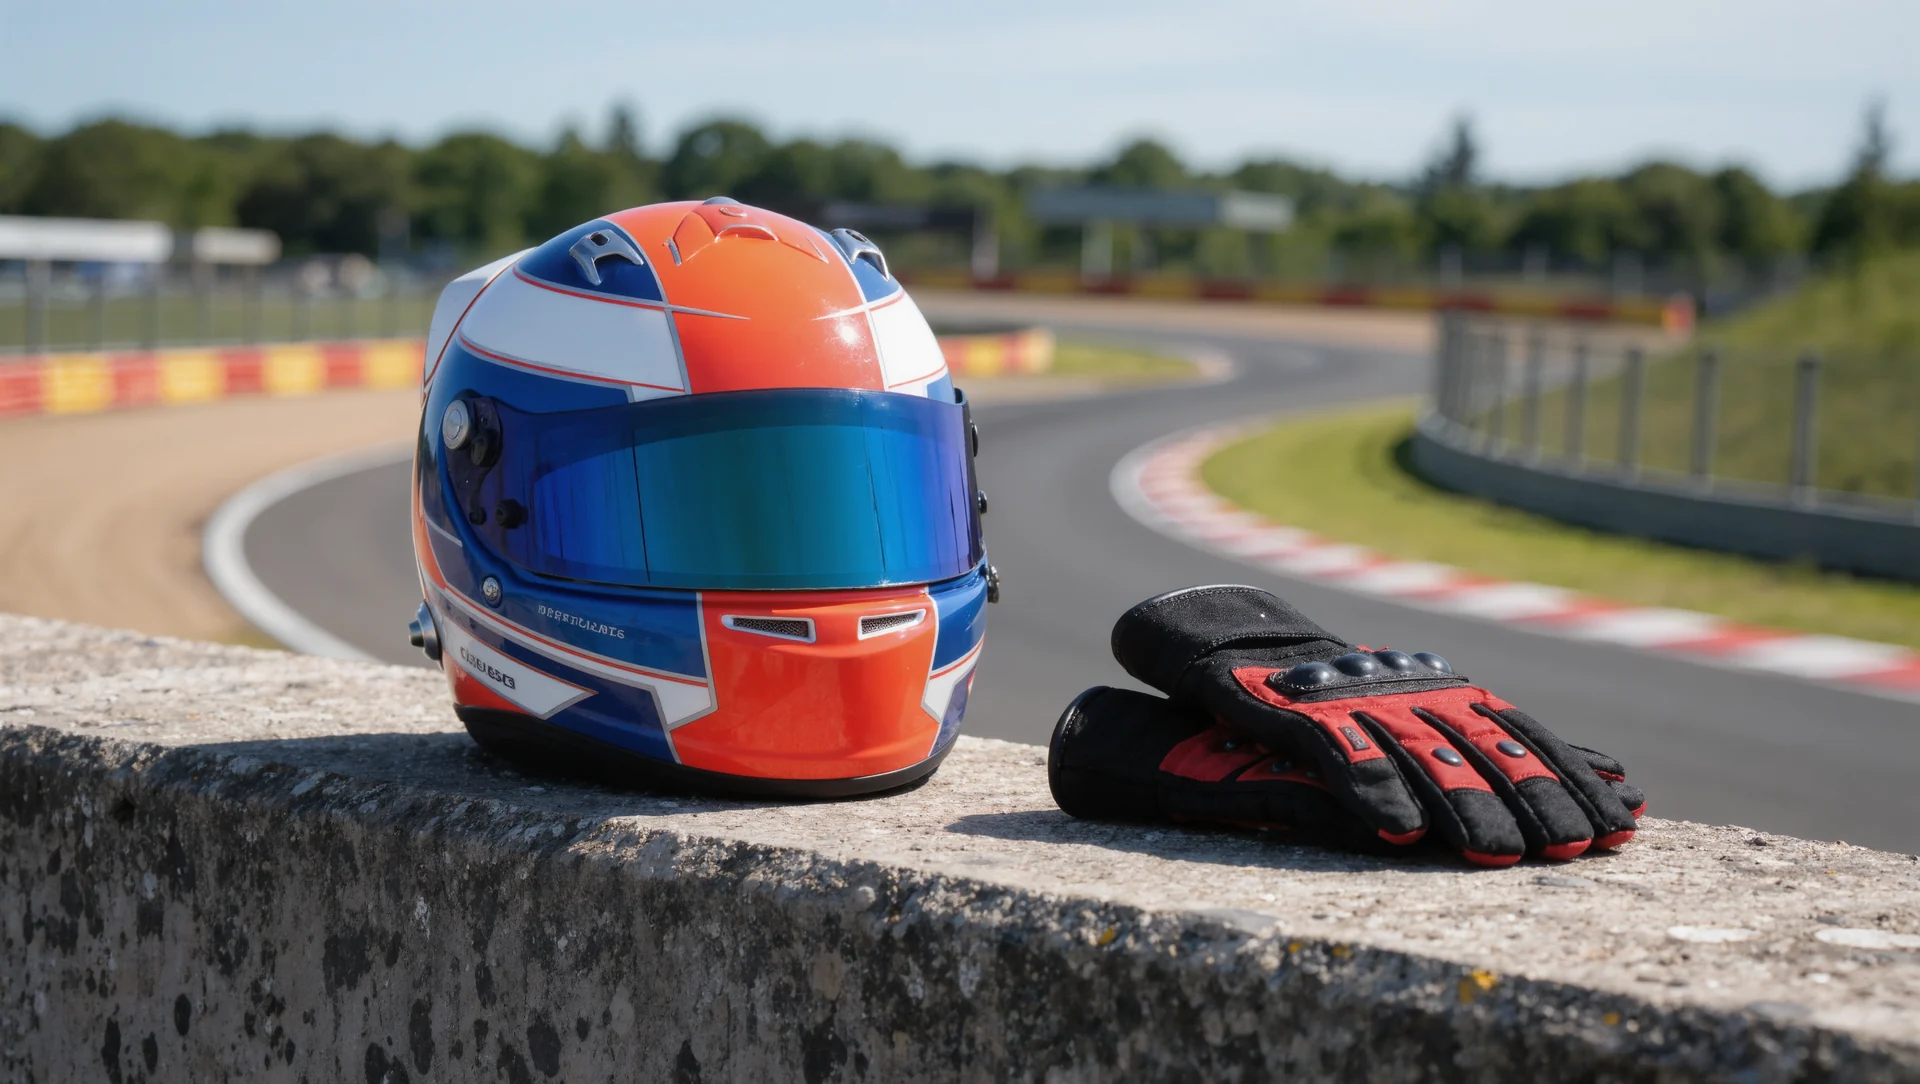
What transfers from the simulator to a real car, what does not, and the licence steps that stand between a fast sim driver and a race entry.
The mental side of sim racing measured rather than described: sleep, attention budgets, the routine before a race and what to do after a bad one.
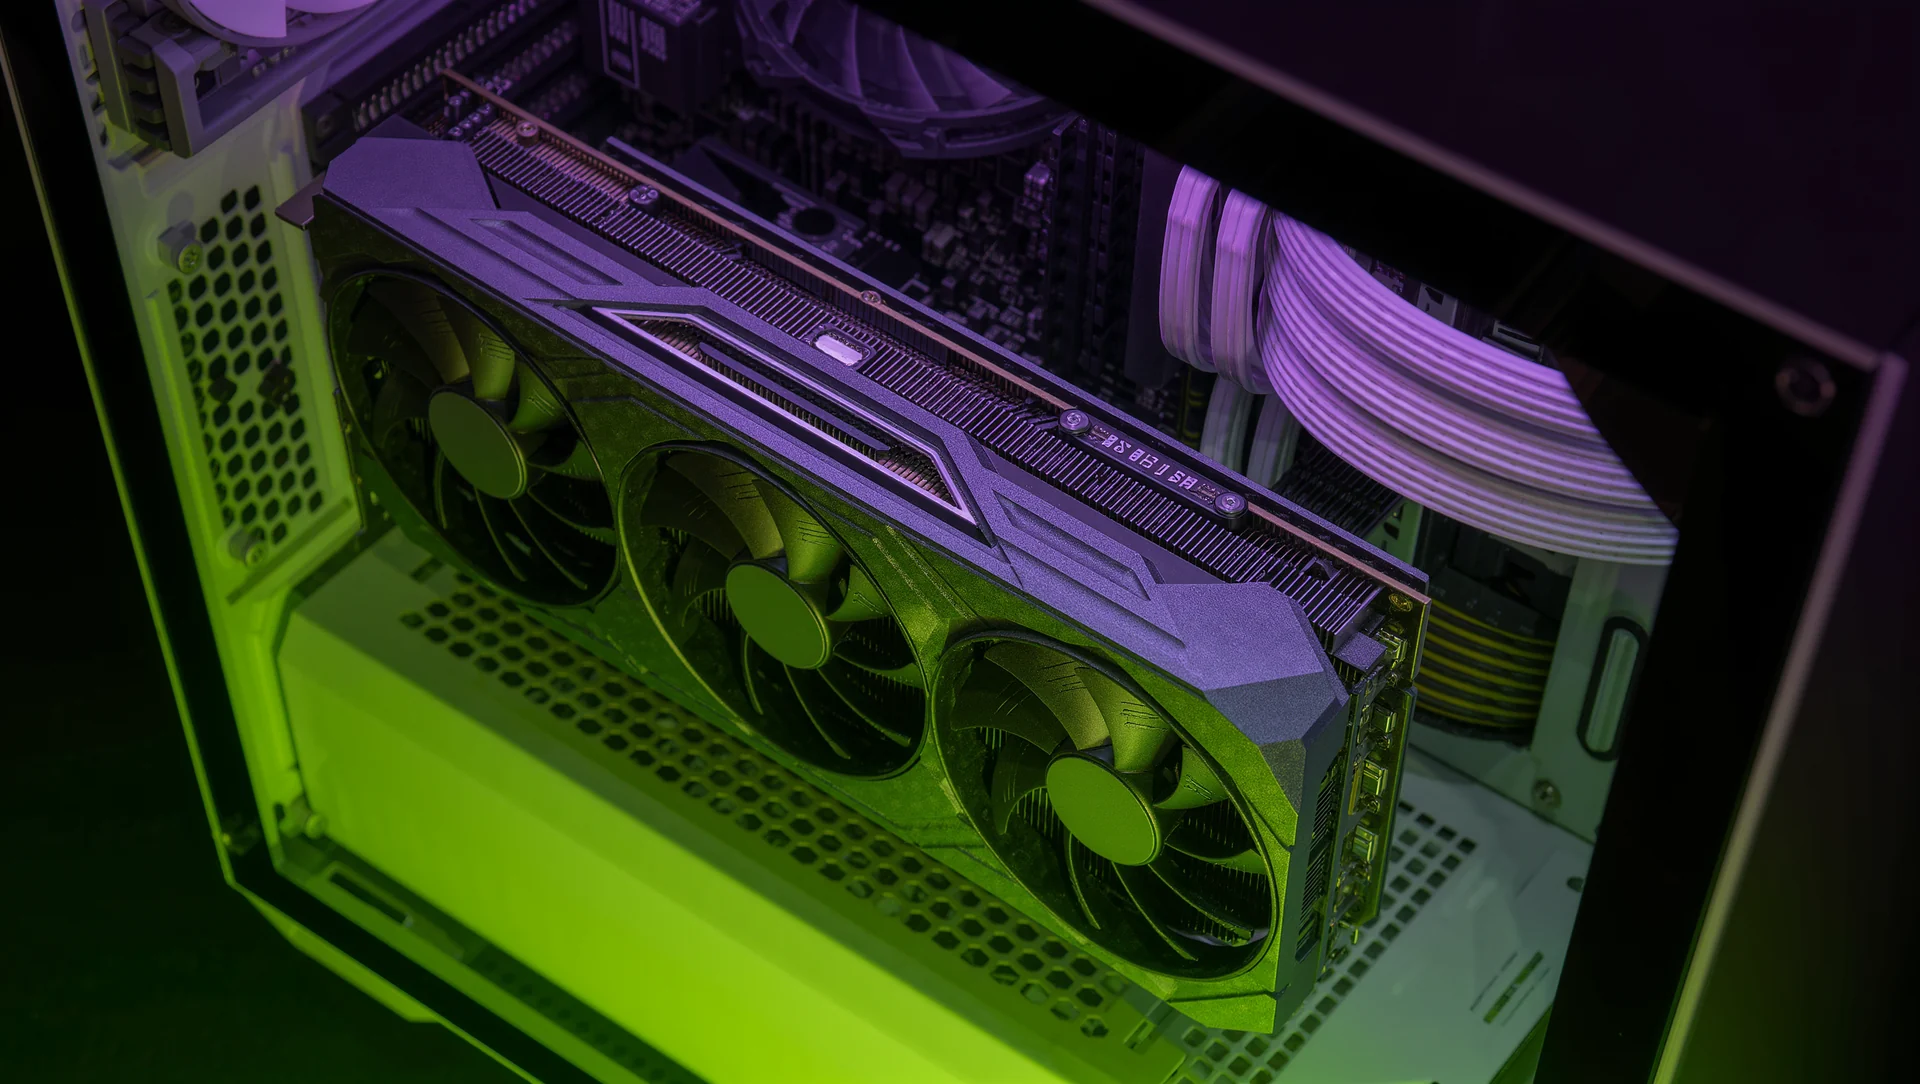
The sim racing PC: where the money actually belongs, what the published requirements ask for and the component most drivers overspend on.
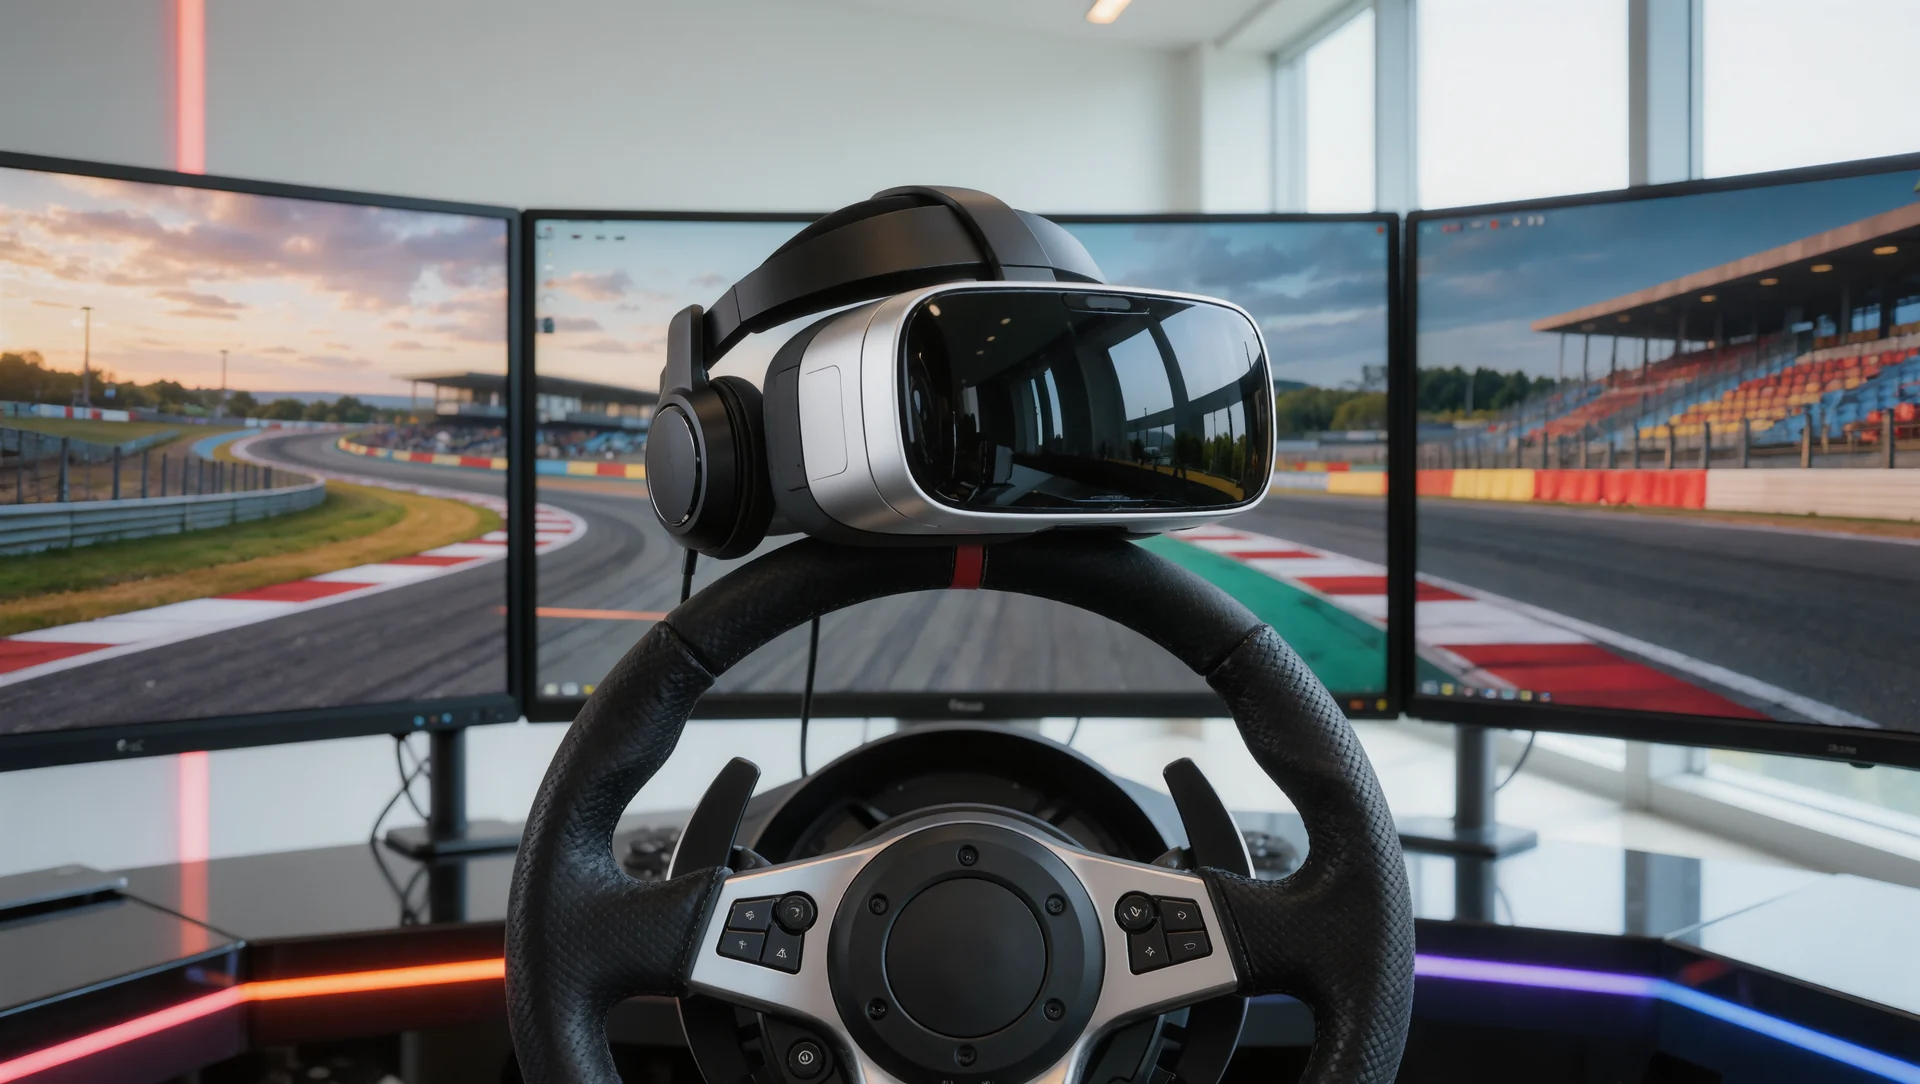
VR or triple screens: the honest comparison, what the published resolutions and system requirements mean and which one suits which kind of racing.
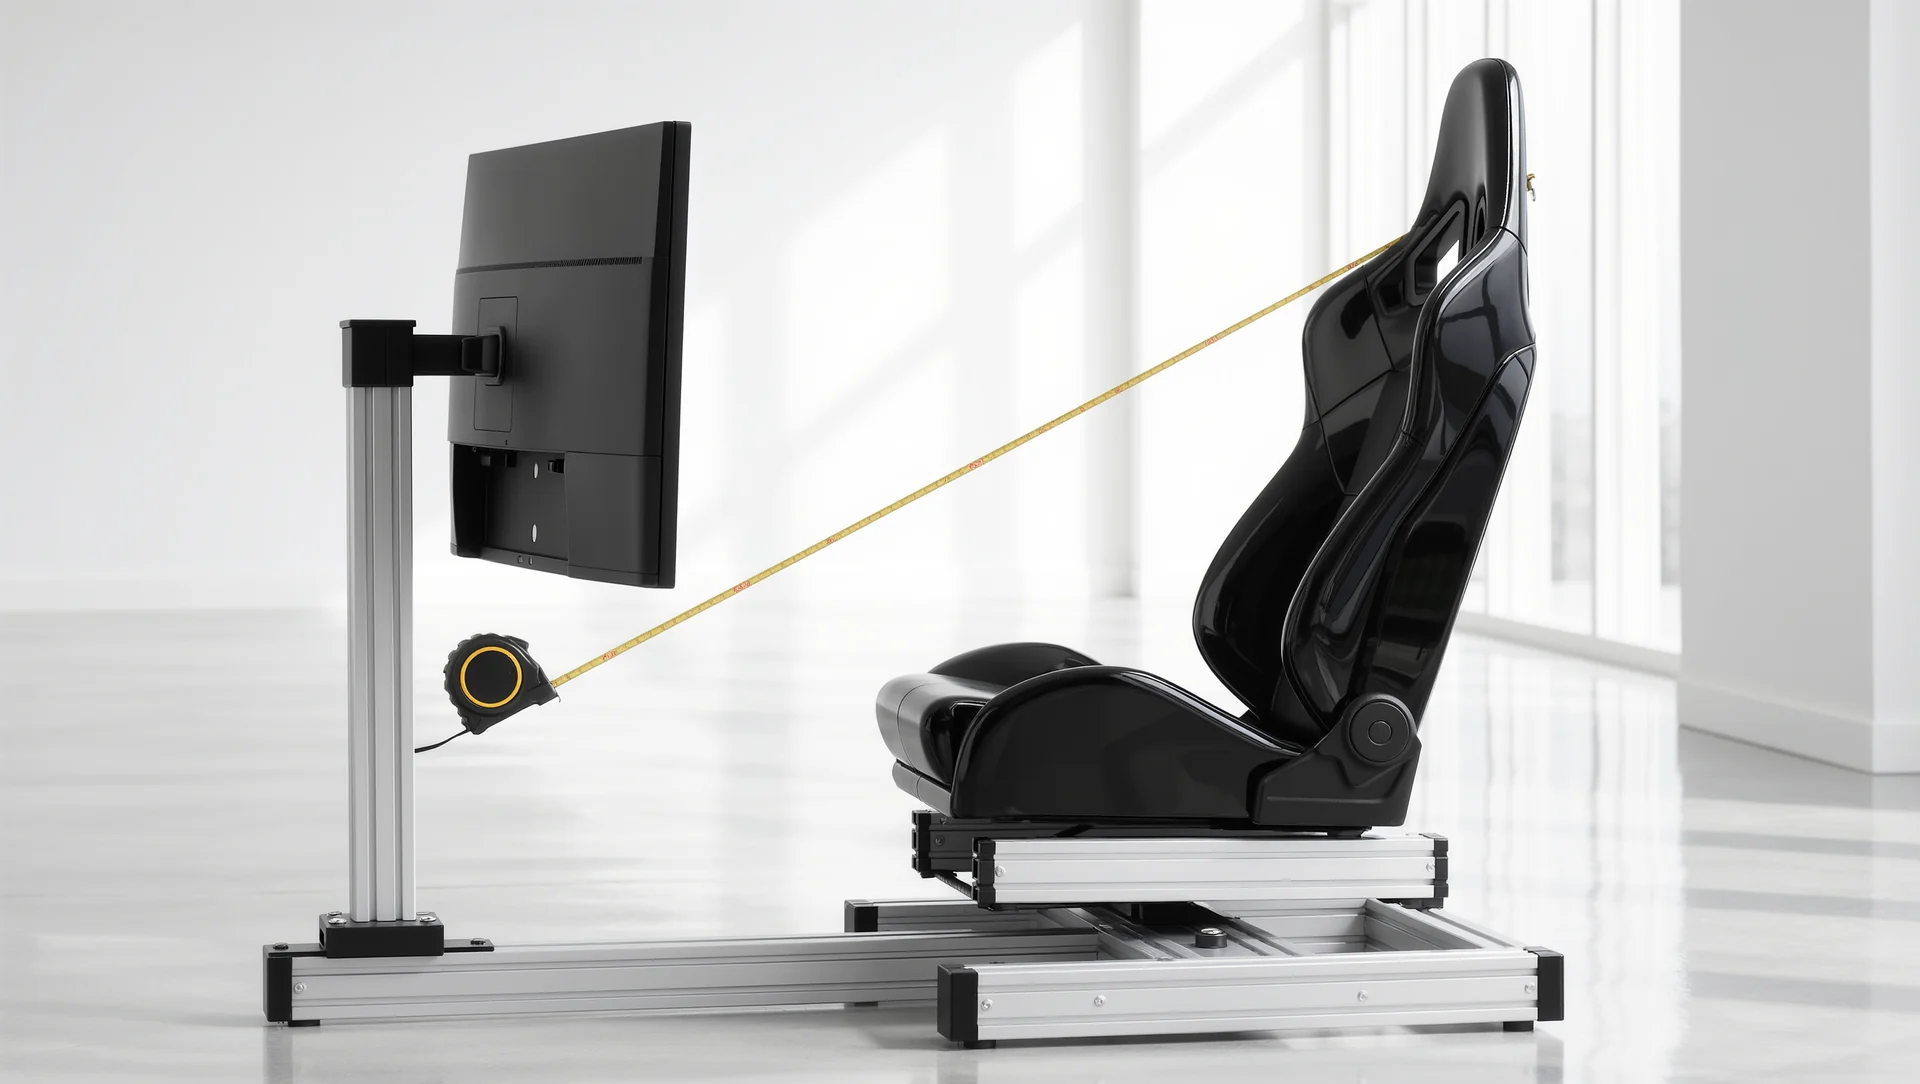
Field of view is a calculation, not a preference: the formula, what a wrong setting costs you and why the correct number always feels too narrow at first.

Refresh rate and latency: where the milliseconds actually hide, which ones you can remove and which published thresholds tell you where the problem is.
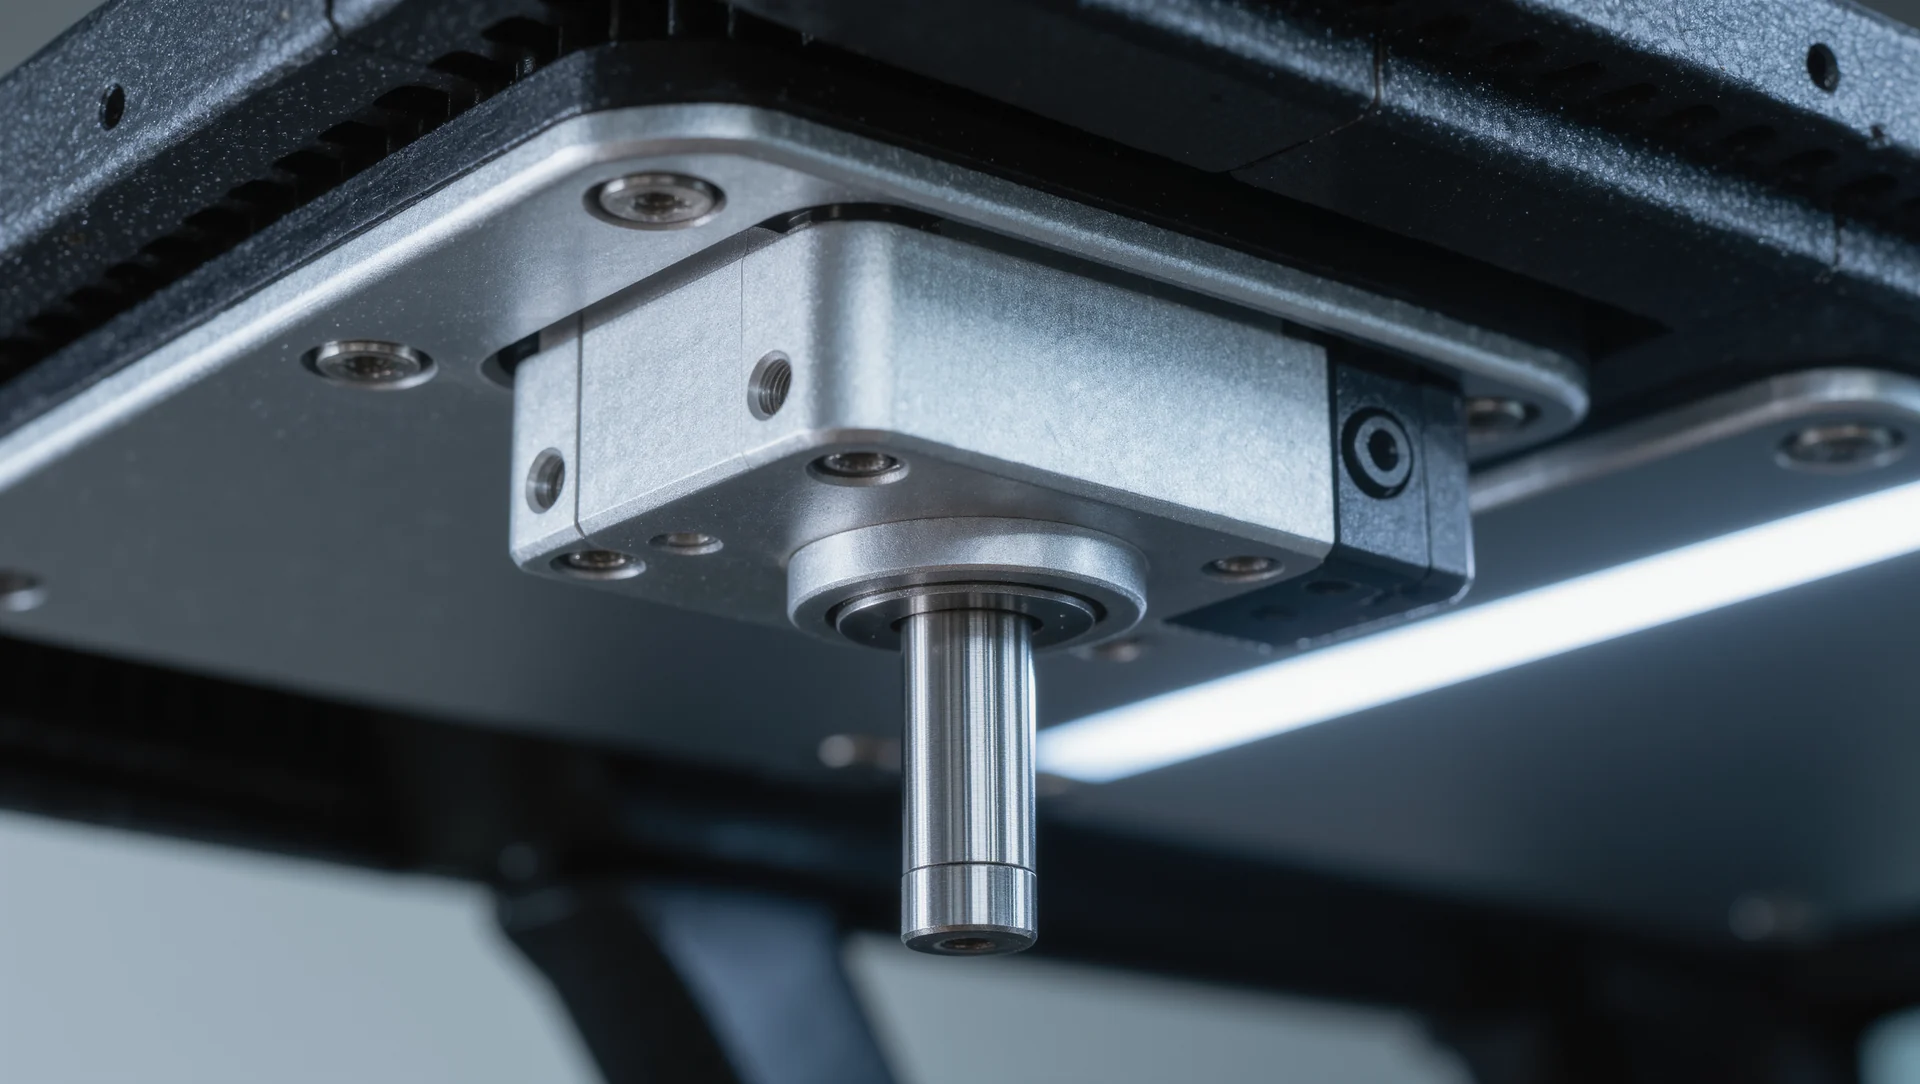
Motion platforms explained honestly: what each degree of freedom adds, where the threshold of usefulness sits and what the published travel figures mean.

Simulator sickness: the causes you can actually remove, in the order that removes the most, and the ones that are a hardware limit rather than a settings problem.

Audio is the cheapest lap time in sim racing: which sounds carry information, what to set and why headphones beat most hardware upgrades for the same money.
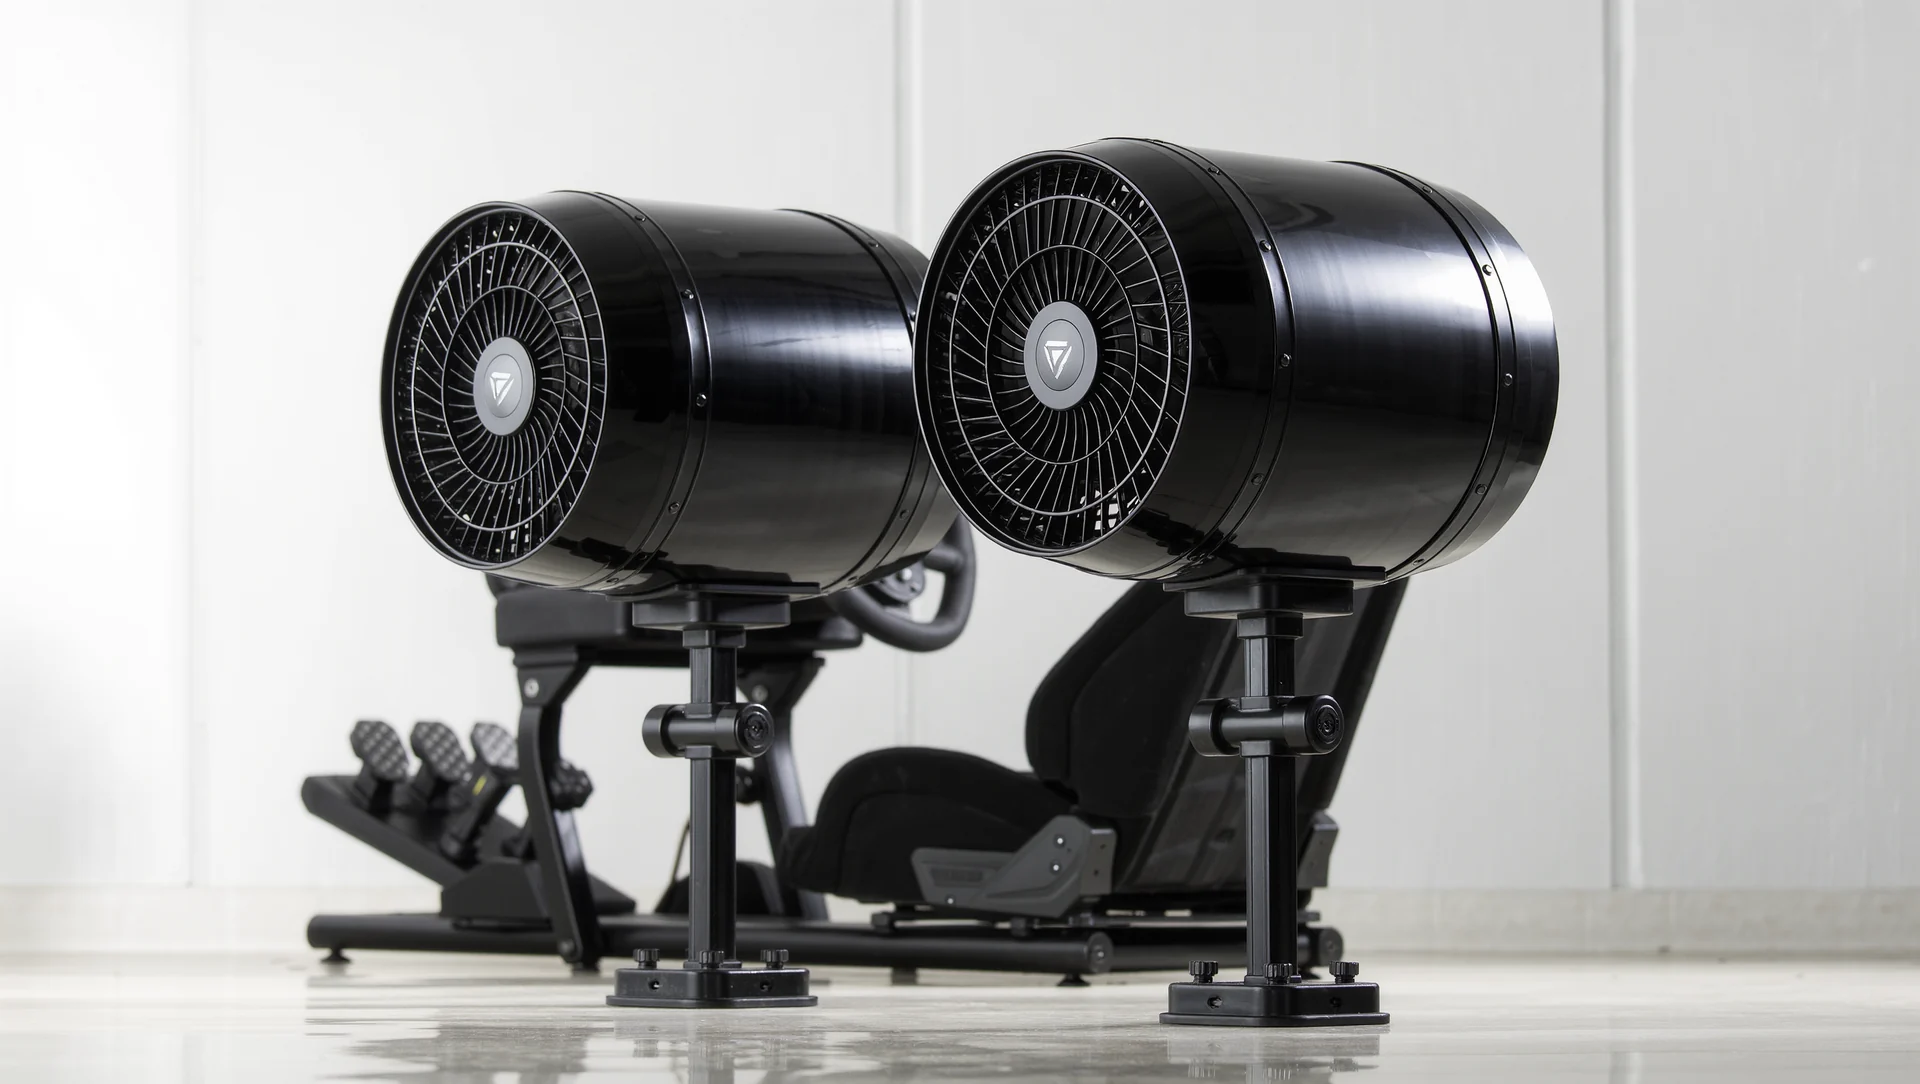
Wind simulators: gimmick or genuine speed cue, what the airflow figures mean and the one physiological reason they work better than they should.
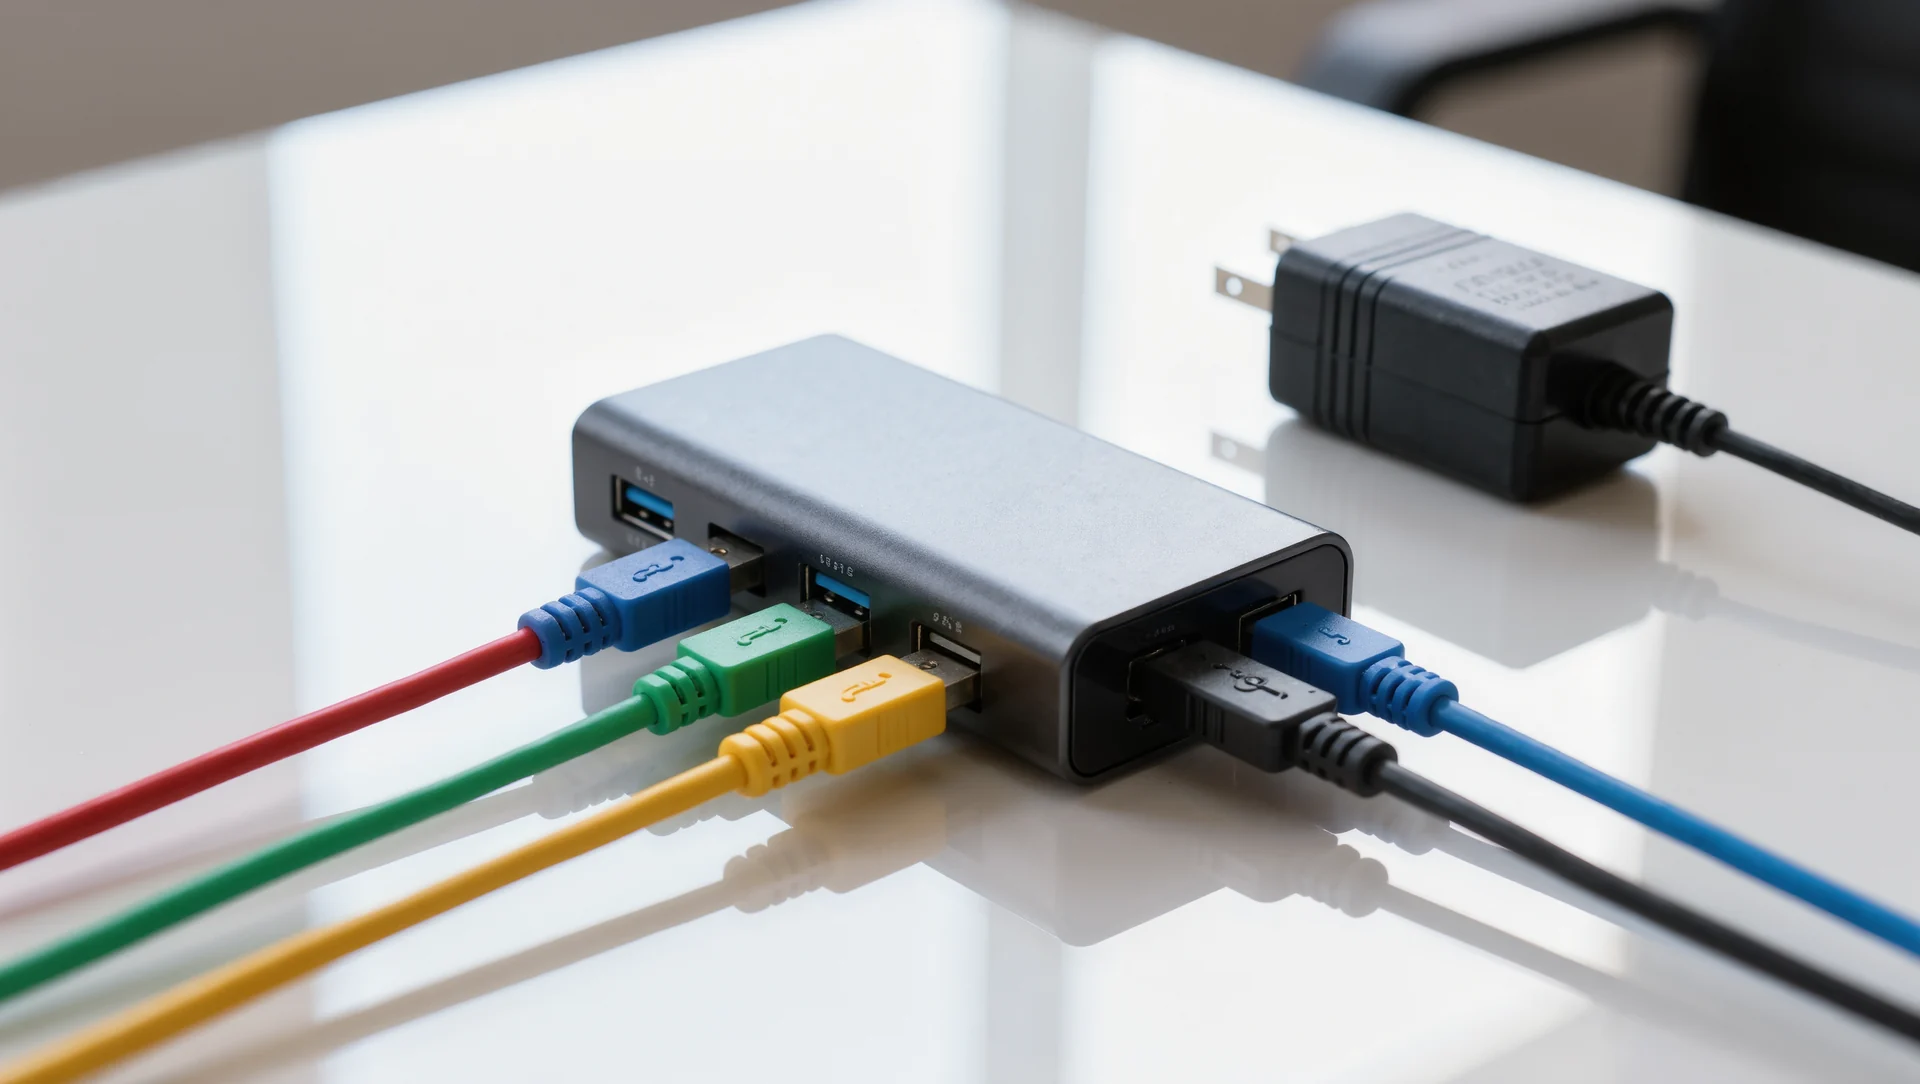
USB power is the invisible cause of random disconnects: the published current budgets, why a hub fixes it and how to diagnose it in ten minutes.
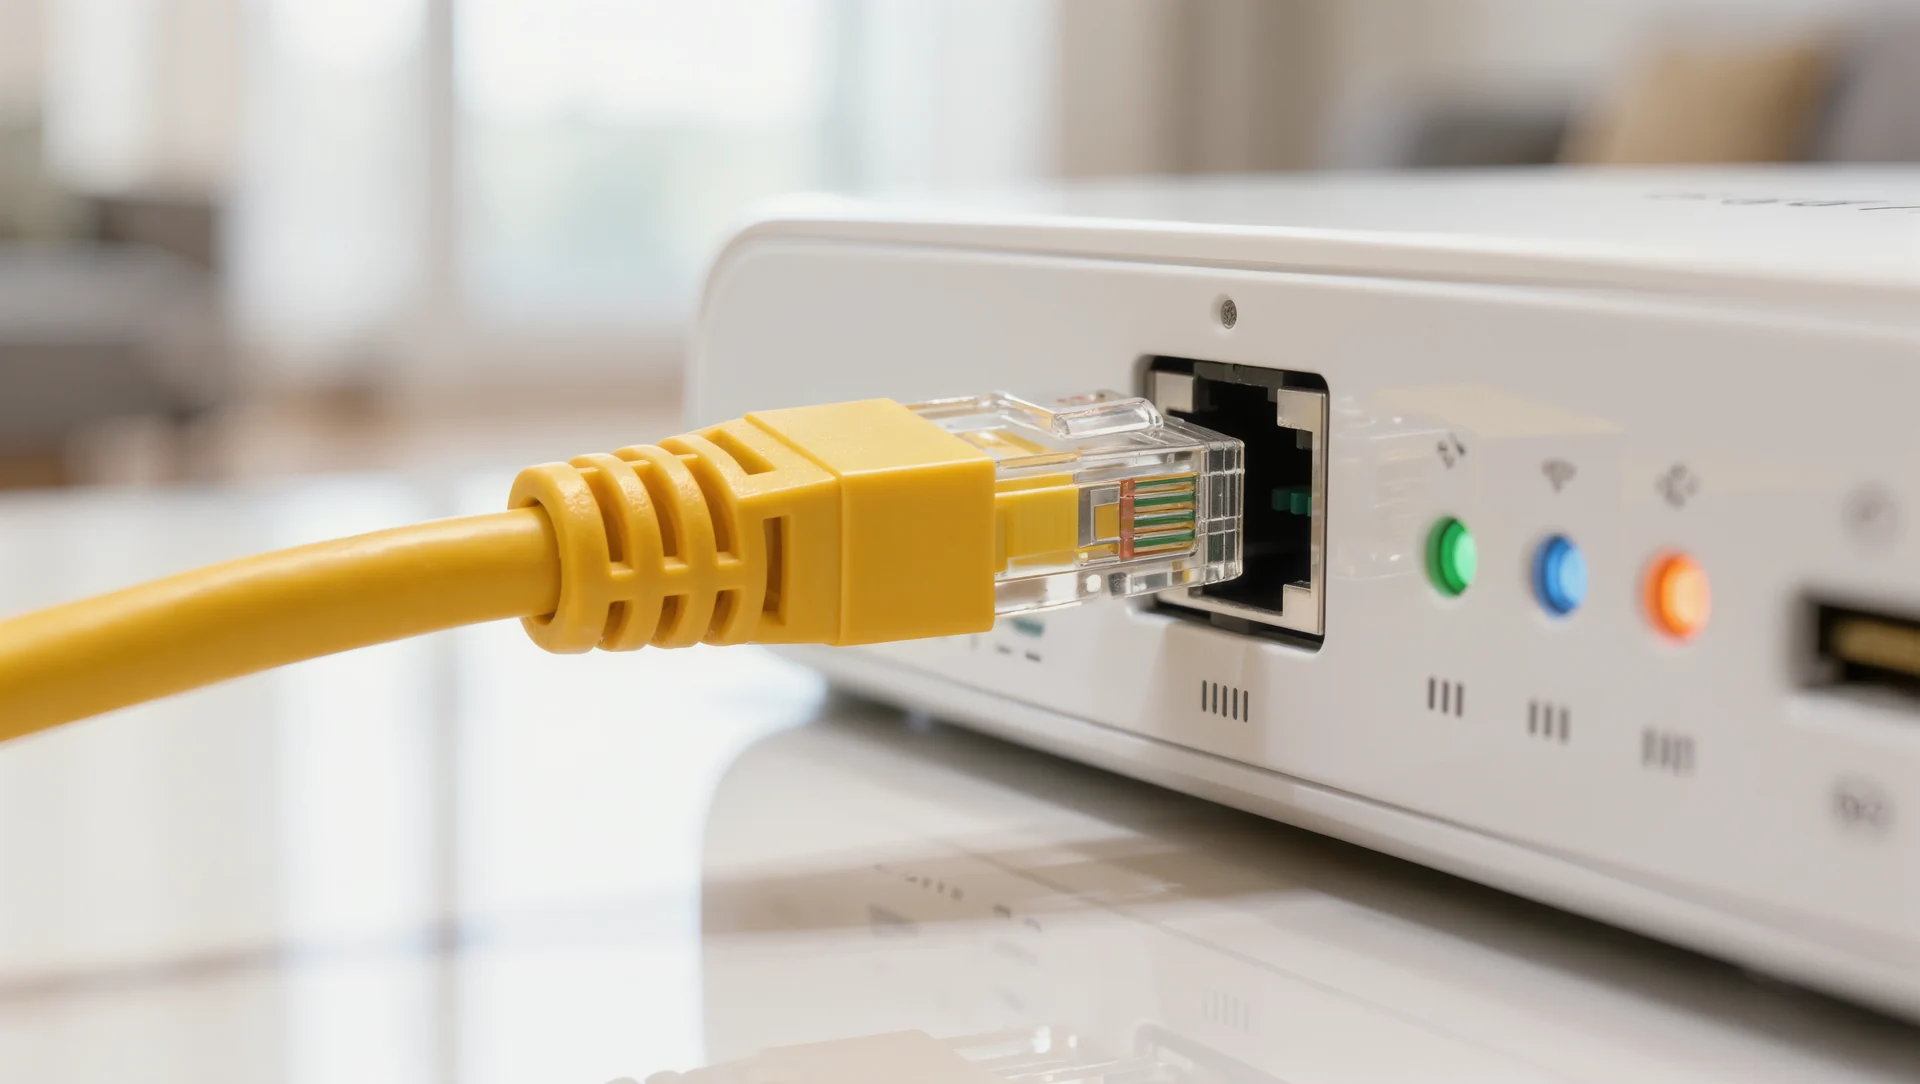
Network latency and what actually causes the warping: the published thresholds, why packet loss is worse than ping and the fixes in order of effect.
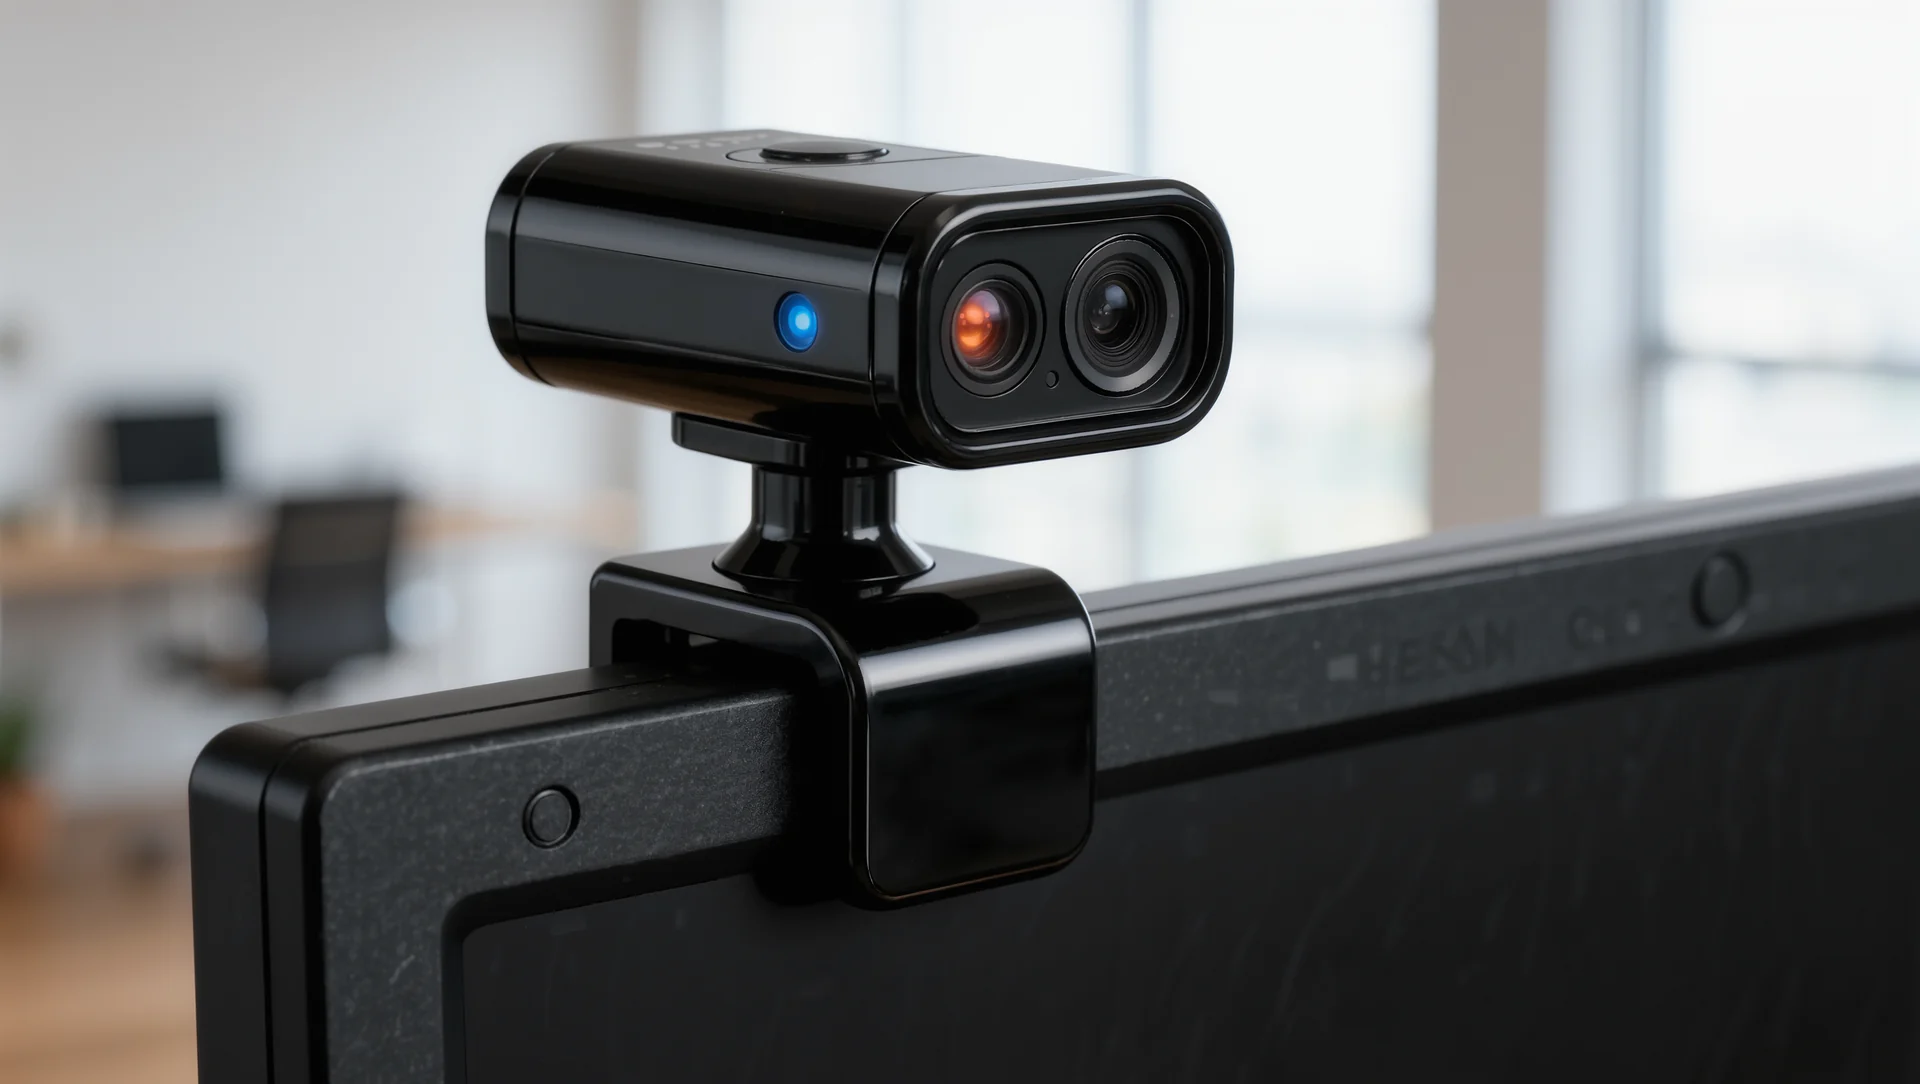
Head tracking and eye tracking on a flat screen: what each one actually does, the published latency and degrees of freedom, and which problem they solve.
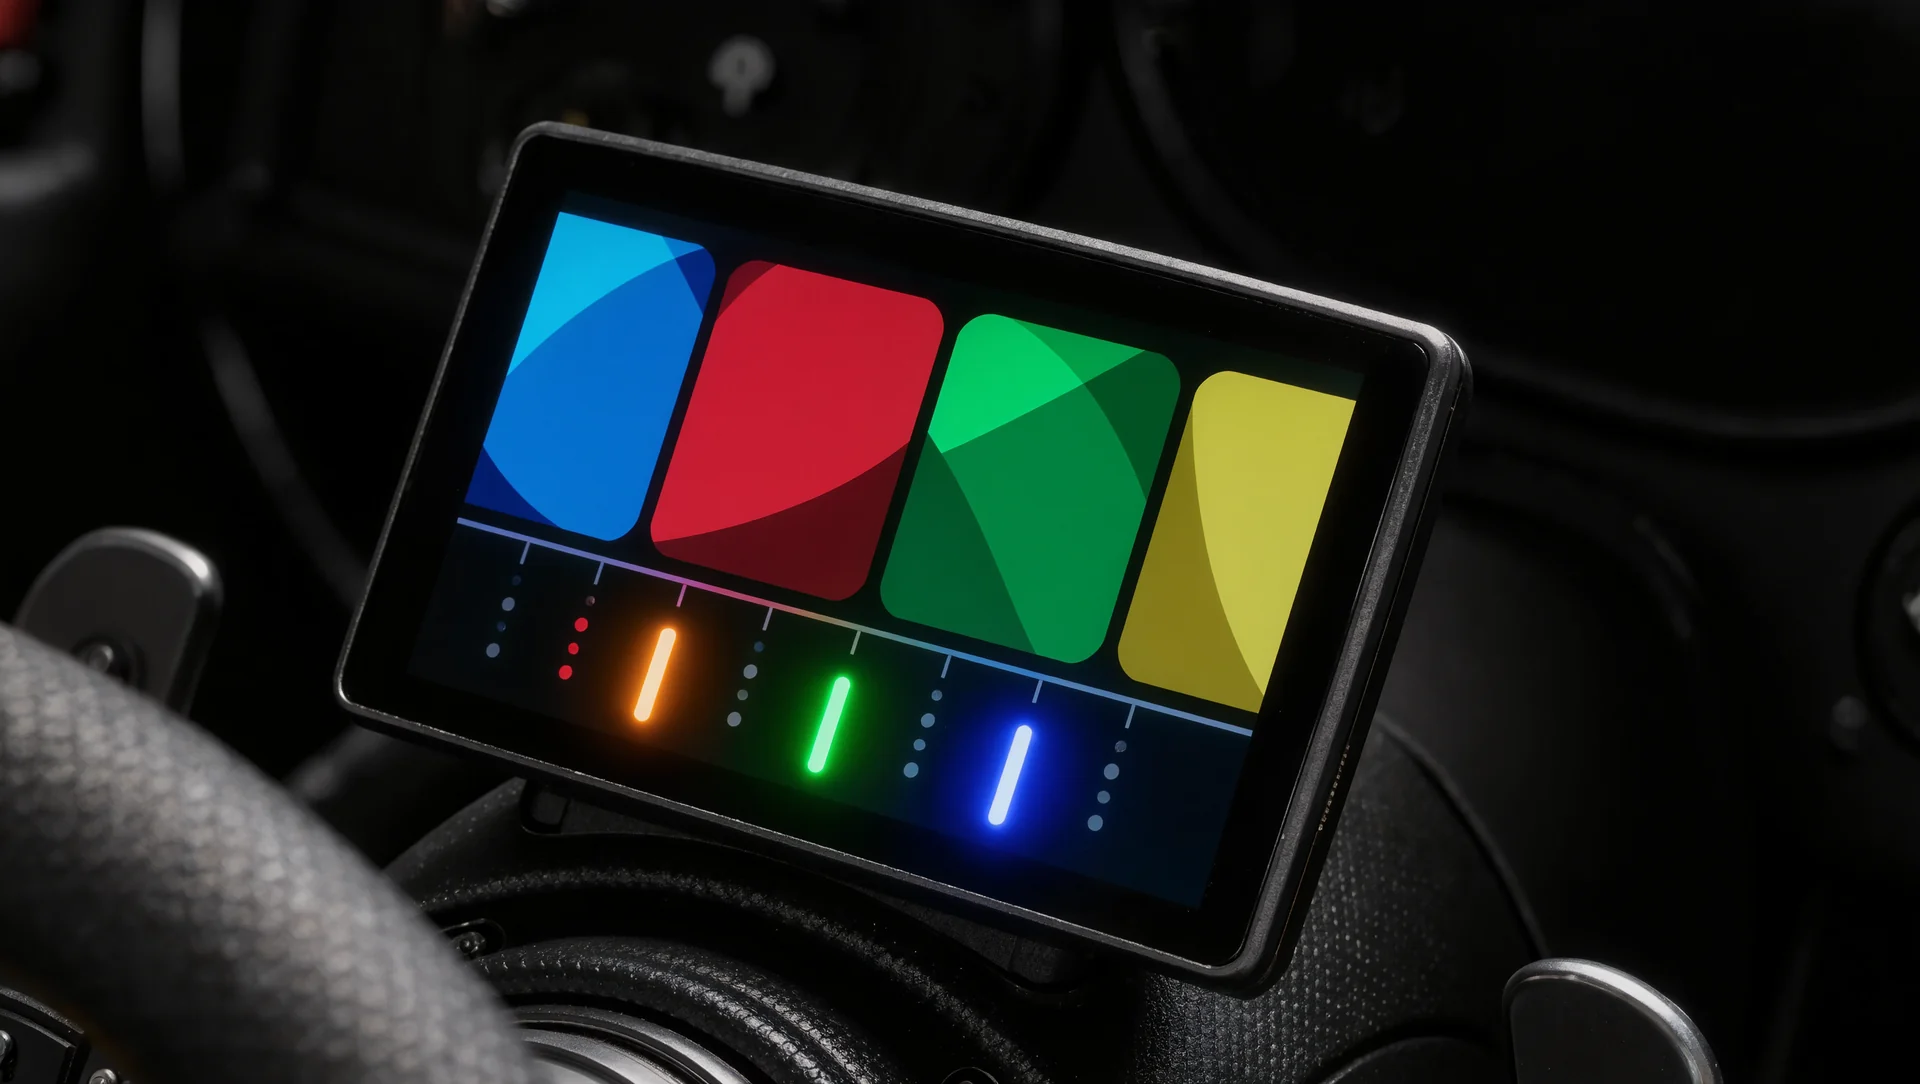
Dashboards and telemetry overlays without the clutter: what the software does, which four readouts earn their place and where an overlay costs more than it gives.

Opening a sim racing centre: the throughput arithmetic, the electrical and space requirements and the costs that only appear after the first month.
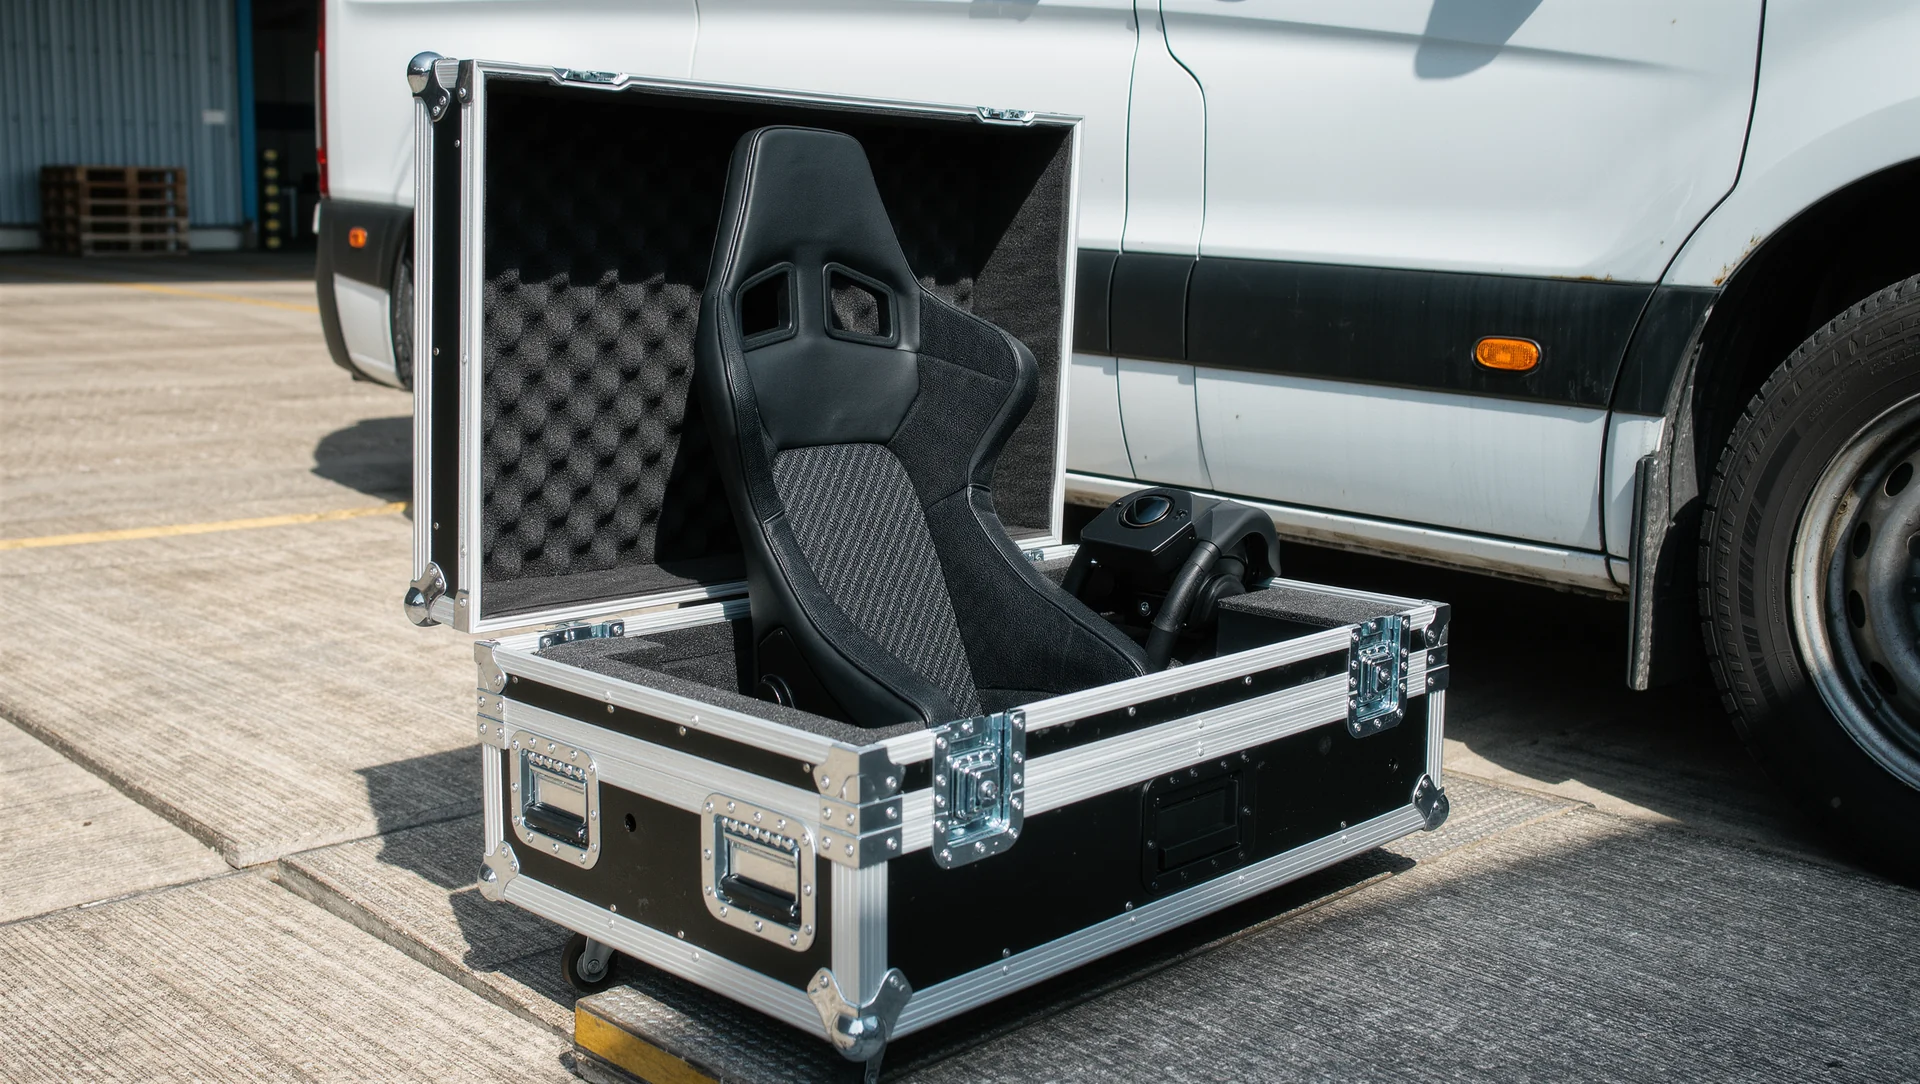
Renting simulators out: what a load actually weighs, how long a build really takes, how to price it and who pays when something breaks.
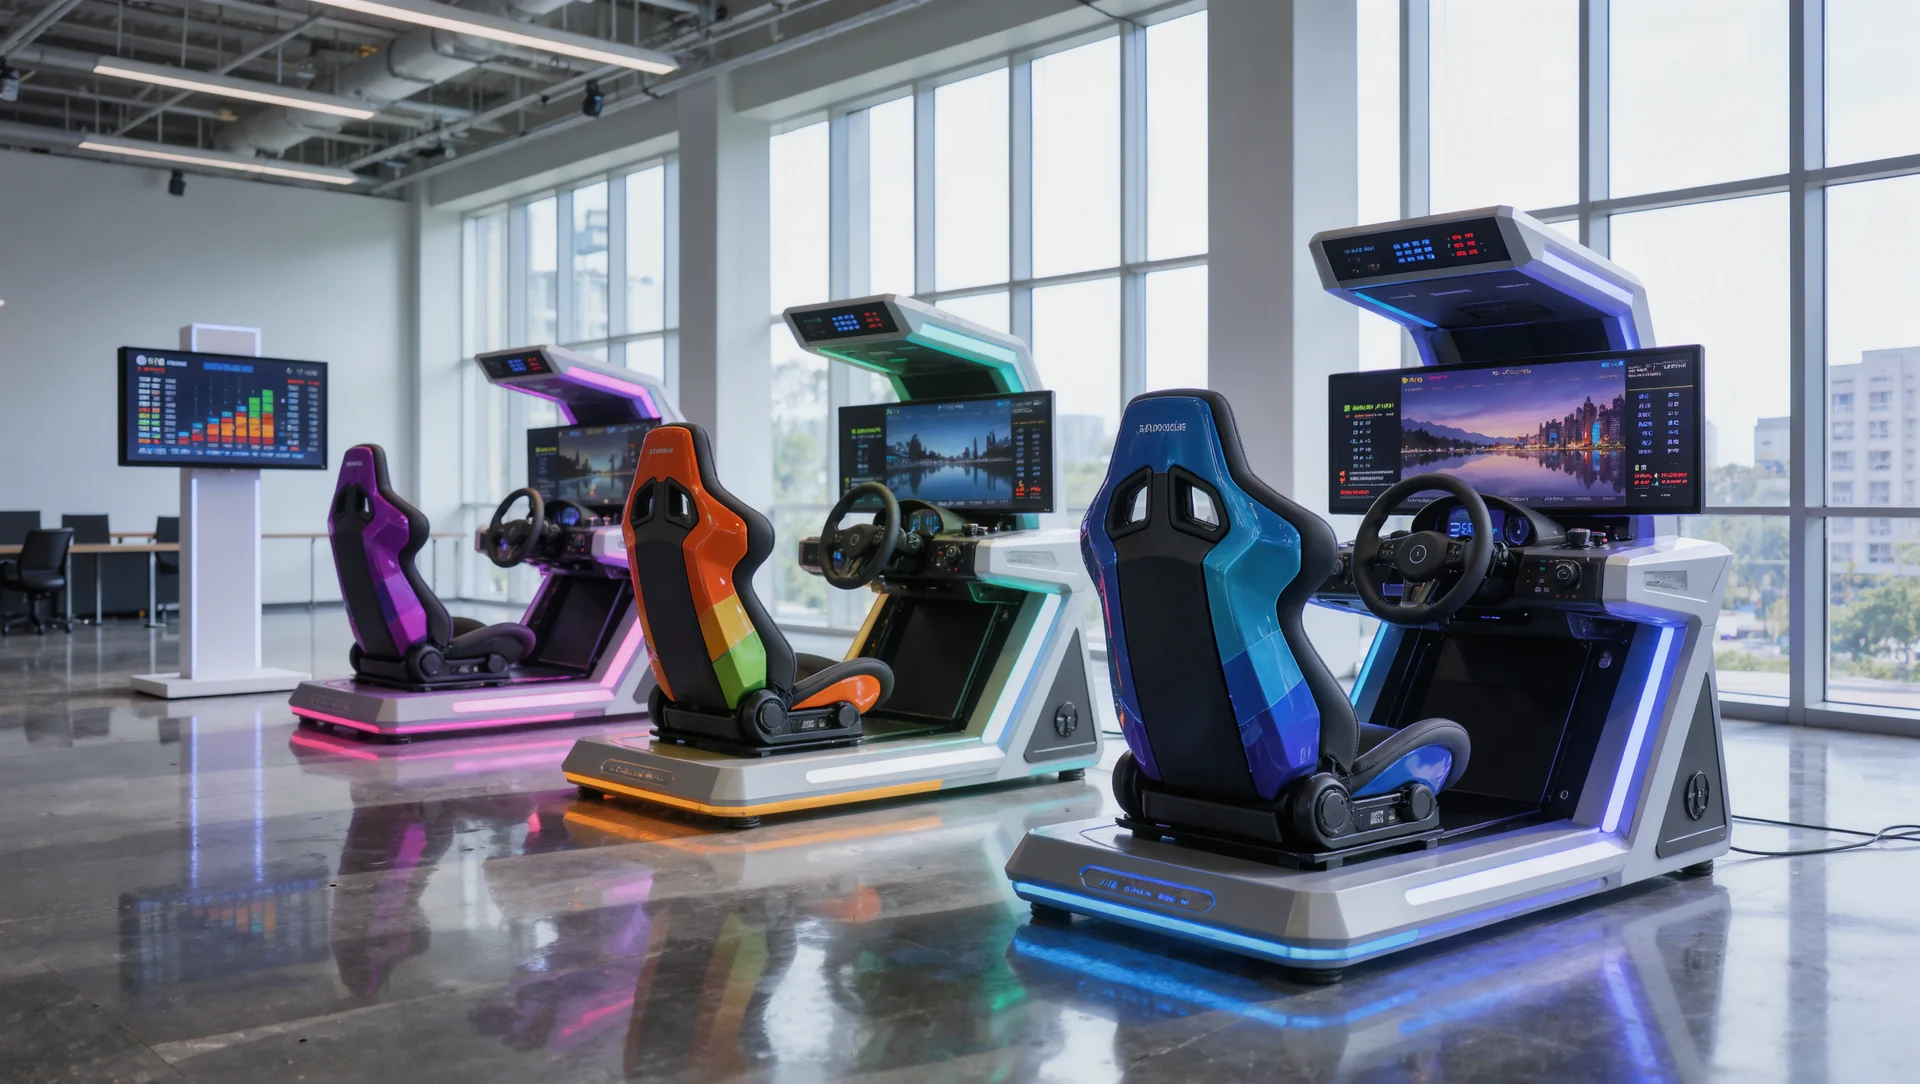
Corporate simulator events that are not just a queue: the rotation arithmetic, the formats that include everybody and the mistakes that empty the room by hour two.
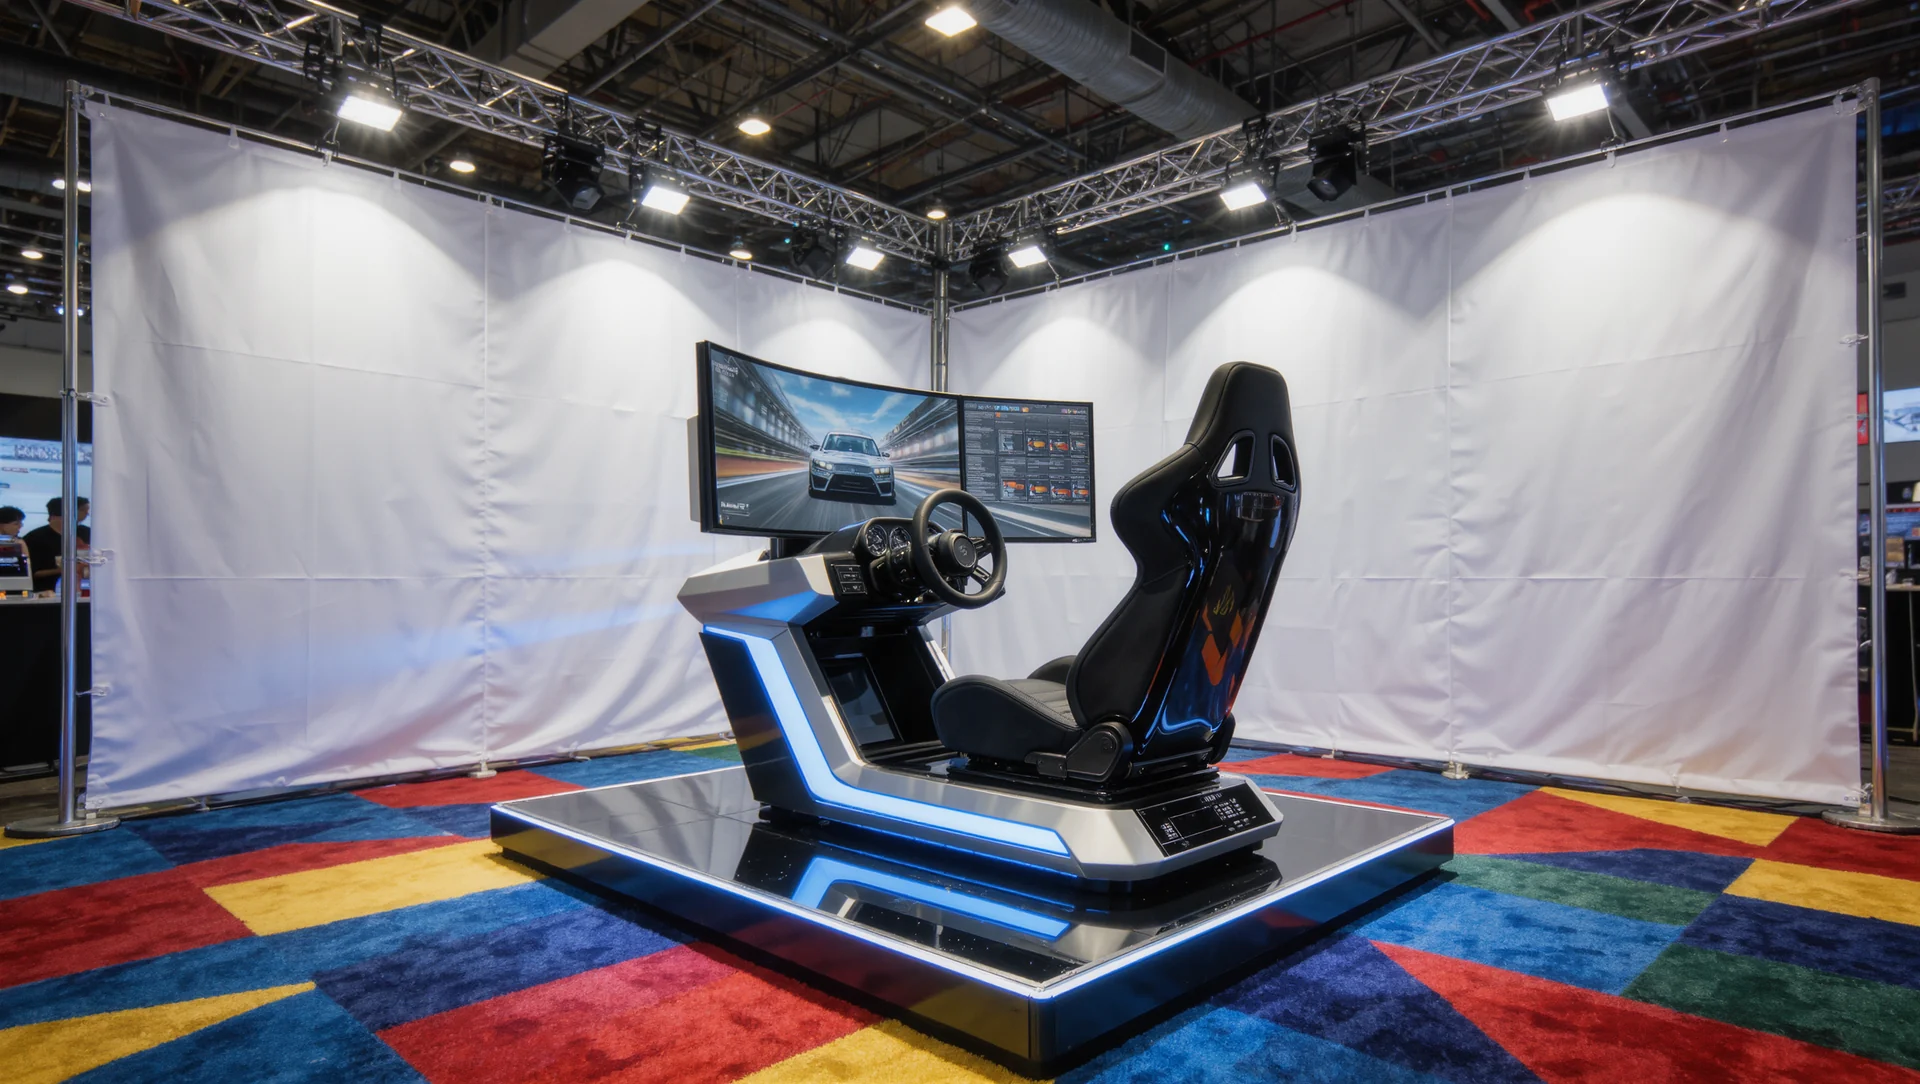
A simulator on a trade show stand: what it does to dwell time, how many contacts it can realistically produce and how to stop it becoming an arcade.
Sponsoring a sim racing team: the audience numbers a flagship series actually delivers, what a logo is worth and the deliverables to write into the contract.
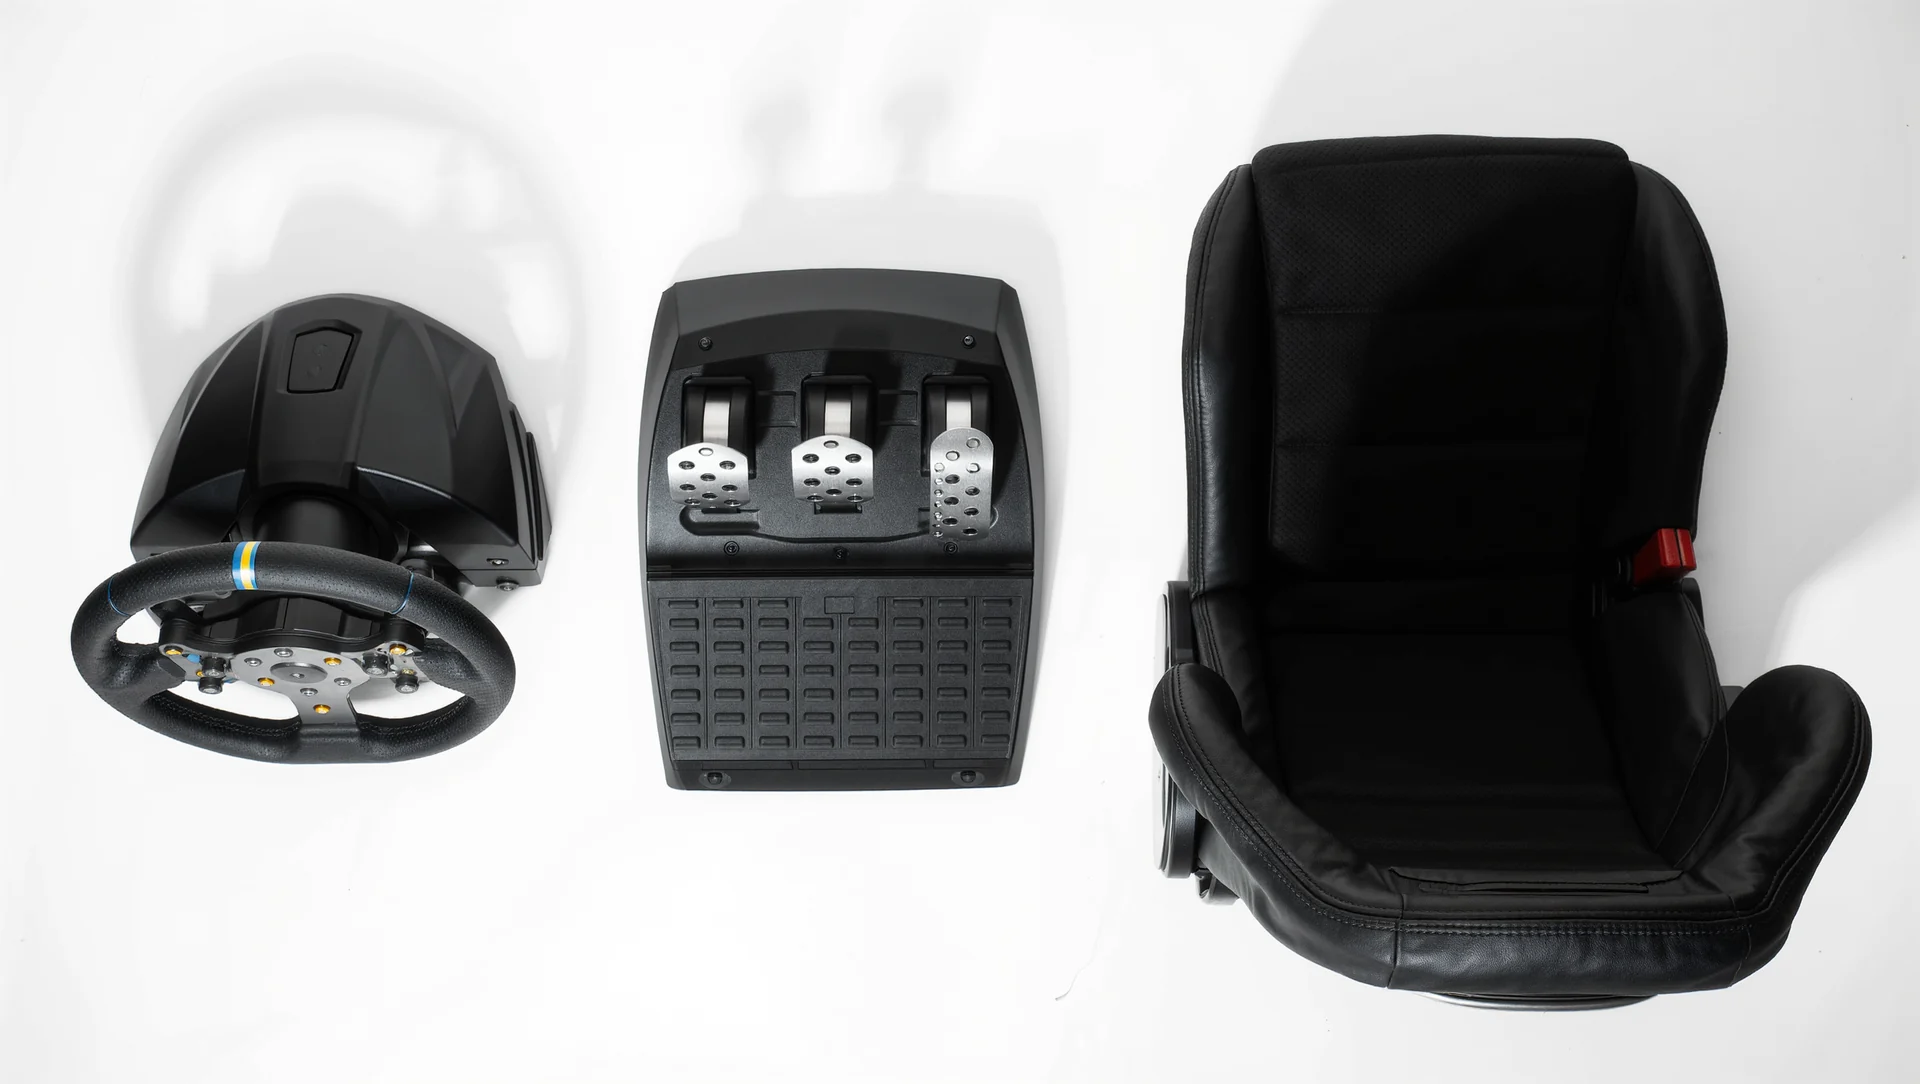
What sim racing costs at four budget levels, including the recurring costs that hardware reviews never mention and the machine underneath it all.
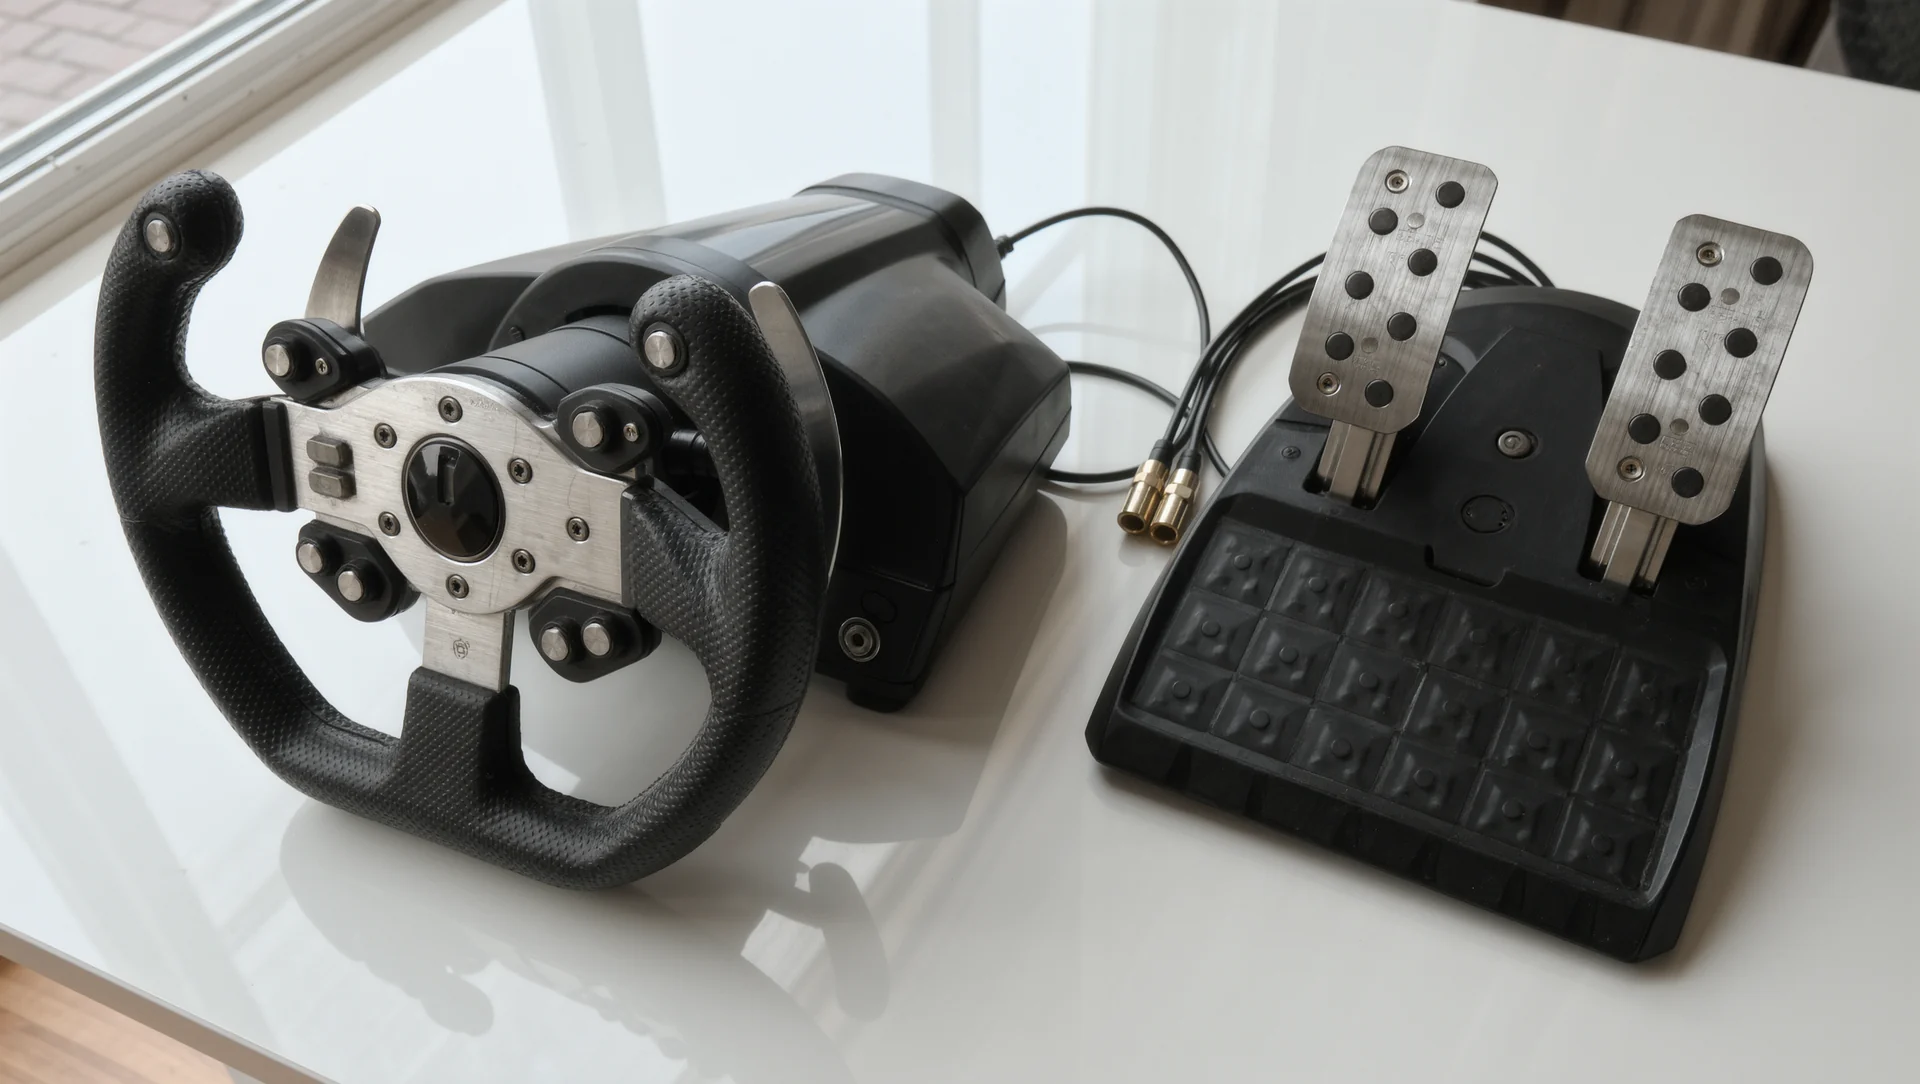
Which sim racing hardware keeps its price and which collapses: the rule that separates them, with the specifications and prices that prove it.

Simulators in professional driver training: what the regulation already allows, which exercises transfer and where a simulator teaches the wrong lesson.

Children at the simulator: the legal frame for a public venue, the seat and pedal problem, and a party format that actually works for eight of them.
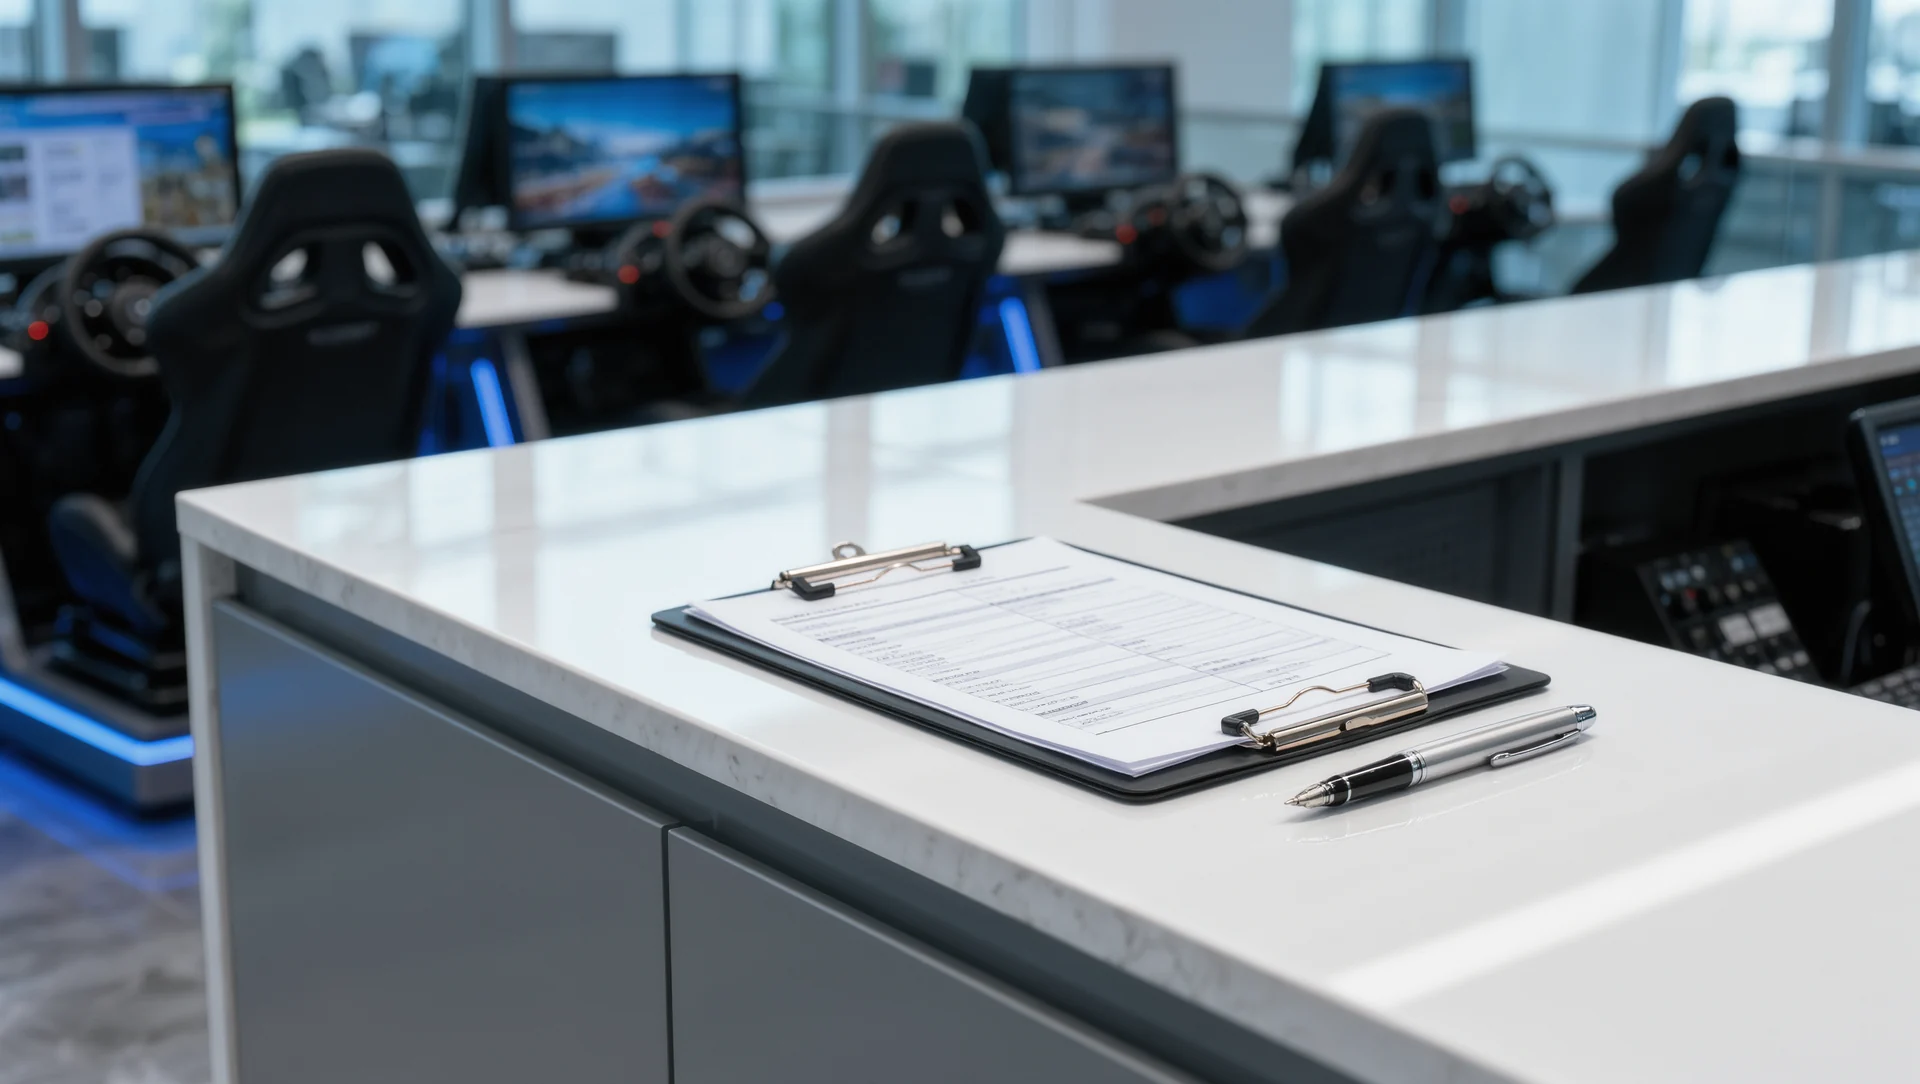
Insurance and liability for a commercial simulator: where the duty of care comes from, which cover belongs on the list and how long a claim can arrive.
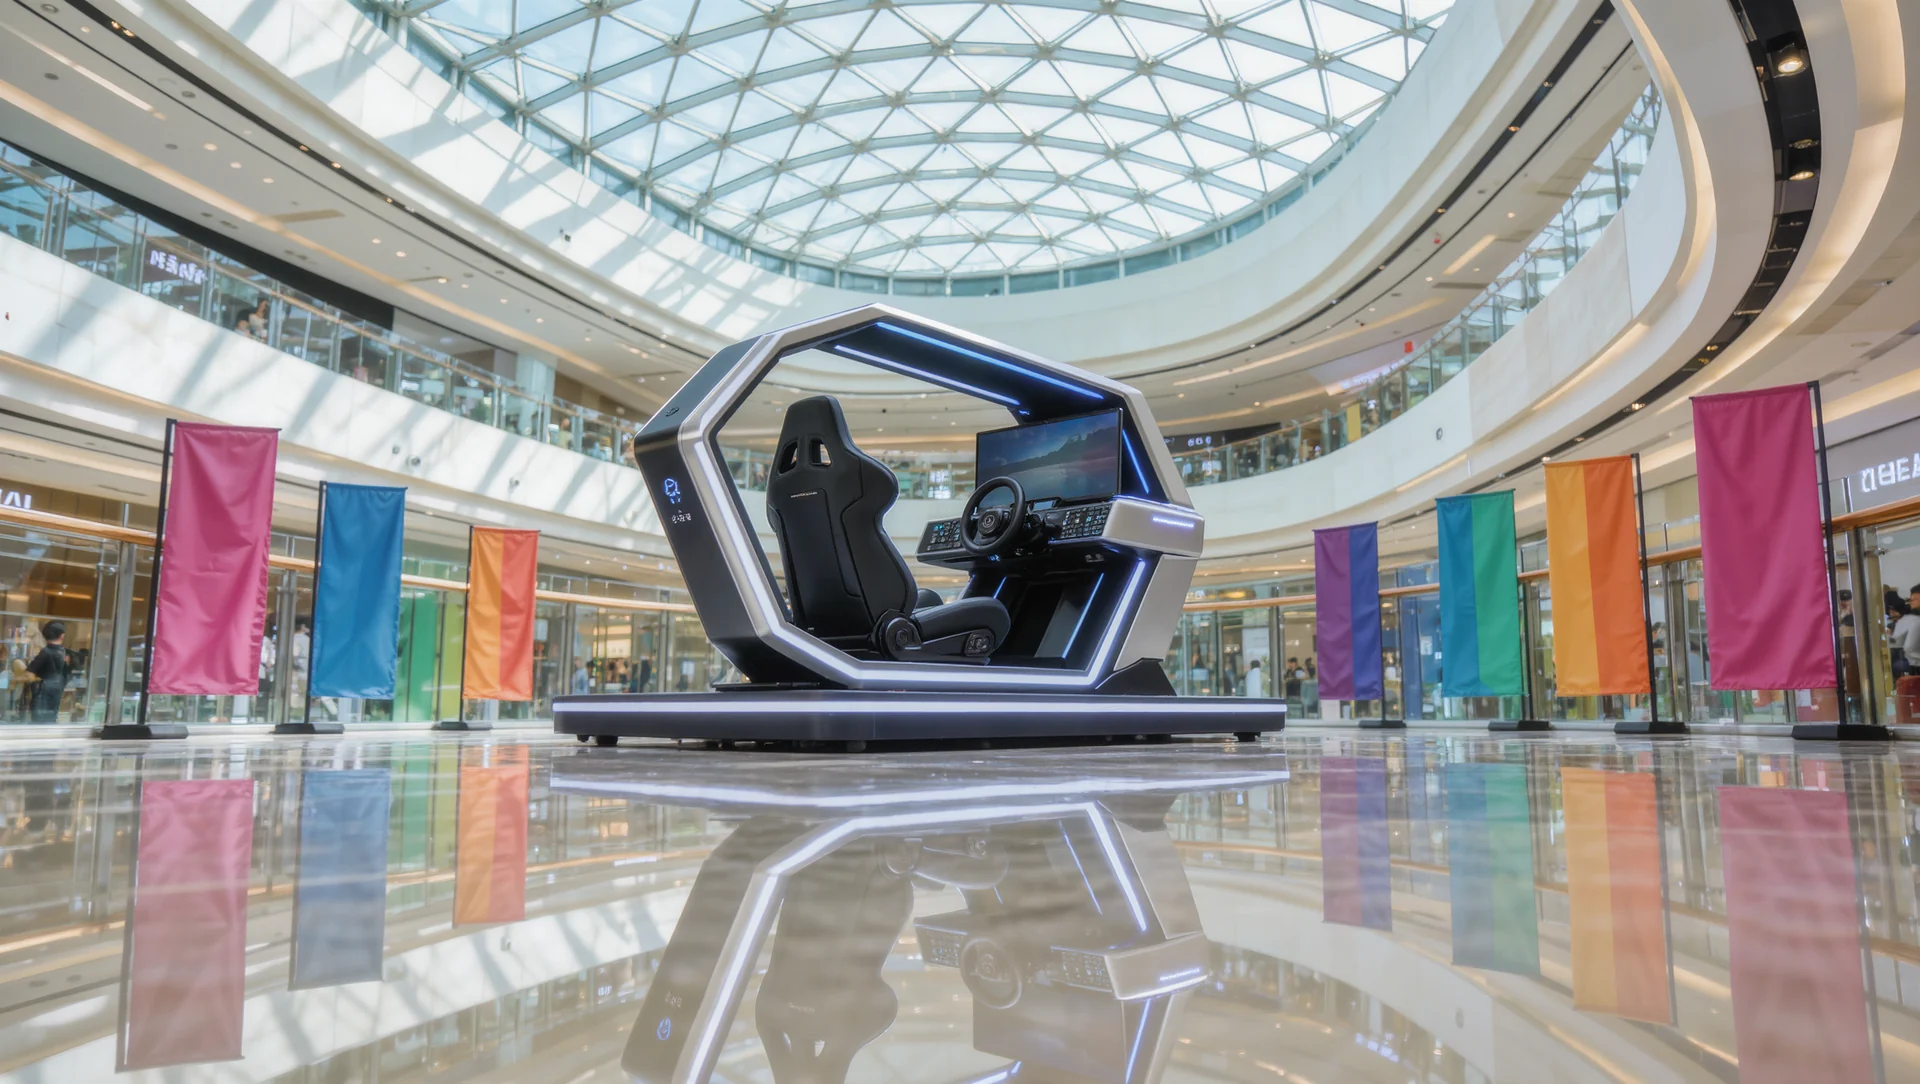
Brand activation with a simulator: the four things that can actually be measured, the cost per interaction and the comparison that decides whether it was worth it.
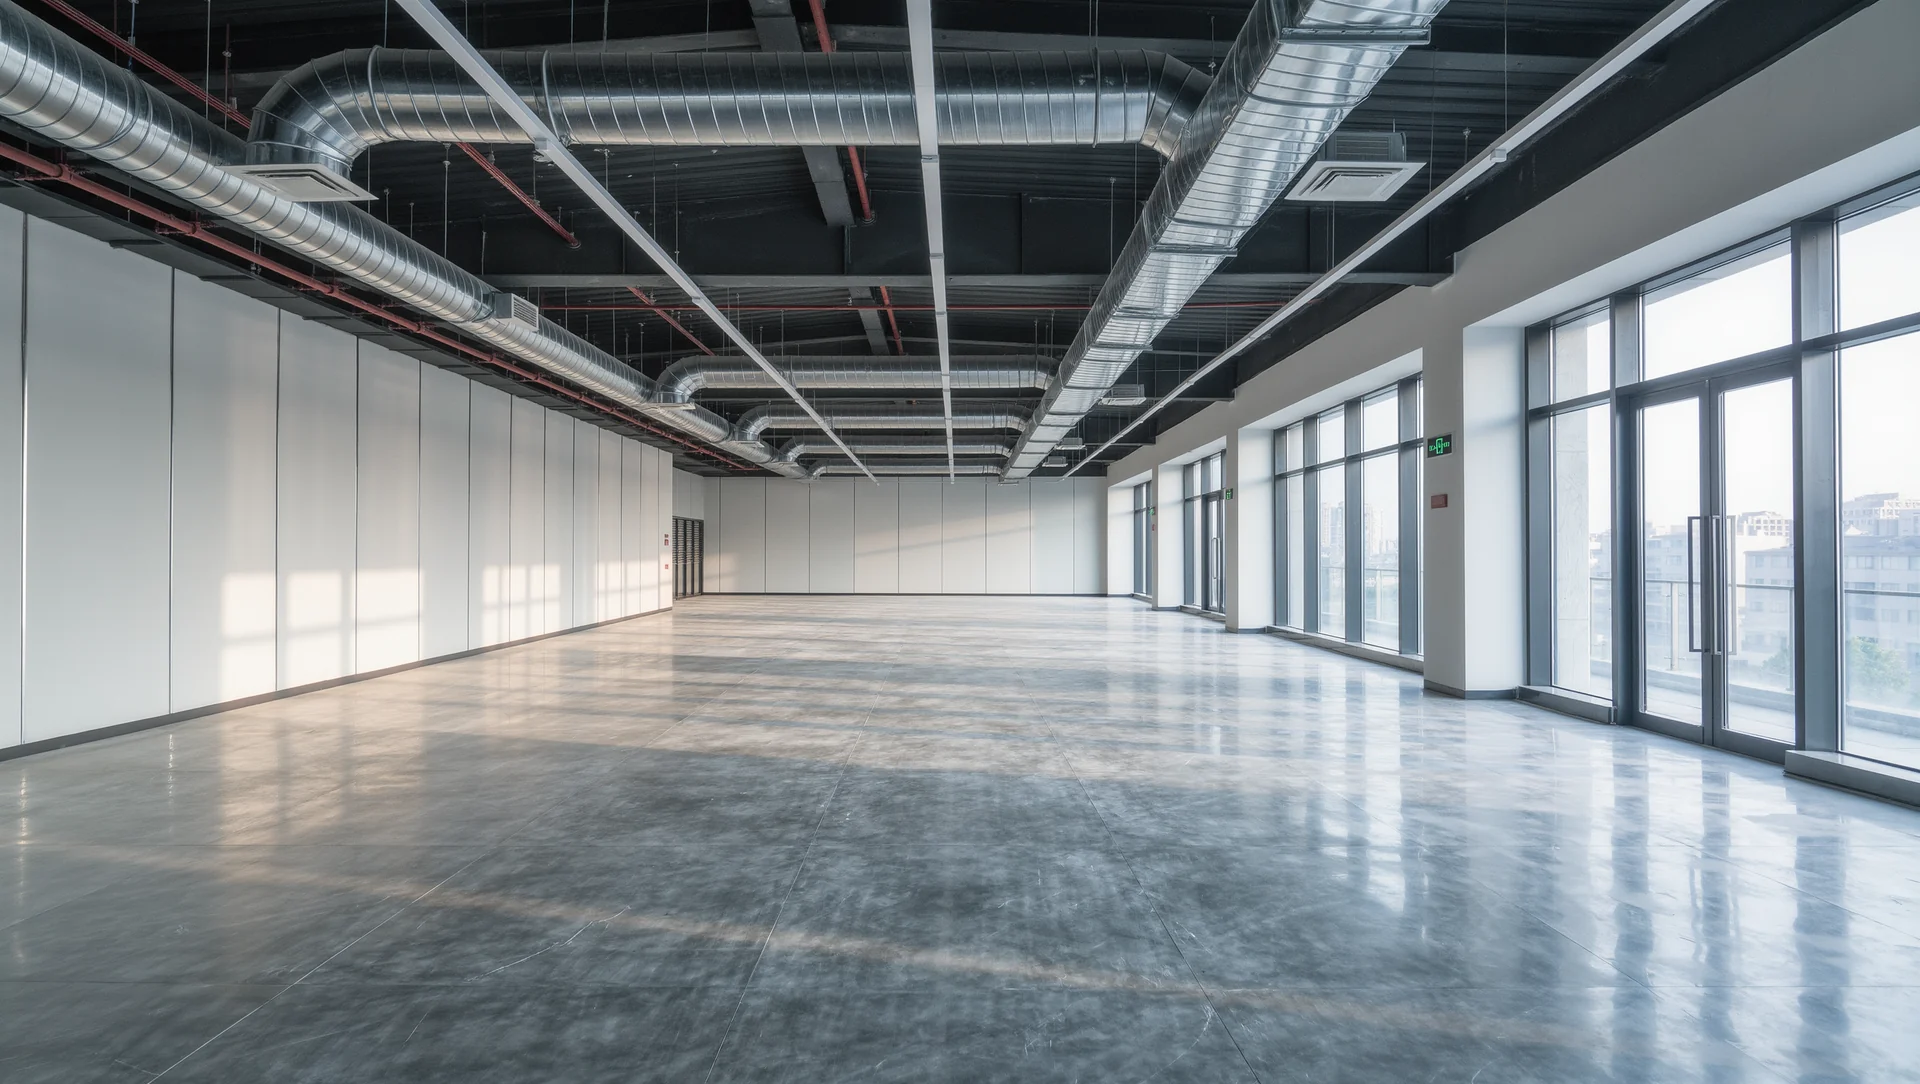
Choosing a location for simulators: the ceiling height and power that rule places out, the footfall that matters and the checks to make before signing.