Understeer: driver, setup or tyre temperature
Understeer diagnosed properly: driver, setup or tyre temperature, and the order in which to rule each one out before touching the car.
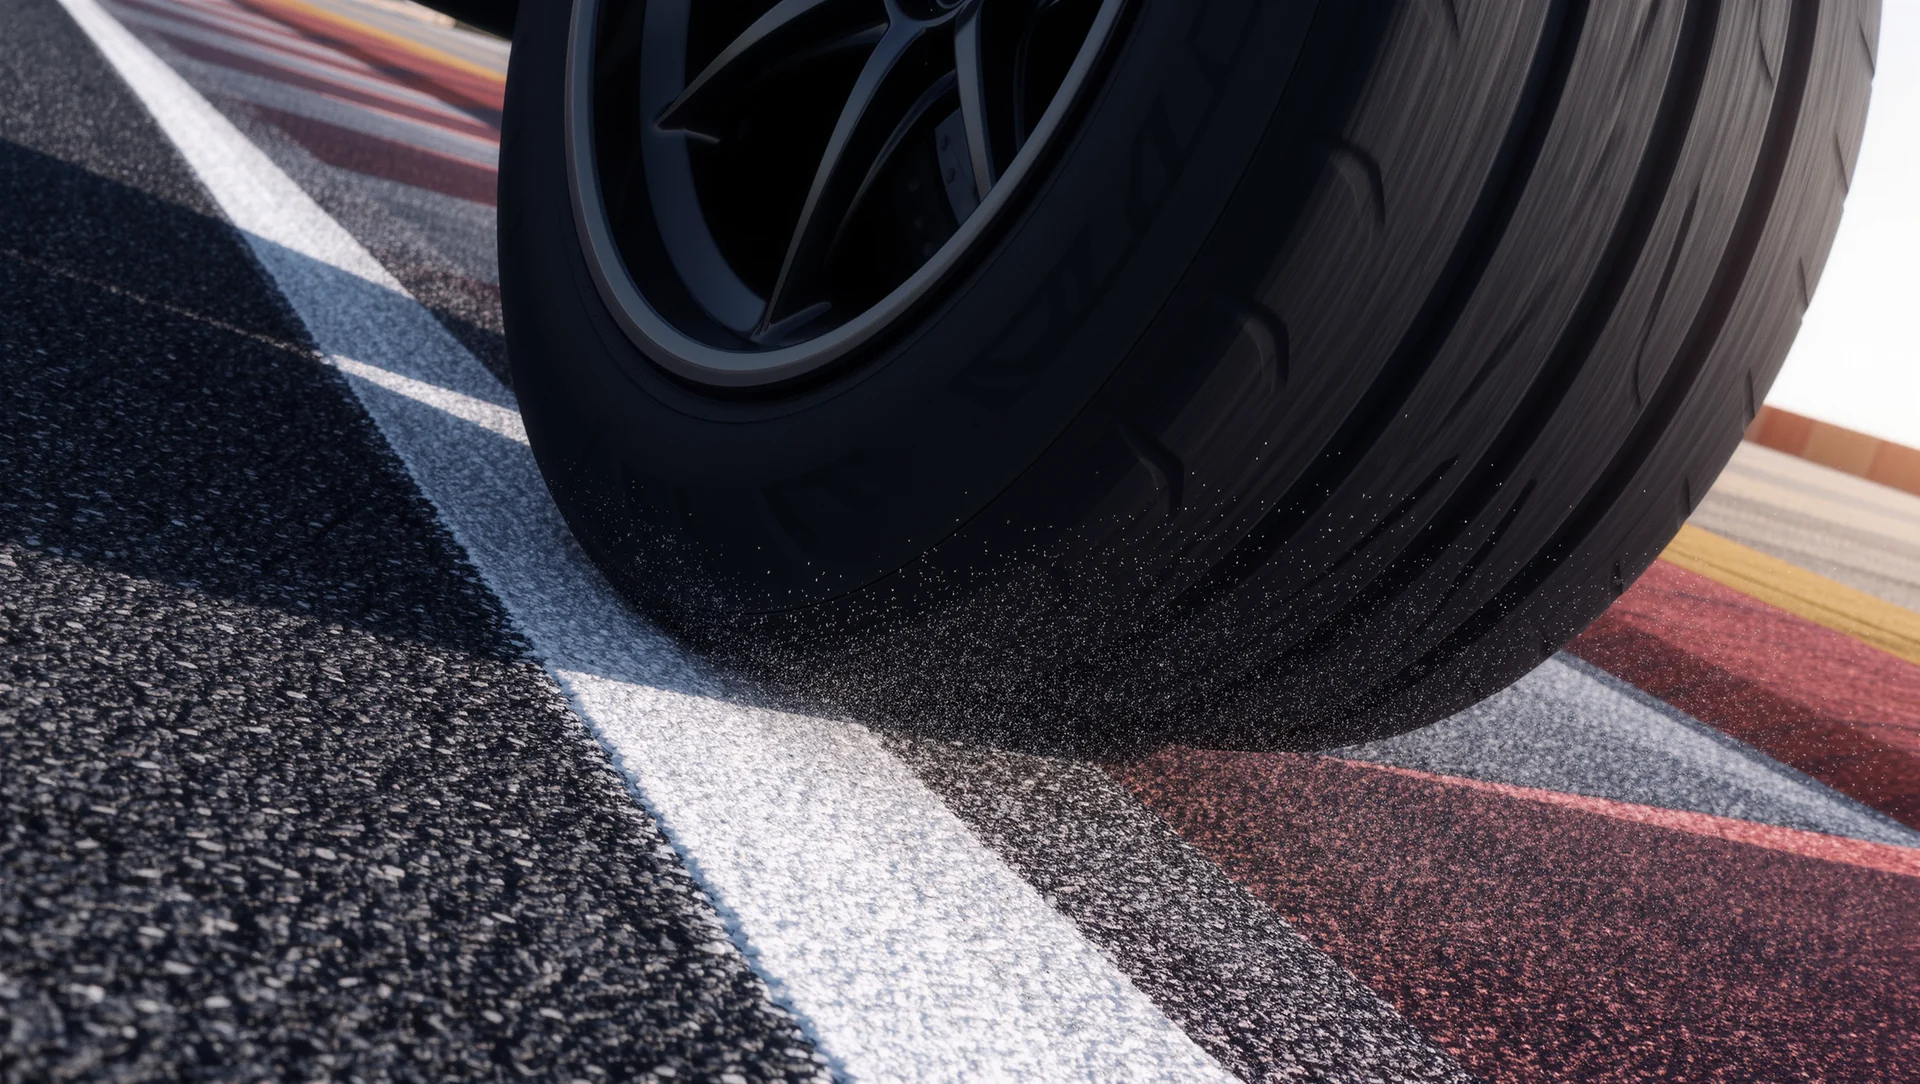
Understeer is not a fault, it is a symptom, and three completely different causes produce the same feeling at the wheel. Changing the car before you know which one you have is how a balanced car becomes an unbalanced one over four sessions.
What the word actually means
The official setup guide defines it precisely: understeer, synonymous with push and tight, is when the slip angle of the front tyres is greater than the slip angle of the rear tyres while the car is cornering at the limit. Oversteer is the same statement with front and rear reversed.
That definition matters because it rules things out. If the car pushes when you are not at the limit, it is not understeer in this sense, it is a driver adding steering angle the tyres never asked for. The distinction sounds academic and it decides whether you change the car or change what you do.
It also tells you where to look. Slip angle at the front being too high means either the front cannot generate what you are asking, or you are asking for too much, or the tyres are not in a state to deliver. Those are the three causes, and they are diagnosed in that order.
Cause one: the driver
Rule yourself out first because it is free. The classic driver induced understeer is too much entry speed: the car cannot turn at the radius you chose, so you add angle, the front slides more, and the car pushes wider. Braking two metres earlier removes it entirely, and no setup change will.
The second driver cause is steering input that is too fast. A rapid input asks the tyre for a slip angle it has to build up to, and the front washes out before the load has transferred. Slowing the hands down often removes what looked like a car problem.
The test is simple. Drive the corner five km/h slower with a deliberately smooth input, and if the push disappears, the car is fine. If it is still there, move on to the tyres.
| Symptom appears | Most likely cause | First check |
|---|---|---|
| Only on the out lap | cold tyres | temperatures, not setup |
| From lap fifteen onwards | heat, pressure or wear | hot pressures and the tread spread |
| Every lap from the first | driver or setup | brake five metres earlier, then camber |
| Only in fast corners | aerodynamic balance | wing angle in degrees |
| Only on corner entry | brake bias or entry speed | bias one click rearward |
Cause two: tyre temperature and pressure
Read the temperatures across the tread before touching a spring. The setup guide gives a usable rule of thumb: the temperature differential across the tyre should be about 10 degrees, plus or minus 5. A front tyre with the outer edge far hotter than the inner is running out of camber; the reverse means too much.
Pressure is the faster lever and the one most often wrong. Pressure rises during a run as the tyre heats, so a cold pressure that felt right at the start can be several psi high by lap ten, and an over inflated front tyre is a smaller contact patch and a car that pushes from mid corner onwards.
Temperature also explains the timing. Understeer on the out lap is cold tyres; understeer from lap fifteen is heat or wear; understeer at every corner from the first lap is setup or driver. The lap number on which the symptom appears is the most useful diagnostic in the whole process.
Cause three: the setup, in the right order
Camber comes first because it targets exactly the phase where understeer usually shows. The guide notes that adding negative camber at the front, for example from minus 1.0 towards minus 2.0, helps grip at mid corner, and it warns that too much can cause a snap understeer slide because the contact patch shrinks in a straight line.
Anti roll bars are next because they change the balance directly. A stiffer bar shifts the balance towards understeer and adds stability; a softer one shifts it towards oversteer. Front and rear do the opposite of each other, and changing both in one session teaches nothing.
Count the changes so the session stays readable. A typical setup screen offers 2 camber values, 2 anti roll bars, 4 tyre pressures and 2 wing angles, which is 10 adjustments and over 1,000 combinations at only 2 settings each. Changing 1 per run over 5 runs of 8 laps is 40 laps and 5 answers; changing 3 per run is 40 laps and 0 answers.
Then wings, if the car has them. The guide describes raising the rear wing as an increase in the angle of attack in degrees, which adds rear grip and therefore shifts the balance towards understeer. That is the adjustment that fixes an oversteering car and creates an understeering one, and it is where drivers accidentally chase their own tail.
Sources
Frequently asked questions
How do I tell driver understeer from car understeer?
Drive the corner five km/h slower with a smooth input. If it disappears, it was you, and no setup change would have fixed it.
What temperature spread should I aim for across the tread?
About 10 degrees, plus or minus 5, according to the official guide. A much larger spread points at camber.
Should I change camber or the anti roll bar first?
Camber, because it targets mid corner where understeer usually shows. Bars change the whole balance and are a blunter tool.
Why did my car start understeering halfway through the stint?
Almost always pressure rising with temperature. Check hot pressures before you change anything mechanical.
More in Driving Technique
rFactor 2 in 2026: still the reference for feel
rFactor 2 in 2026: what it still does better than anything else, what the published requirements tell you and whether it is worth starting now.
Automobilista 2: strengths, weaknesses, who it suits
Automobilista 2 examined honestly: the published requirements and features, where its breadth pays off and which drivers it genuinely suits.

Gran Turismo as a training tool, not a toy
Gran Turismo as a training tool rather than a toy: what the console simulator teaches that transfers, where it stops and how the racing AI changed the case.