Setup work in the right order: one change at a time
Setup work in the right order: why one change at a time is not pedantry, which adjustment comes first and how to know when to stop.
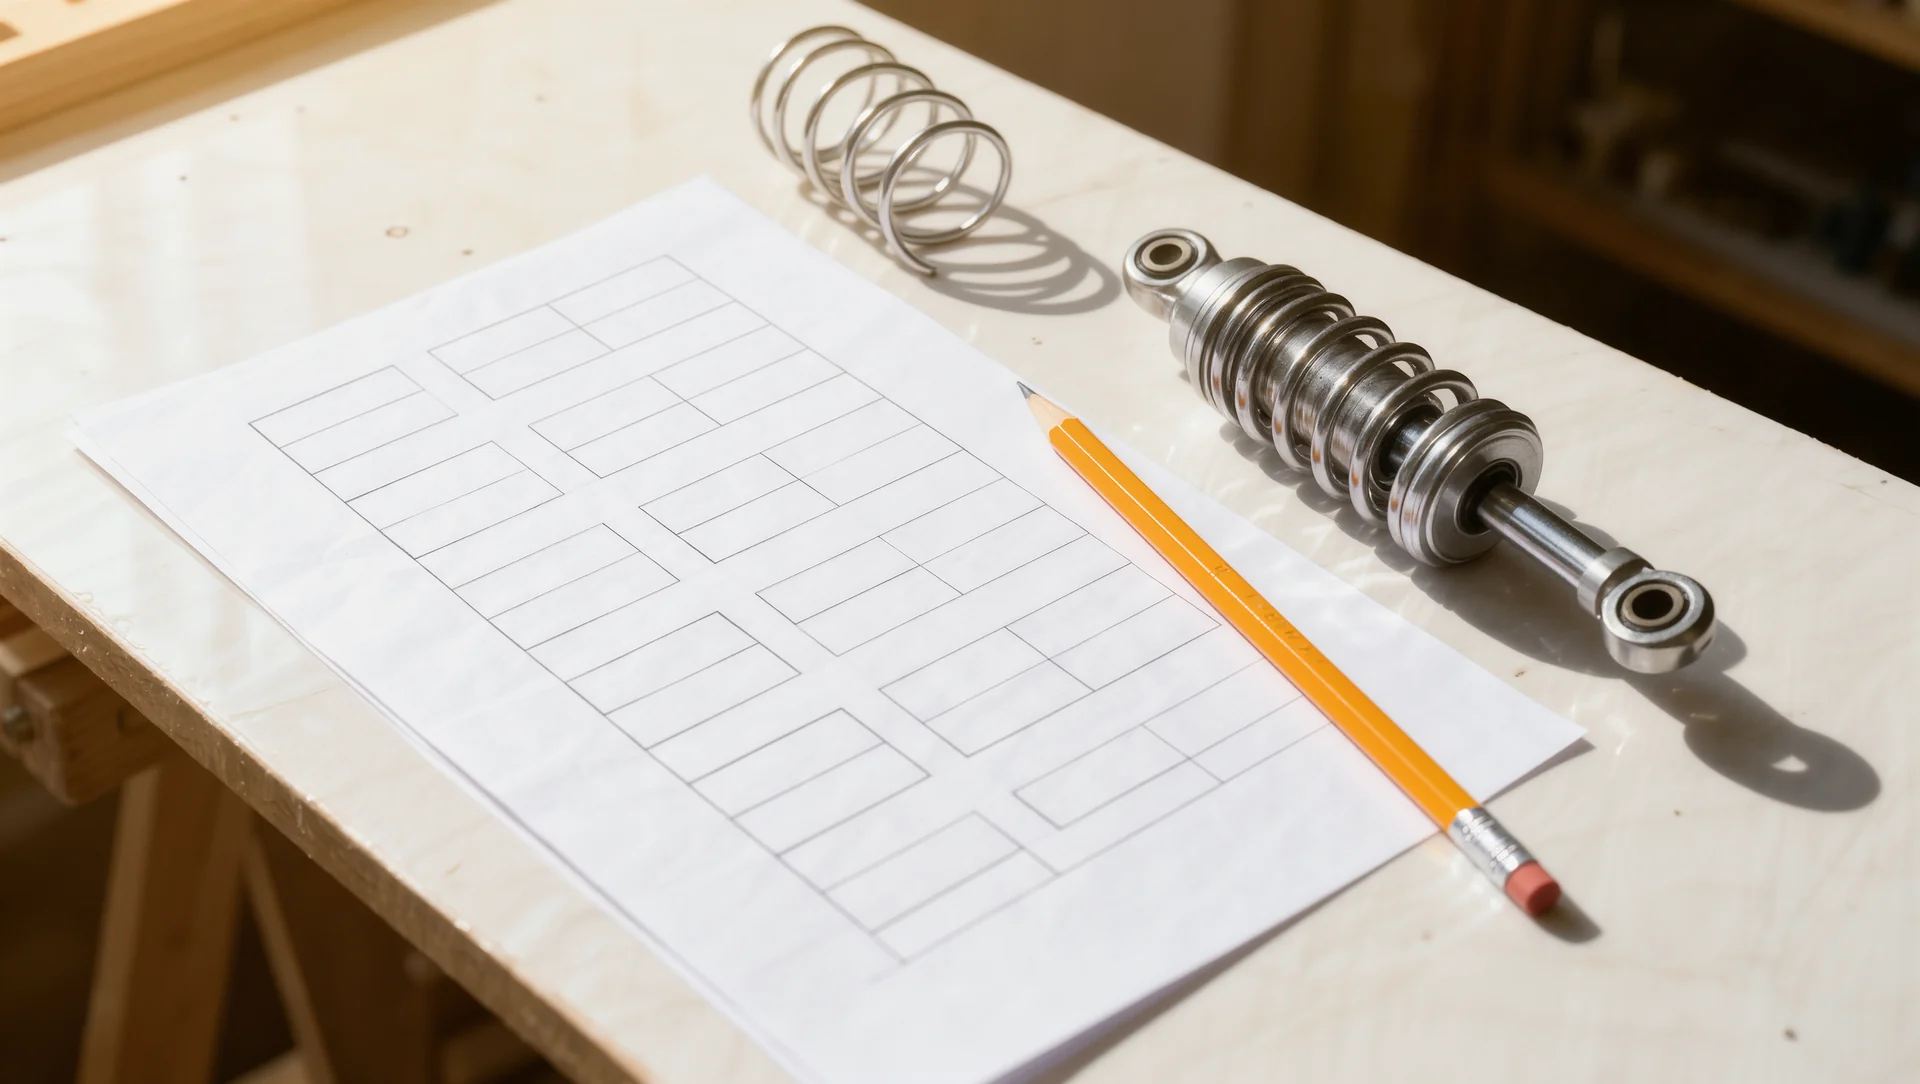
A setup screen with ten adjustments at two settings each has over a thousand combinations, and you have about forty laps to find one. The only way through that is an order, and the order is not the one the menu happens to use.
Why one change at a time
Two changes in one run give you one result and two possible explanations, which is the same as no explanation. Three changes give you six. The arithmetic is brutal and it is the reason experienced engineers look slow: they are the only ones actually learning something per run.
The published guide is organised the same way for the same reason. It covers tyres, camber, caster, toe, roll bars, brake bias, spring perch offset, corner weights, wings, springs, dampers, gears and push rod length as separate topics, each with its own effect and its own compromise, because each one moves something different.
The compromises are the part that makes order matter. Stiffer front springs stabilise the car and shift the balance toward understeer, and the guide names the compromise as less compliance. Softer front springs add a significant amount of front grip at the cost of a less stable car. Every adjustment is a trade, and trades made in the wrong order cancel each other.
The order that works
Tyres first, always. Pressures and the temperature spread across the tread decide what every other adjustment is working with, and the guide gives the target: about 10 degrees of differential from outer to inner edge, plus or minus 5. A setup built on wrong pressures is a setup that will need rebuilding.
Then the driving aids that are really setup: brake bias, and gear ratios if the car has them. Both change your inputs rather than the car's behaviour, and both are quick to test because the effect appears in a single corner rather than over a stint.
Then the balance, in this order: anti roll bars, springs, dampers. Bars are the blunt tool and move the balance directly, springs change grip level and compliance, and dampers change only the time the transitions take. The guide is explicit that dampers do not limit the total load transfer, only how long it takes, which is why they come last.
Then aerodynamics, if the car has wings. Raising the rear wing, shown as an increase in degrees of angle of attack, adds grip and shifts the balance toward understeer, with increased drag and lower straight line speed as the compromise. That is a circuit dependent decision rather than a balance one.
| Step | Adjustment | What it moves |
|---|---|---|
| 1 | Tyre pressures | the basis every other change works from |
| 2 | Brake bias and gears | your inputs, testable in one corner |
| 3 | Anti roll bars | the balance, directly and bluntly |
| 4 | Springs | grip level and compliance |
| 5 | Dampers | only the time transitions take |
| 6 | Wings | grip against drag, a circuit decision |
How to test a change honestly
Five laps minimum per change, and the first lap does not count. Tyres are not in their window on lap one, and a driver judging a change on an out lap is measuring temperature rather than the change.
Compare the same thing every time. Best lap is noisy; the average of laps two to five is not. And if the spread across those four laps is larger than the difference the change made, you have not measured anything and the honest answer is to repeat the run.
Test in practice rather than in races. The rulebook weights an open practice session at 0.50 against a race at 1.00 when incidents average into a safety rating, so an experimental setup costs half as much when it goes wrong in the right session.
Knowing when to stop
Stop when your lap time spread over twenty laps is larger than the gains you are chasing. If your laps vary by four tenths and each setup change is worth one, you are measuring yourself rather than the car, and more driving is worth more than more adjustment.
Budget the session before it starts. 40 laps at 5 laps per change is 8 changes, and 6 of those go to the 6 steps above, which leaves 2 for repeating a run that was inconclusive. Against 1,024 possible combinations of 10 adjustments at 2 settings, 8 tests is 0.8 per cent of the space, and that is exactly why the order matters more than the effort.
And stop when you cannot say what a change is supposed to fix. Setup work that starts from a named problem, such as understeer at mid corner or instability under braking, converges. Setup work that starts from a feeling wanders, and the car at the end of the session is usually worse than the default you started from.
Sources
Frequently asked questions
Why not change two things if I am short of time?
Because two changes produce one result and two explanations. You would spend the saved time twice over working out which one did it.
What should I change first?
Tyre pressures, always. Every other adjustment works from what the tyres are doing, and a setup built on wrong pressures needs rebuilding.
Why do dampers come last?
Because they do not change how much load transfers, only how long it takes. Fix how much first with bars and springs.
When should I stop adjusting?
When your own lap time spread is larger than the gains you are chasing. At that point more driving beats more adjustment.
More in Setup & Telemetry
The racing line: early apex, late apex, and why
Early apex or late apex and why: the radius arithmetic behind the racing line, what each choice costs and how to pick one per corner rather than per driver.

Catching oversteer before the car decides for you
Catching oversteer before the car decides for you: the timing, why most catches arrive late and the drill that shortens your reaction.
Understeer: driver, setup or tyre temperature
Understeer diagnosed properly: driver, setup or tyre temperature, and the order in which to rule each one out before touching the car.