Mastering Drift: Setting Up Your Pedals for Maximum Control
So, you’re looking to get your drift on, huh? Great! And you’re smart to focus on your pedals. They’re your direct link to what the car is doing, and getting them set u…
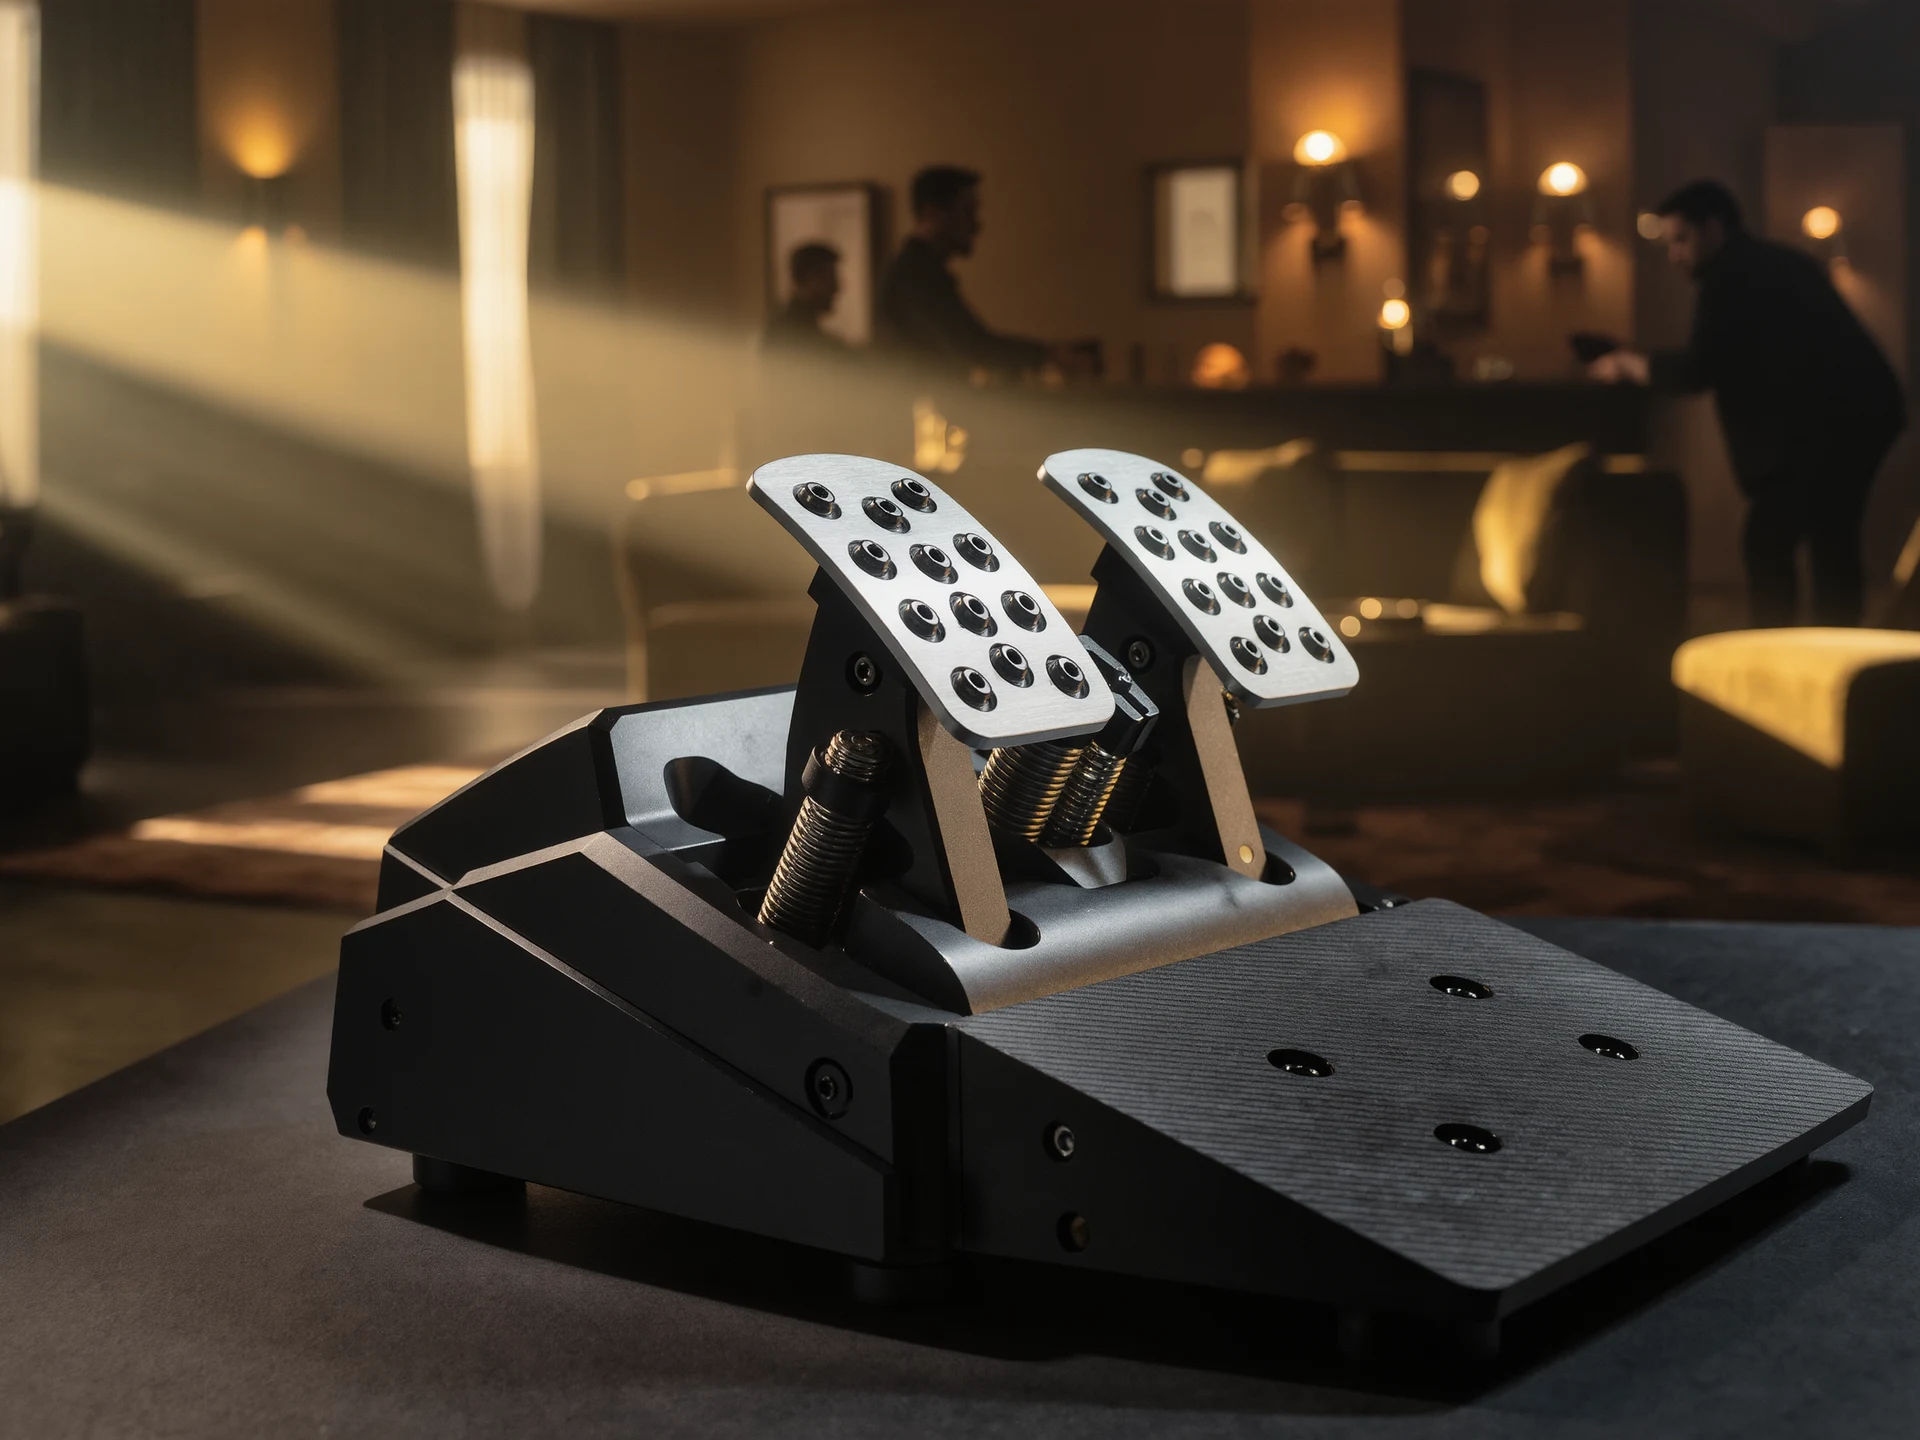
So, you’re looking to get your drift on, huh? Great! And you’re smart to focus on your pedals. They’re your direct link to what the car is doing, and getting them set up just right is a game-changer for control. Forget all that fancy gear for a second; often, it’s the little tweaks in something as simple as your clutch and brake pedals that unlock that smooth, controlled slide. This isn’t about being a pro racer overnight, but about making your car listen to you more when you’re trying to get it to… well, hang out the back a bit.
Think of your pedal setup as fine-tuning a musical instrument. If the strings are out of tune, the music won’t sound right, no matter how skilled the musician. Your pedals are the same for your car. They dictate how much power goes to the wheels, how quickly you can de-clutch, and how effectively you can modulate your braking. Getting this right means less fighting the car and more dancing with it.
The Foundation: Understanding Your Throttle and Clutch Relationship
This is where the magic starts. Drifting isn’t just about stomping on the gas. It’s a delicate dance between throttle input and clutch control, and their physical positioning and feel are paramount.
Throttle Pedal: Your Primary Instrument of Power
Your throttle pedal is, without a doubt, your main tool for generating and managing the power needed for a drift. How it feels, how much force it takes to press, and where it sits relative to your other pedals can dramatically impact your ability to “govern” the slide.
Travel and Resistance: Finding That Sweet Spot
Too much travel can make it hard to make quick, precise adjustments. If you have to push the pedal a mile down to get a significant response, you’re going to be reacting slower than you’d like. On the flip side, a pedal that’s too sensitive can lead to over-correction and unwanted wheelspin. You’re looking for a feel that allows for subtle, yet immediate, changes in engine RPM. It should feel responsive, not sloppy, but also not so stiff that your leg gets tired after a few laps.
- The “Just Right” Feel: Many drivers prefer a moderate amount of resistance. Think of it like a firm handshake, it conveys confidence and control. You should be able to rest your foot on it without unintentionally giving it gas, but a gentle nudge should elicit a clear response.
- Adjusting Resistance: If your pedal feels too light or too heavy, there are often mechanical adjustments you can make. This might involve tightening or loosening a spring, or sometimes there’s a threaded rod that controls the pedal stop. If you’re uncomfortable doing this yourself, a mechanic can help dial this in. The goal is consistent, predictable feedback.
Pedal Position: The Ergonomics of Entry
Where your throttle pedal sits in relation to your brake and clutch is crucial, especially for heel-toe techniques or clutch-kick maneuvers. Ideally, with your foot resting naturally, the edge of your heel or the ball of your foot should be able to easily transition between the throttle and brake.
- The “Heel-Toe” Advantage: For many drift entries, especially feint entries or situations where you need to quickly transition from braking to throttle, the ability to blip the throttle while braking is key. If your throttle is too far to the right or too low, this becomes an awkward shuffle rather than a smooth, controlled movement.
- Visualizing the Ideal: Imagine your feet forming a natural “V” shape. With your heel on the floor or footrest, the balls of your feet should comfortably rest on the pedals, allowing for easy side-to-side movement. Some people even run aftermarket pedal extensions or adjust the factory pedals to optimize this alignment.
The Clutch: Your Drift Enabler
The clutch is your gatekeeper. It disconnects the engine from the wheels, allowing you to manipulate the drivetrain in ways that initiate and sustain drifts.
Engagement Point: Knowing When and Where
The clutch pedal’s engagement point, where the engine starts to bite and transfer power, is absolutely critical. If it’s too high or too low, it can make clutch-kicking or smooth exits incredibly difficult. You want to know precisely where that bite point is without having to look down.
- Finding the Bite: With the engine running and the parking brake firmly engaged, slowly release the clutch pedal until you feel the engine start to lug or the car gently try to move. That’s your bite point. You should be able to feel this consistently.
- Adjusting the Engagement: Most hydraulic clutches have an adjustment nut on the master cylinder pushrod that can alter the engagement point. A little goes a long way here. Too much adjustment can sometimes lead to clutch slip or premature wear, so it’s best to make small, incremental changes and test frequently.
- The “Happy Medium”: You’re looking for an engagement point that’s not too low (where it’s easy to stall or accidentally dump the clutch) and not too high (where it becomes difficult to manage fine throttle control during a clutch kick). Consistency is key.
Pedal Feel: A Controlled Release
The feel of the clutch pedal is equally important. Does it feel grabby? Does it feel spongy? A smooth, progressive engagement is what you want.
- Eliminating Sponginess: A spongy clutch pedal often indicates air in the hydraulic system. Bleeding the clutch hydraulics can significantly improve pedal feel and consistency.
- Avoiding Grabbiness: A clutch that feels overly aggressive or “on/off” can make smooth throttle application difficult, leading to jerky transitions. This can sometimes be related to the clutch disc itself or hydraulic issues.
The Brake Pedal: Your Anchor and Fine-Tuner
While the throttle initiates and sustains, the brake pedal is your primary tool for managing grip, correcting slides, and setting up entries. Its feel and precisely how it interacts with the throttle are paramount.
Pedal Feel and Feedback: Knowing What’s Happening
Your brake pedal needs to communicate what the tires are doing. A dead or vague brake pedal is a recipe for disaster when you’re trying to hang the back end out.
Modulating Grip: The Art of the Feather
Drifting isn’t about slamming on the brakes. It’s about subtle modulation to break traction or, more importantly, to control it once it’s broken. You need a pedal that allows you to gently apply and release pressure, “feathering” it to avoid locking up the wheels in an uncontrolled way.
- The “Information Highway”: A good brake pedal should feel firm and responsive. You should be able to feel the ABS (if equipped) working, or in a car without ABS, you should feel the subtle shudder just before a lock-up. This feedback allows you to stay on the edge of grip.
- Troubleshooting Sponginess: Similar to the clutch, a spongy brake pedal often means air in the system. Regular bleeding is part of good maintenance, but if it persists, you might have a leak in the lines or a failing master cylinder.
Pedal Height and Position: The Dance with the Throttle
The relative height and position of the brake pedal to the throttle pedal is arguably the most critical aspect of pedal setup for drifting. Many experienced drifters will adjust their brake pedals to be higher than the throttle.
- The Advantage of a Higher Brake: When your brake pedal is slightly higher than your throttle pedal, it becomes incredibly easy to operate the throttle with the ball of your foot while your heel rests on or is very near the brake pedal. This makes techniques like “heel-toe” downshifting for entries (blindingly fast throttle blips while braking) or simply adjusting throttle with your foot already positioned for braking effortless.
- Finding Your Sweet Spot: This is highly personal. Some drivers prefer a significant difference in height, while others like a subtle elevation. The goal is to be able to transition between braking and accelerating smoothly and quickly without lifting your foot entirely off the pedal assembly. Experimentation is key here.
Beyond the Big Three: Differential and Handbrake
While the main focus is on your foot pedals, it’s important to acknowledge that other elements directly influence how you use those pedals for drifting.
Differential Tuning: The Unsung Hero
Your differential plays a massive role in how easily you can break traction and how the car behaves once it’s sideways.
The Drift-Specific Setup
For drifting, a limited-slip differential (LSD) or a welded differential is almost mandatory.
- Understanding LSD Types: Clutch-type LSDs offer adjustable aggression, while viscous ones are typically less aggressive. A 2-way LSD is popular because it locks up under both acceleration and deceleration, helping to keep the rear end stable or continue a slide even when you ease off the throttle.
- Welding the Diff: This is a more extreme option where you physically weld the spider gears of an open differential together, forcing both rear wheels to spin at the same speed. It’s very effective for initiating and maintaining slides but can make the car unpredictable and difficult to drive in a straight line, especially at low speeds or in slippery conditions.
The Handbrake: Your Initiator and Angle Setter
The handbrake, or e-brake, is a powerful tool for initiating drifts, especially for tighter corners or when you don’t have enough speed for a traditional power oversteer entry.
Mechanical vs. Hydraulic
- Mechanical Handbrake: The traditional lever. Its effectiveness depends on the condition of the cables and the rear brake pads.
- Hydraulic Handbrake: Often preferred by drifters. These act as a separate brake circuit, usually for the rear wheels, and provide much more consistent and powerful braking force. They can also be plumbed in a way that doesn’t affect the main brake pedal pressure.
Fine-Tuning the Pull:
The amount of force required to lock up the rear wheels with the handbrake is also something you can adjust. If it’s too easy, you might accidentally lock it up when you don’t intend to. If it’s too stiff, it becomes a struggle. Most handbrakes have adjustable cable tension or, for hydraulic units, adjustable fluid displacement.
Practical Setup Tips: Getting Your Hands (and Feet) Dirty
Now that we’ve covered the “why,” let’s talk about the “how.” This is where you get to make things happen.
Adjusting Factory Pedals: Small Changes, Big Impact
Many modern cars offer some degree of pedal adjustability directly from the factory.
- Steering Column Tilt/Telescope: Start by adjusting your steering column. This can significantly affect how your legs are positioned relative to the pedals. Finding a comfortable driving position that allows your feet to move freely between pedals is the first step.
- Clutch Pedal Stop: Some cars have a rubber or plastic stop that limits how far the clutch pedal can travel. Adjusting this can subtly alter the engagement feel, though it’s usually a small change.
- Brake Pedal Adjustment (Limited): In some cars, the brake light switch can be adjusted slightly, changing the initial resting position of the pedal. This is again, a minor adjustment but can contribute to the overall feel.
Aftermarket Pedal Boxes: For the Serious Enthusiast
If you’re finding factory pedals just aren’t cutting it, an aftermarket pedal box is a popular upgrade.
- The “Full Suite”: These systems replace your entire pedal assembly with a new unit. They offer extensive adjustability for travel, resistance, and, most importantly, the relative positioning of all three pedals.
- Customization is Key: You can usually set the height and spacing between each pedal precisely to your liking. This is where you can really dial in that perfect brake-to-throttle relationship for effortless heel-toe or side-to-side footwork.
- Mounting and Installation: While installation can be a bit involved, requiring removal of the original pedal box and potentially some drilling, the benefits in terms of control and feel are substantial.
DIY Modifications: Clever Solutions for Budget Builders
You don’t always need fancy aftermarket parts. Some clever DIY modifications can make a big difference.
- Pedal Covers/Extenders: Simple bolt-on covers can sometimes offer a slightly different surface texture or minor adjustments to height. More aggressive extenders can be fabricated or purchased to significantly alter pedal height.
- Shimming and Spacing: With careful measurement and the use of sturdy metal plates or bolts, you can sometimes shim existing pedals to adjust their relative height. This requires significant mechanical understanding to ensure it’s safe and won’t compromise pedal function. Always ensure any modifications are securely fastened and don’t interfere with brake or clutch operation.
- Welding/Fabricating: For those with welding skills, fabricating custom pedal extensions or even a basic custom pedal box is achievable. This offers the most flexibility but requires advanced fabrication knowledge and safety precautions.
Testing and Refinement: The Iterative Process
Setting up your pedals isn’t a one-and-done deal. It’s a process.
On the Street (Carefully and Legally!):
Even in a controlled environment like your driveway or a quiet industrial estate (where legal and safe, of course), you can get a feel for basic adjustments.
- Engine Off Feel: Practice moving your feet between the pedals. Can you easily transition from brake to throttle? Does the clutch engagement feel predictable during a slow release?
- Low-Speed Practice: If your car is rear-wheel drive, you can practice gentle throttle application and clutch feathering at very low speeds to get a feel for the car’s response.
On the Track or in a Safe, Controlled Environment:
This is where the real testing happens.
- Start Slow: Don’t go all out on your first run. Focus on the basics: smooth entries, controlled throttle modulation, and using the brakes to set your angles.
- Feel and Feedback: Pay close attention to how the car is responding to your pedal inputs. Are you oversteering too much? Not enough? Is the clutch kicking predictable? Are your brake inputs precise?
- Incremental Adjustments: Make one adjustment at a time and then go back out for a test. Did raising the brake pedal help your heel-toe? Did adjusting the clutch engagement make clutch kicks smoother? Keep a log of what you change and how it affects the car.
- Listen to Your Body: Drifting can be physically demanding. If a pedal setup is causing fatigue or discomfort, it’s not optimal. Your body will tell you what feels natural and allows for sustained control.
Conclusion: Your Pedals, Your Control
Mastering drift is a journey, and your pedal setup is a foundational part of that. By understanding the role of each pedal, paying attention to their feel and position, and being willing to experiment and refine, you’ll build a more intuitive and confident connection with your car. It’s about making the machine an extension of your will, and it all starts with your feet. Don’t underestimate the power of a well-tuned pedal box, it’s your direct line to unlocking thrilling, controlled slides.
FAQs
What is a drift pedals setup?
A drift pedals setup is a configuration of pedals in a vehicle that is optimized for drifting, a driving technique where the driver intentionally oversteers, causing loss of traction in the rear wheels while maintaining control. The setup typically includes a hydraulic handbrake, modified clutch, and throttle pedals to allow for precise control during drifting maneuvers.How does a drift pedals setup differ from a standard setup?
A drift pedals setup differs from a standard setup in that it is specifically designed to provide the driver with greater control over the vehicle during drifting maneuvers. This may involve modifications to the pedals themselves, as well as the addition of specialized components such as a hydraulic handbrake.What are the benefits of a drift pedals setup?
The benefits of a drift pedals setup include improved control and precision during drifting maneuvers, which can enhance the driver’s ability to perform advanced drifting techniques. Additionally, a drift pedals setup can provide a more comfortable and ergonomic driving experience for drivers who frequently engage in drifting activities.How can I set up my pedals for drifting?
Setting up pedals for drifting typically involves installing a hydraulic handbrake, modifying the clutch pedal for quick engagement and disengagement, and adjusting the throttle pedal for precise control. It is important to consult with a professional or experienced drift driver to ensure that the setup is properly configured for safe and effective drifting.Are there any safety considerations for a drift pedals setup?
When installing a drift pedals setup, it is important to prioritize safety. This may involve ensuring that the components are installed correctly, maintaining the integrity of the vehicle’s braking system, and practicing safe driving techniques. Additionally, drivers should always wear appropriate safety gear, such as a helmet and harness, when engaging in drifting activities.More from Drifting

Virtual Drifting: A Thrilling Experience
Virtual drifting is, in short, a digital simulation of the high-skill, car-control sport of drifting. It’s about sliding a car through a turn, m…

Mastering Drifts: Professional Simulator Experience
So, you want to get good at drifting in a simulator, huh? The short answer is: it takes a lot of practice, the right equipment, and a solid understand…

Mastering the Art of Sim Racing Drifting
Let’s dive into the world of sim racing drifting. If you’re wondering how to actually drift in a simulator, it boils down to a controlled …