Optimizing Performance: The Importance of Pedal Calibration
Ever wondered why your sim racing setup feels a bit off, even with top-tier gear? The answer might be simpler than you think: pedal calibration. It’s not just a tweak; it…
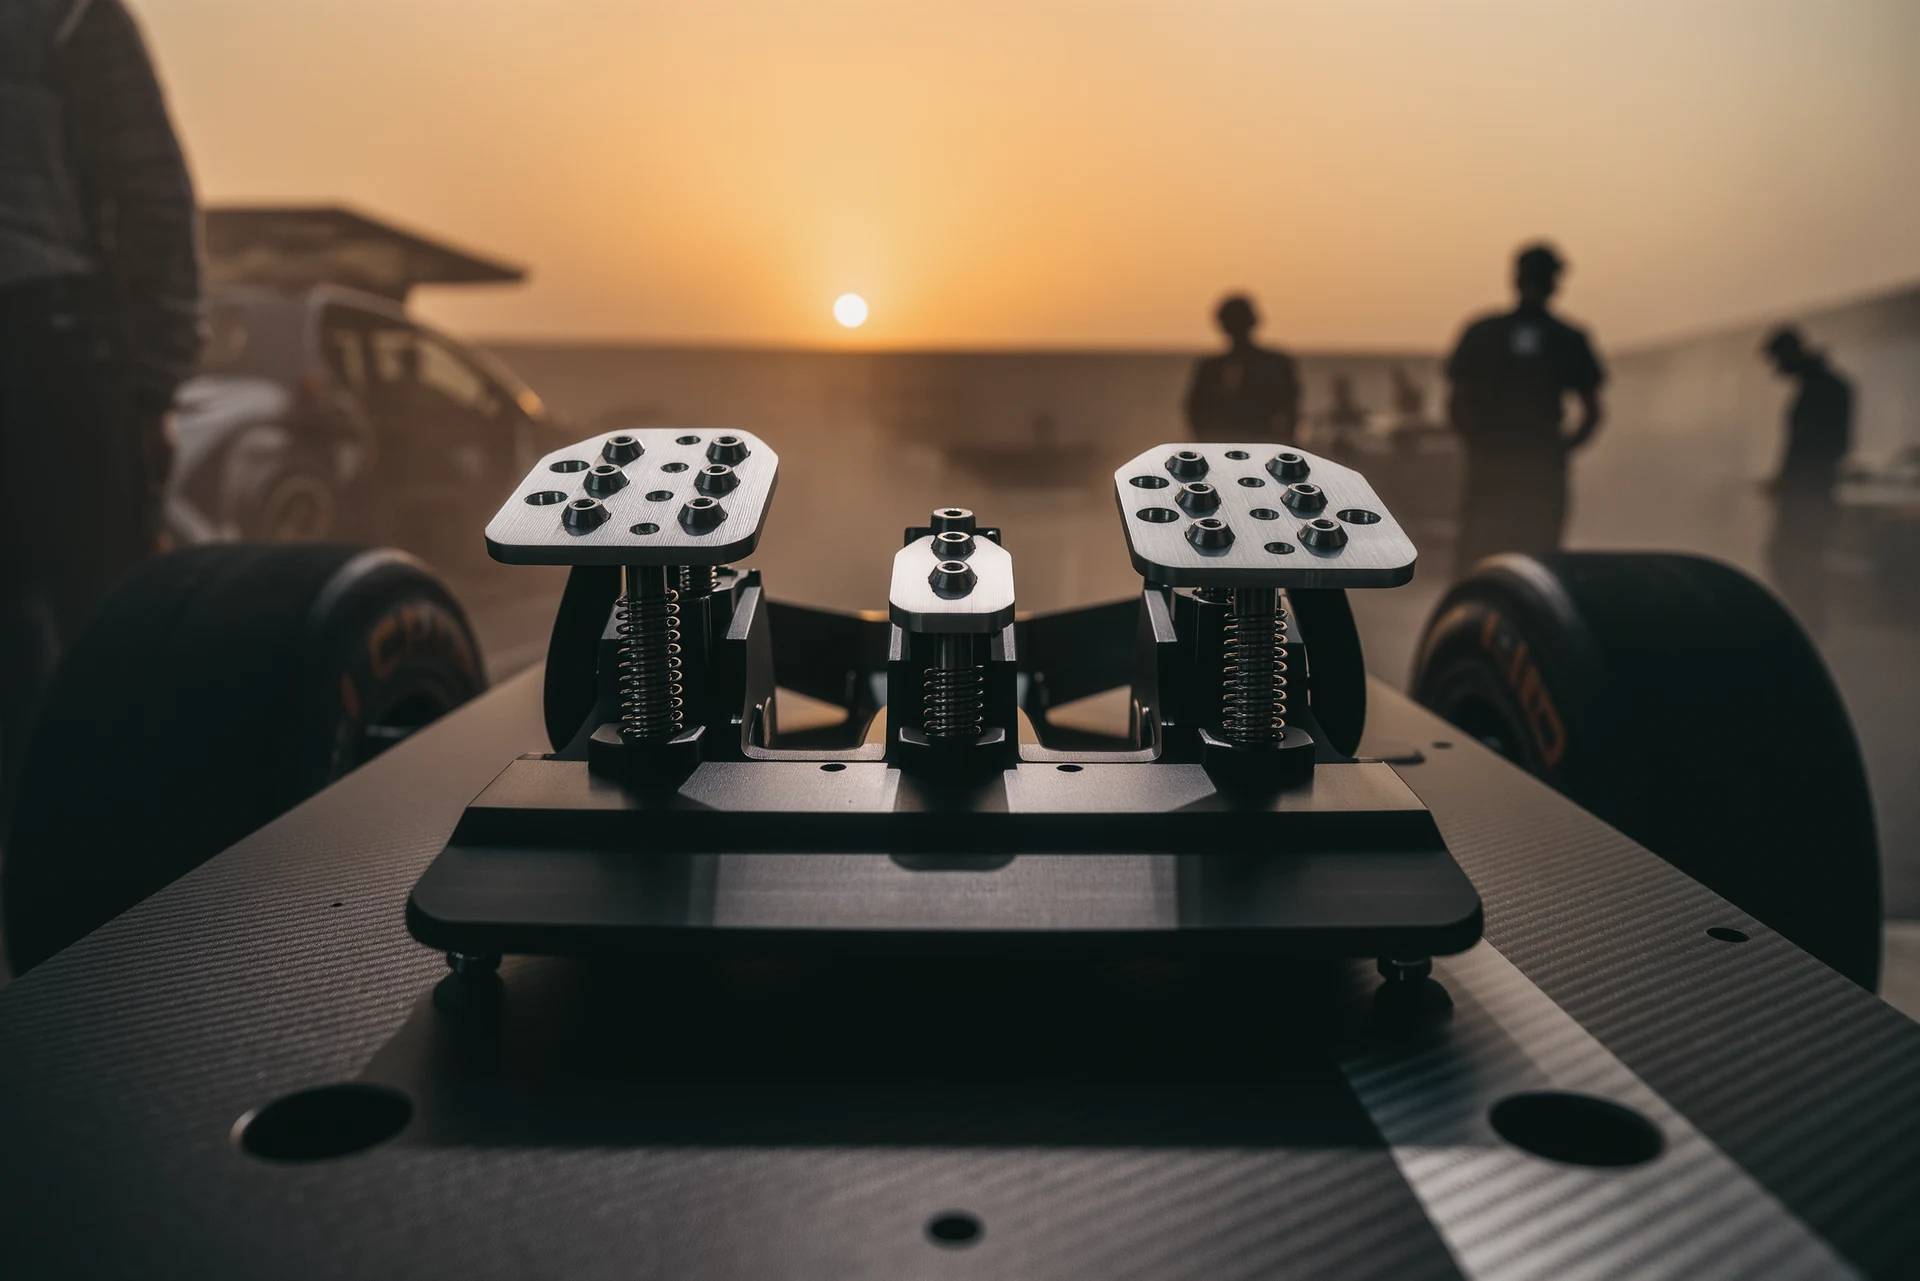
Ever wondered why your sim racing setup feels a bit off, even with top-tier gear? The answer might be simpler than you think: pedal calibration. It’s not just a tweak; it’s a foundational step that can genuinely transform your virtual driving experience. Think of it like tuning a real car, if the controls aren’t responding precisely to your input, you’re leaving performance on the table.
At its core, pedal calibration is about teaching your sim racing software exactly how your physical pedals work. Your pedals, whether they’re load cell, potentiometer, or hall effect, have a specific range of motion and output. Without proper calibration, the game might not accurately translate your physical input into in-game action. This leads to a disconnect: you press the brake subtly, but the car slams to a halt, or you try to modulate the throttle precisely, but it feels like an on/off switch. This isn’t just frustrating; it actively harms your lap times and consistency. It’s about ensuring a 1:1 relationship between your foot movement and the car’s response, making your inputs predictable and effective.
The Problem with Default Settings
Most sim racing games come with default pedal profiles. While these are a starting point, they’re rarely optimized for your specific pedal set and your driving style. Manufacturers’ tolerances vary, and even two identical sets of pedals might have slightly different true minimum and maximum values. Relying on defaults is like wearing a one-size-fits-all suit, it might technically fit, but it’s far from tailored.
Understanding Input Range
Your pedals have a physical range: from fully released (0%) to fully depressed (100%). Calibration defines where these points are within the software. If your pedals don’t send a true 0% signal when released, or don’t reach 100% when fully depressed, the game won’t register your full input potential. This can lead to issues like “ghost braking” (even when you’re not touching the pedal) or not being able to fully apply the throttle or brake.
The Impact on Driving Performance
A well-calibrated pedal set isn’t just about comfort; it directly translates into tangible on-track benefits. When your pedals respond with precision, you gain control, consistency, and ultimately, speed.
Enhanced Modulation and Finesse
This is arguably the biggest benefit. Imagine trying to trail brake into a corner, you need to feather the brake pedal with incredible precision to maintain grip. If your pedal’s input isn’t linearized and accurately mapped, those subtle inputs get lost or exaggerated. With proper calibration, every millimeter of pedal travel means something, allowing you to fine-tune your braking and throttle application. This is crucial for:
- Trail braking: Precisely controlling brake pressure as you turn into a corner.
- Throttle control: Avoiding wheelspin on corner exit and managing power efficiently.
- Smooth transitions: Seamlessly moving between braking, coasting, and accelerating.
Improved Consistency
In sim racing, consistency reigns supreme. A driver who can hit their marks lap after lap will almost always outperform someone who has occasional blistering laps interspersed with mistakes. When your pedals behave predictably, you build muscle memory faster. You learn exactly how much pressure to apply for a certain outcome. This predictability reduces guesswork and allows you to focus on the track and your racing line, rather than battling your controls.
Quicker Reaction Times (and Recovery)
When you don’t have to “think” about your pedal input, when it feels like an extension of your body, your reaction times naturally improve. If you encounter an unexpected slide or need to adjust your line mid-corner, precise pedal control allows for quicker, more accurate adjustments, helping you save a potentially lost lap or a crash.
Getting Started: The Practical Steps
Calibrating your pedals doesn’t require a degree in engineering. Most modern sim racing ecosystems provide built-in tools, or you might use third-party software.
In-Game Calibration (The Easiest Route)
Many popular sim racing titles, like iRacing, Assetto Corsa Competizione, and rFactor 2, have their own integrated calibration tools. This is often the simplest and most direct way to get things sorted.
- Locating the settings: Typically found in the “Controls,” “Options,” or “Hardware” sections of the game. Look for “Calibrate,” “Input,” or “Assign Controls.”
- The process: The game will usually prompt you to fully release and then fully depress each pedal. Make sure you press them all the way down, as hard as you naturally would during a race. This defines the maximum travel.
- Deadzones: This is where you set the minimum and maximum input points.
- Minimum (Lower Deadzone): This prevents “ghost input.” If your pedal doesn’t return to a true zero when released, raising the minimum deadzone slightly will tell the game to ignore any tiny residual signal below a certain threshold. Start with 0 and only increase if you notice unintended input.
- Maximum (Upper Deadzone): Less common, but sometimes useful if your pedal reaches its physical limit before registering 100% or to account for pedal “cramping” where full depression is uncomfortable. Generally, you want this at 100%.
Manufacturer Software (For Advanced Customization)
Many high-end pedal manufacturers (e.g. Heusinkveld, Fanatec, Simagic, VRS) provide their own dedicated software suites. These tools often offer more granular control than in-game options.
- Linearity/Response Curves: Beyond just setting min/max, these tools often allow you to adjust the response curve of your pedals.
- Linear: A 1:1 relationship between physical input and virtual output. If you press the pedal 50% physically, the game registers 50%. This is often the preferred starting point for brake pedals.
- Progressive (or exponential): Input increases more slowly at the beginning of the travel and then ramps up towards the end. Could be useful for throttle to prevent wheelspin low down, or for brake if you struggle with locking up early on.
- Regressive (or inverse exponential): Input increases quickly at the beginning and then slows down. Less commonly used but can be good for finely tuning clutch bites points or for brake pedals where you want very precise modulation at the end of the stroke.
- Deadzones: Similar to in-game, but often with more precise numerical entry.
- Mapping to Axes: Ensuring the correct physical pedal corresponds to the correct in-game axis (e.g. physical brake maps to digital brake axis).
Third-Party Solutions (When All Else Fails)
For older peripherals or niche hardware, tools like DIView (DirectInput View) can be invaluable. These tools directly show you the raw input signals from your devices, allowing you to see exactly what your pedals are outputting. While not a calibration tool itself, it helps diagnose issues before applying any in-game or manufacturer software settings. It’s more of a diagnostic helper.
Common Pitfalls and Troubleshooting
Even with clear instructions, issues can arise. Knowing what to look for can save you a lot of frustration.
Ghost Inputs and Deadzone Management
One of the most common issues is “ghost input,” where the game registers a slight brake or throttle input even when your foot isn’t on the pedal.
- Causes:
- Electrical noise or interference.
- Worn potentiometers not returning to true zero.
- Pedal physical wear preventing full return.
- Solutions:
- Increase the lower deadzone: In your game or manufacturer software, slightly raise the minimum input value for that pedal until the ghost input disappears. Don’t overdo it, as you’ll lose fidelity at the start of the pedal travel.
- Clean components (potentiometers): For potentiometer-based pedals, dust or grime can interfere. If you’re comfortable and your warranty allows, cleaning the potentiometer can sometimes resolve this.
- Check cables: Ensure all cables are securely plugged in and not damaged.
Not Reaching 100% Input
If you’re pressing the pedal fully, but the game or software indicates it’s only reaching 90-95%, you’re losing valuable input.
- Causes:
- Incorrectly set maximum calibration point.
- Physical obstruction preventing full travel.
- Sensor not registering full range.
- Solutions:
- Recalibrate with maximum force: During calibration, push the pedal as hard as you would in a race. Sometimes a light press during calibration doesn’t register the true maximum.
- Adjust upper deadzone (sparingly): If your pedal physically can’t reach 100%, but you want the game to interpret your full press as 100%, you can set the upper deadzone to slightly below 100% (e.g. if you only reach 95% physically, set the upper deadzone to 95%). Use with caution, as this compresses the remaining 5% of input into a smaller physical range.
- Inspect pedal assembly: Look for anything physically blocking the pedal from reaching its full travel.
Inconsistent Pedal Response
If your pedal feels different from one session to the next, or if the input isn’t smooth across its entire range.
- Causes:
- Loose connections.
- Failing sensor (especially potentiometers).
- Software conflicts.
- Solutions:
- Check all connections: Ensure USB cables and internal pedal wiring are secure.
- Update drivers/firmware: Manufacturers regularly release updates that can improve stability and accuracy.
- Test in multiple sims/software: If the issue persists across different applications, it points to a hardware problem. If it’s specific to one sim, it might be a game-related setting.
- Contact support: If you suspect a hardware fault, reach out to the pedal manufacturer’s support.
Going Beyond Basic Calibration: Fine-Tuning
Once the basics are sorted, you can dive deeper into optimizing your pedal feel for ultimate control. This is where personal preference and driving style really come into play.
Brake Force and Load Cell Pedals
For load cell pedals, calibration isn’t just about travel; it’s about pressure. You push on the load cell, and the sensor measures the force you apply.
- Adjusting force values: Most load cell pedals allow you to adjust the maximum force required for 100% brake input.
- Lower force: Easier to reach 100%, but harder to modulate subtle inputs at the higher end.
- Higher force: Requires more physical effort, but offers finer modulation throughout the entire range, especially for trail braking.
- Finding your sweet spot: Experiment. Start with a medium setting and drive several laps. If you’re locking up too easily, you might need more force, or a less aggressive response curve. If you can’t reach full braking, reduce the force. This is a very personal adjustment.
Throttle Response Curves
While often linear, tweaking the throttle response can greatly help with traction control and precision.
- Progressive curve: Can be beneficial for high-powered cars or those prone to wheelspin. It makes the initial throttle application less aggressive, giving you more precise control when coming out of corners.
- Linear curve: Offers a direct 1:1 response, which many experienced drivers prefer for predictable control, relying on their foot to manage the input.
- Experimentation is key: Try different curves on a track and car combination you race frequently. Pay attention to how the car reacts to your initial throttle input and how easily you can prevent wheelspin.
Clutch Bite Point
For those using a clutch pedal for complex launches or heel-and-toe downshifts, the bite point is critical.
- Purpose: The bite point is where the clutch starts to engage. Knowing exactly where this is physically on your pedal translates to consistent launches and smooth gear changes.
- Calibration: Some manufacturer software allows you to visibly see the clutch engagement point. You can often adjust sensitivity around this point to make it easier to find. Practice launching and shifting until it feels natural.
The Continual Process
Pedal calibration isn’t a one-and-done deal. It’s something you might revisit periodically.
- New Sim/Game: Always recalibrate when installing a new sim racing title, as their input systems can vary.
- Hardware Changes: If you upgrade your pedals, or even just change springs/elastomers on your existing set, recalibrate.
- Driver/Firmware Updates: Sometimes these updates can reset or alter default pedal behavior, requiring a fresh calibration.
- Wear and Tear: Over time, especially with potentiometer-based pedals, components can wear, leading to slight variations in input. A quick recalibration can often address minor drift.
Ultimately, your pedals are your primary interface with the car’s most critical functions: accelerating and decelerating. Investing a bit of time in proper calibration and fine-tuning transforms them from basic input devices into extensions of your intent. You’ll drive more consistently, have more confidence, and significantly improve your overall sim racing performance. Don’t just plug and play; calibrate for control.
FAQs
What is pedal calibration?
Pedal calibration is the process of adjusting the sensitivity and response of pedals, such as gas and brake pedals in a vehicle, to ensure they are functioning accurately and safely.Why is pedal calibration important?
Pedal calibration is important to ensure that the pedals in a vehicle respond accurately to the driver’s input, which is crucial for safe and efficient driving.How is pedal calibration performed?
Pedal calibration is typically performed using specialized diagnostic tools and software that allow technicians to adjust the sensitivity and response of the pedals according to manufacturer specifications.When should pedal calibration be done?
Pedal calibration should be done when there are issues with the responsiveness or accuracy of the pedals, during routine maintenance, or when replacing pedal components.Can pedal calibration be done at home?
While some basic adjustments to pedal sensitivity can be made at home, it is recommended to have pedal calibration performed by a qualified technician using the appropriate tools and software to ensure accuracy and safety.What is pedal calibration and why does it matter?
Why aren't default pedal settings good enough?
What is a lower deadzone used for?
More from Equipment & Gear
Sim Racing PC Build Guide
Sim racing PC build guide: why the AMD Ryzen 7 7800X3D wins on single-thread cache, how to match your GPU to your display, plus four complete budget b…
Sim Racing VR vs Triples Guide
VR vs triple monitors for sim racing in 2026: compare Quest 3, Pimax Crystal Light and triple 1440p setups on field of view, depth, comfort, cost and …
Sim Racing Motion Platforms Guide
Sim racing motion platforms guide: compare seat movers, chassis movers, D-BOX, PT Actuator, and bass shakers, with prices from $150 to $20,000-plus an…