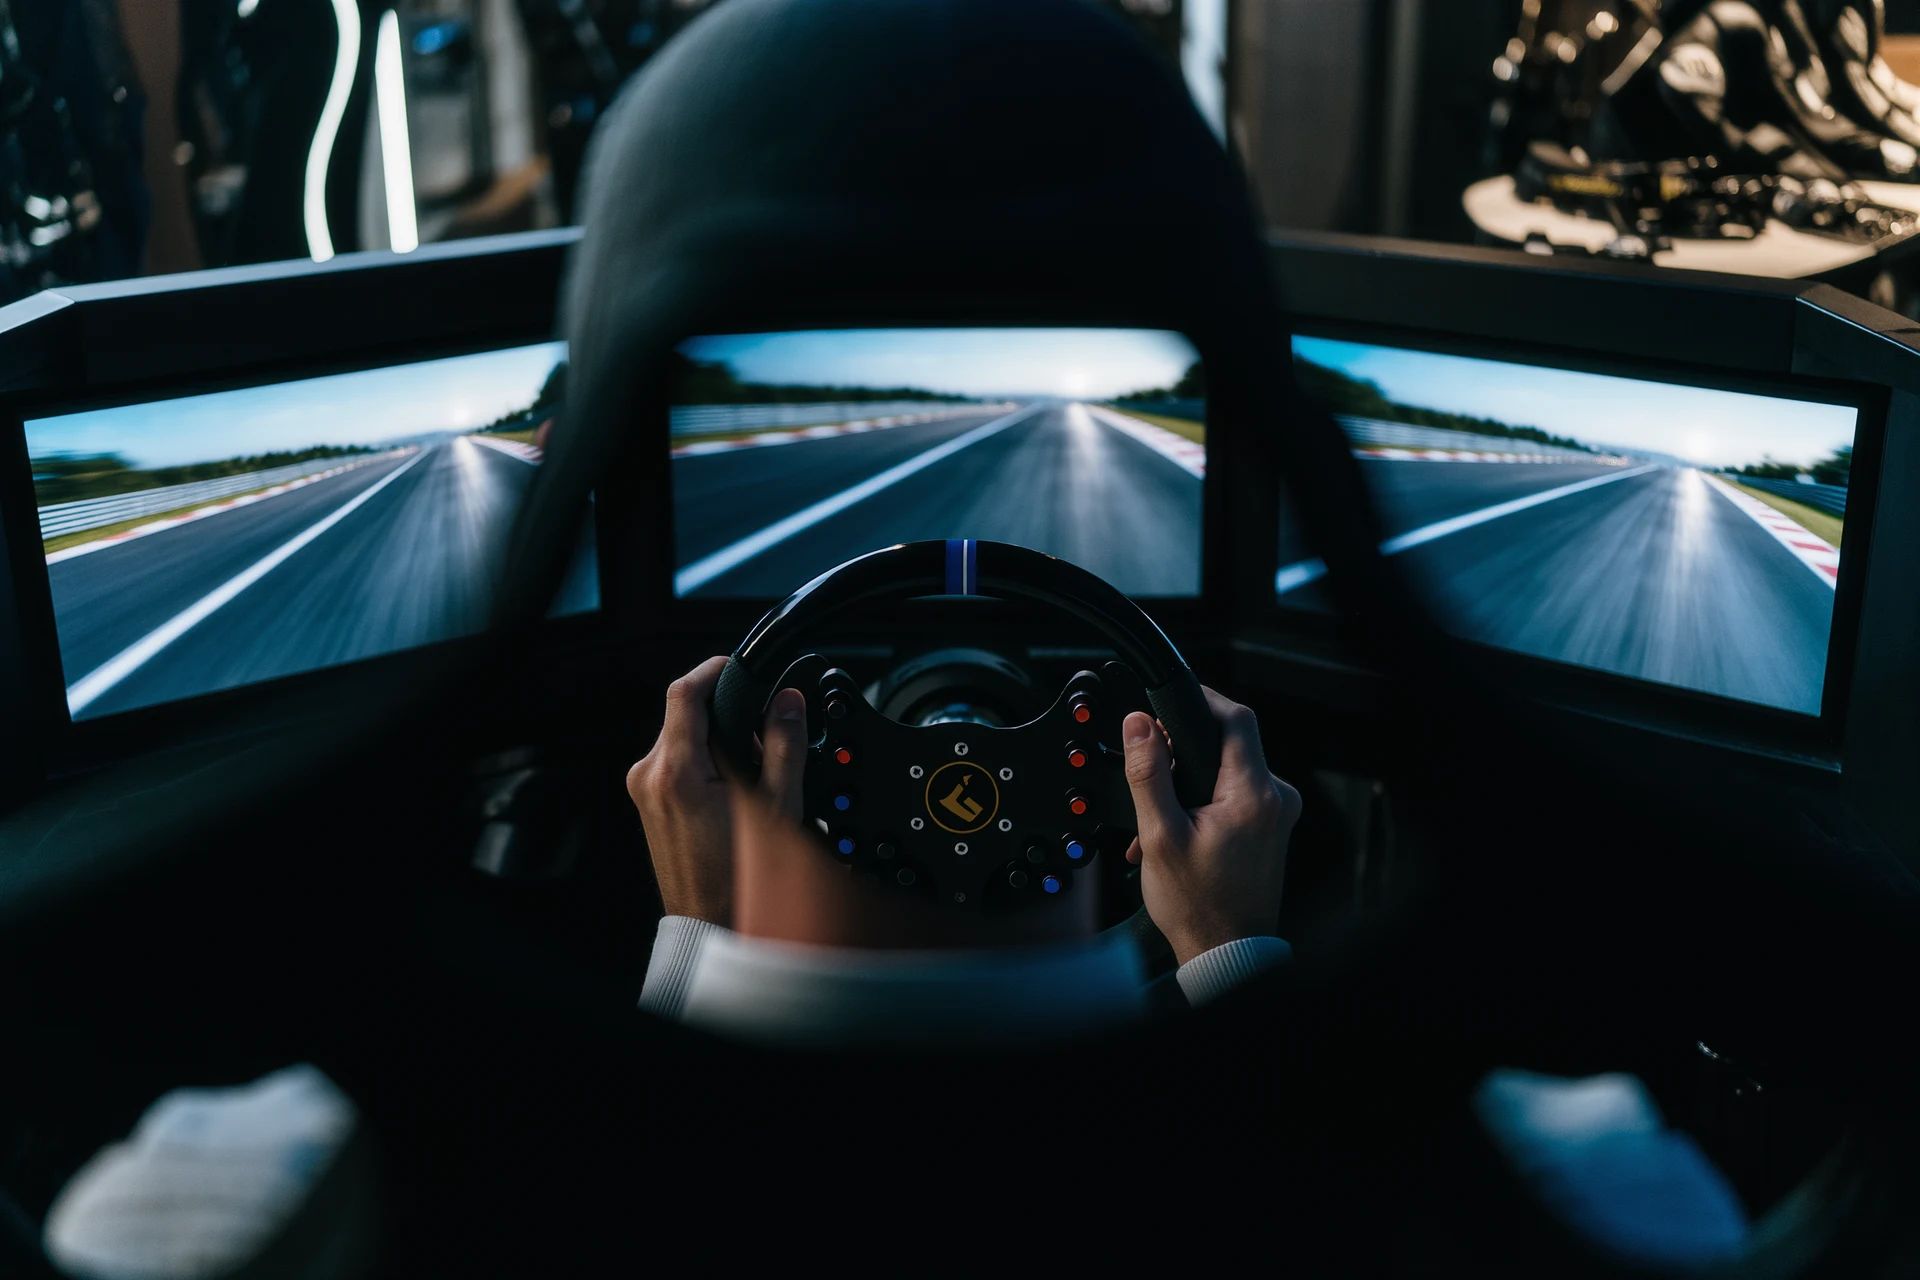
Training & Performance · 12 min
Sim Racing Coaching: What a Coach Finds in Your Data
What sim racing coaching covers: how a coach reads your telemetry and replays, what to look for in a coach, how sessions run and what to compare…
Training and performance in sim racing: braking, racing lines, throttle control, consistency, telemetry, coaching and the mental side of driving.

What sim racing coaching covers: how a coach reads your telemetry and replays, what to look for in a coach, how sessions run and what to compare…
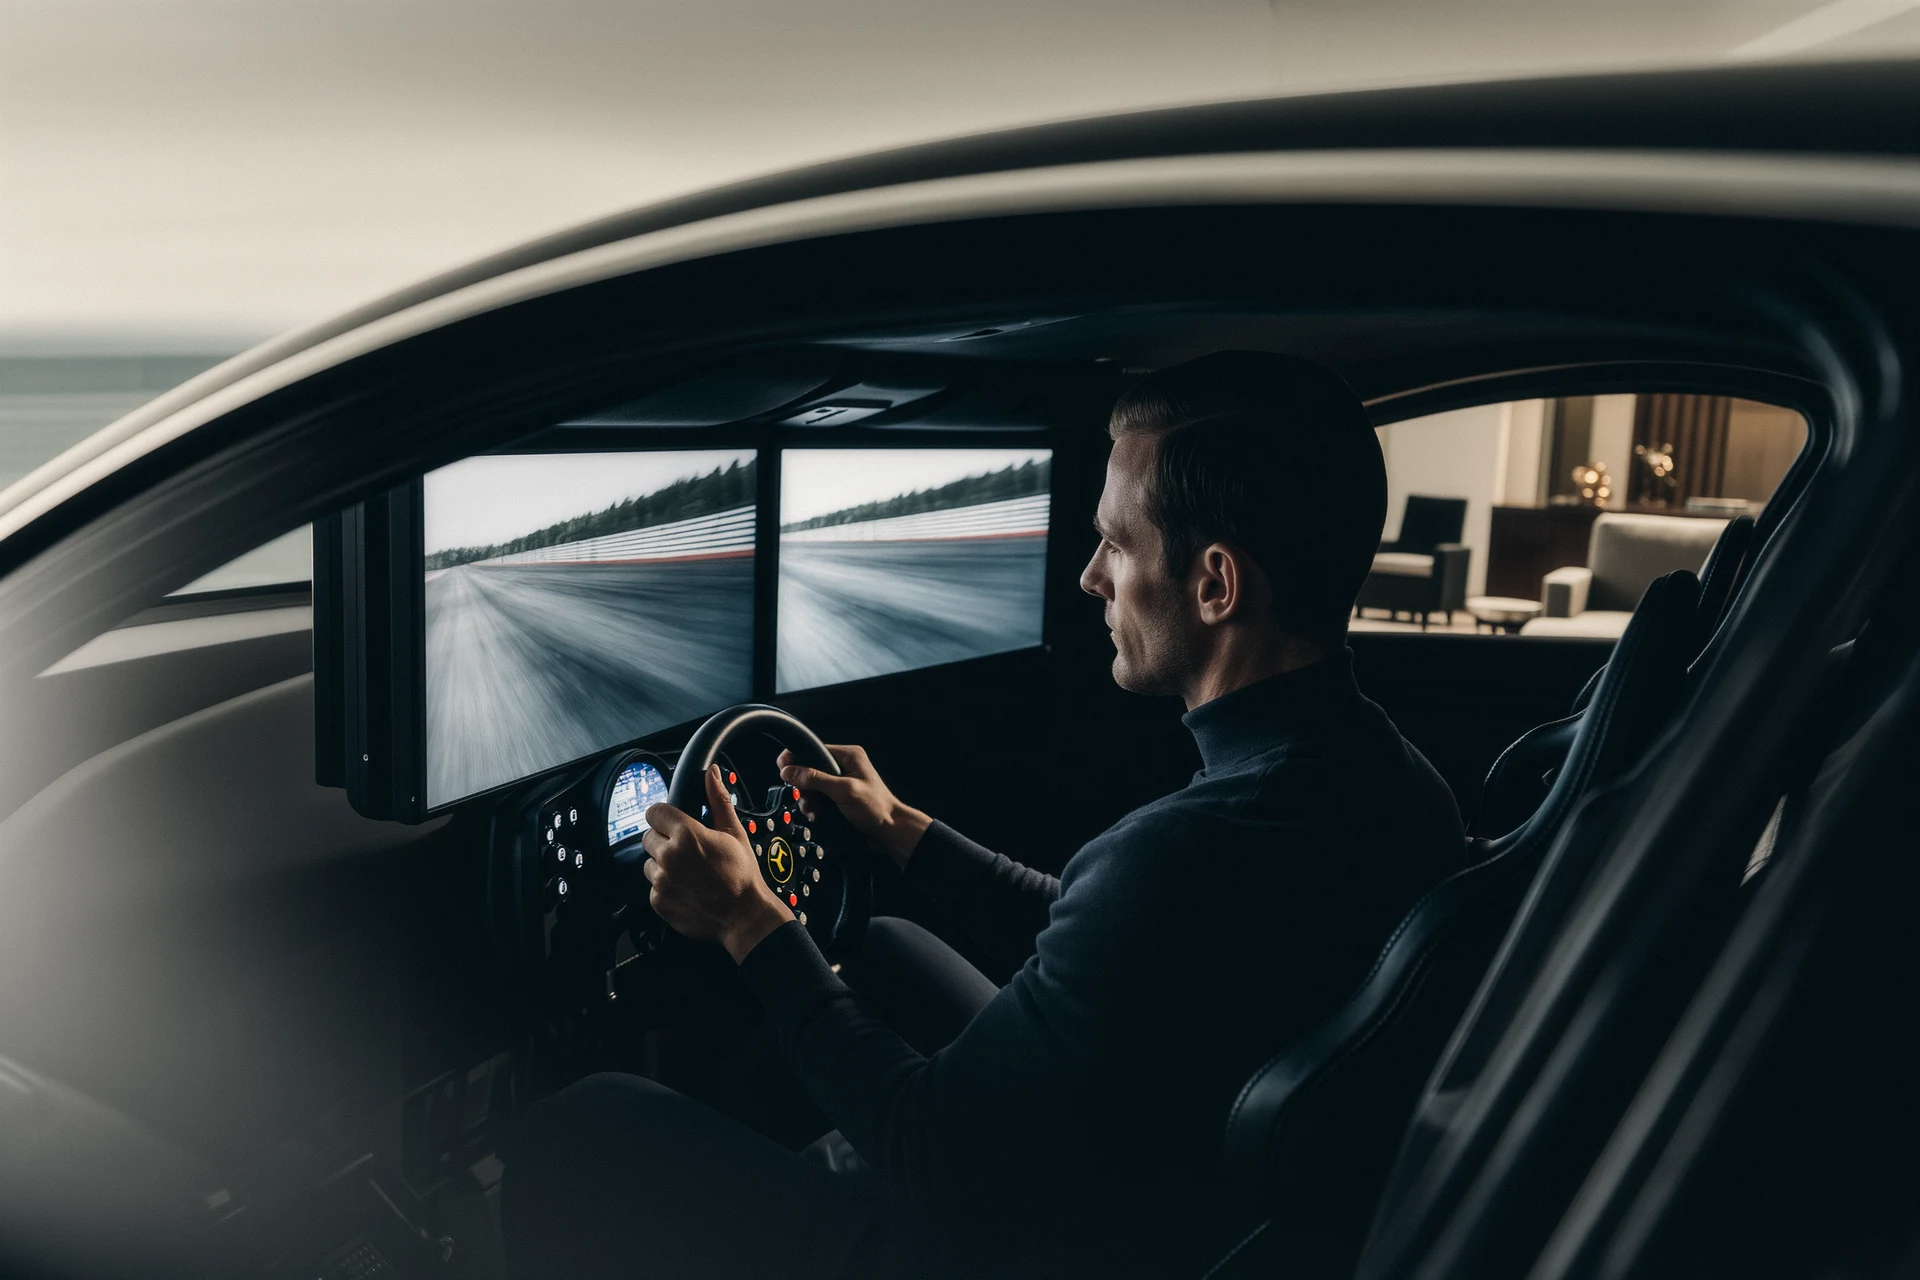
A sim racing practice routine in three sessions, observation, consistency and race conditions, plus drills for braking, throttle, review and…
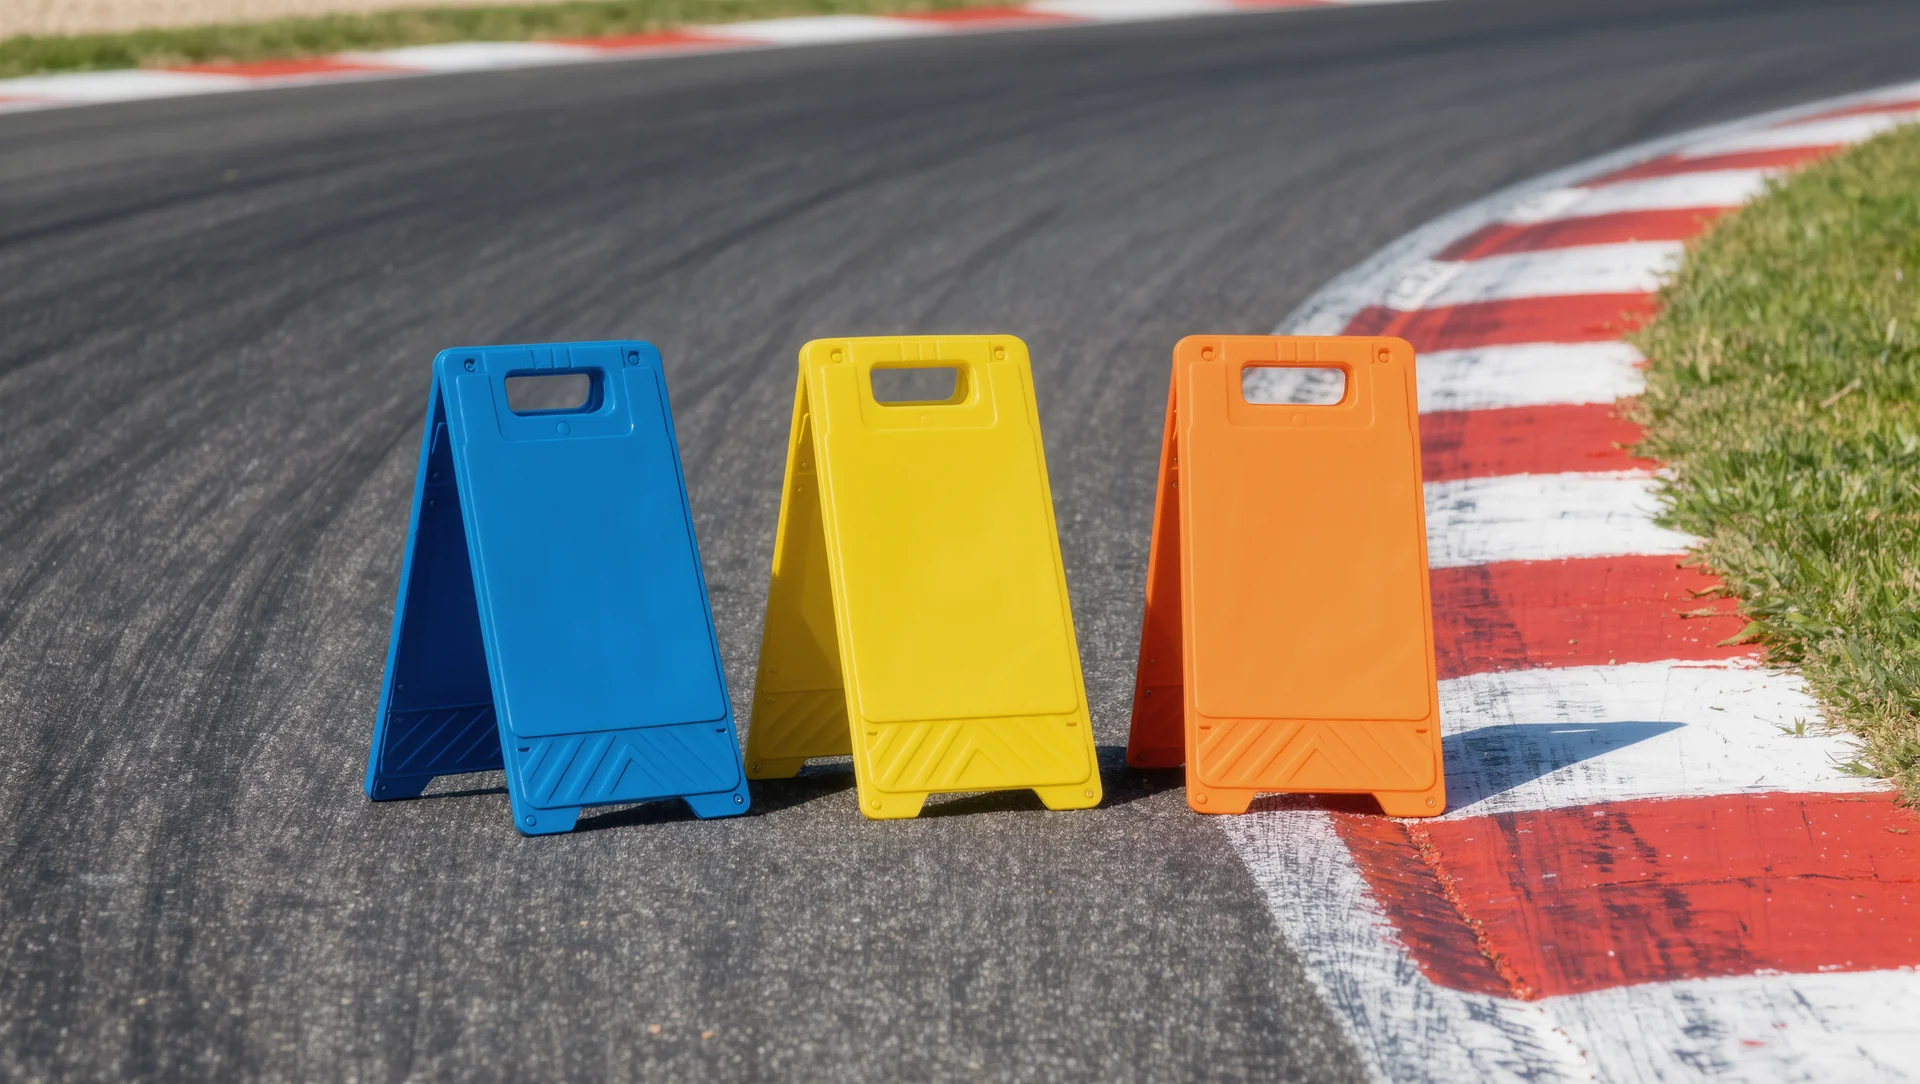
Braking points you can repeat rather than remember: the arithmetic behind the distances, why markers fail and the method that survives a race.

Trail braking explained through the friction circle: why it works, what it costs when done wrong and how to learn it in one session per corner.
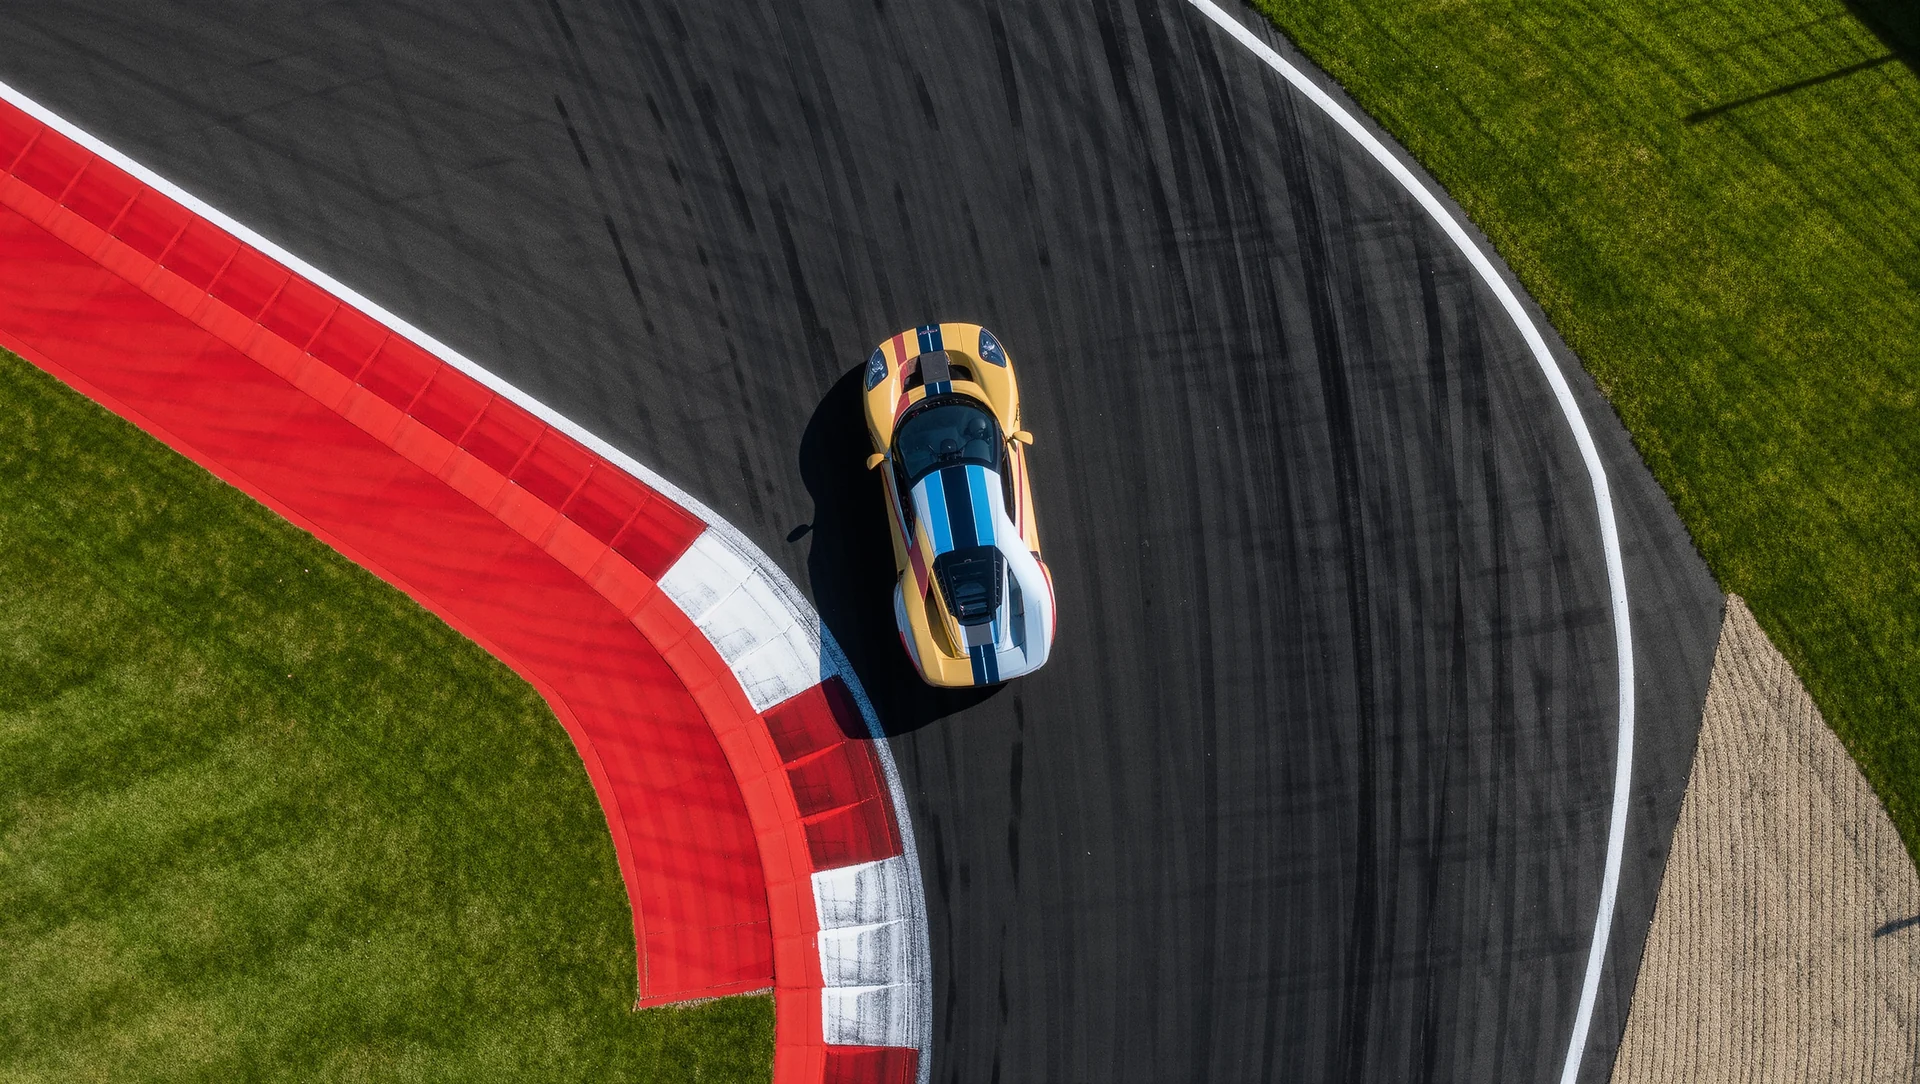
Early apex or late apex and why: the radius arithmetic behind the racing line, what each choice costs and how to pick one per corner rather than per driver.
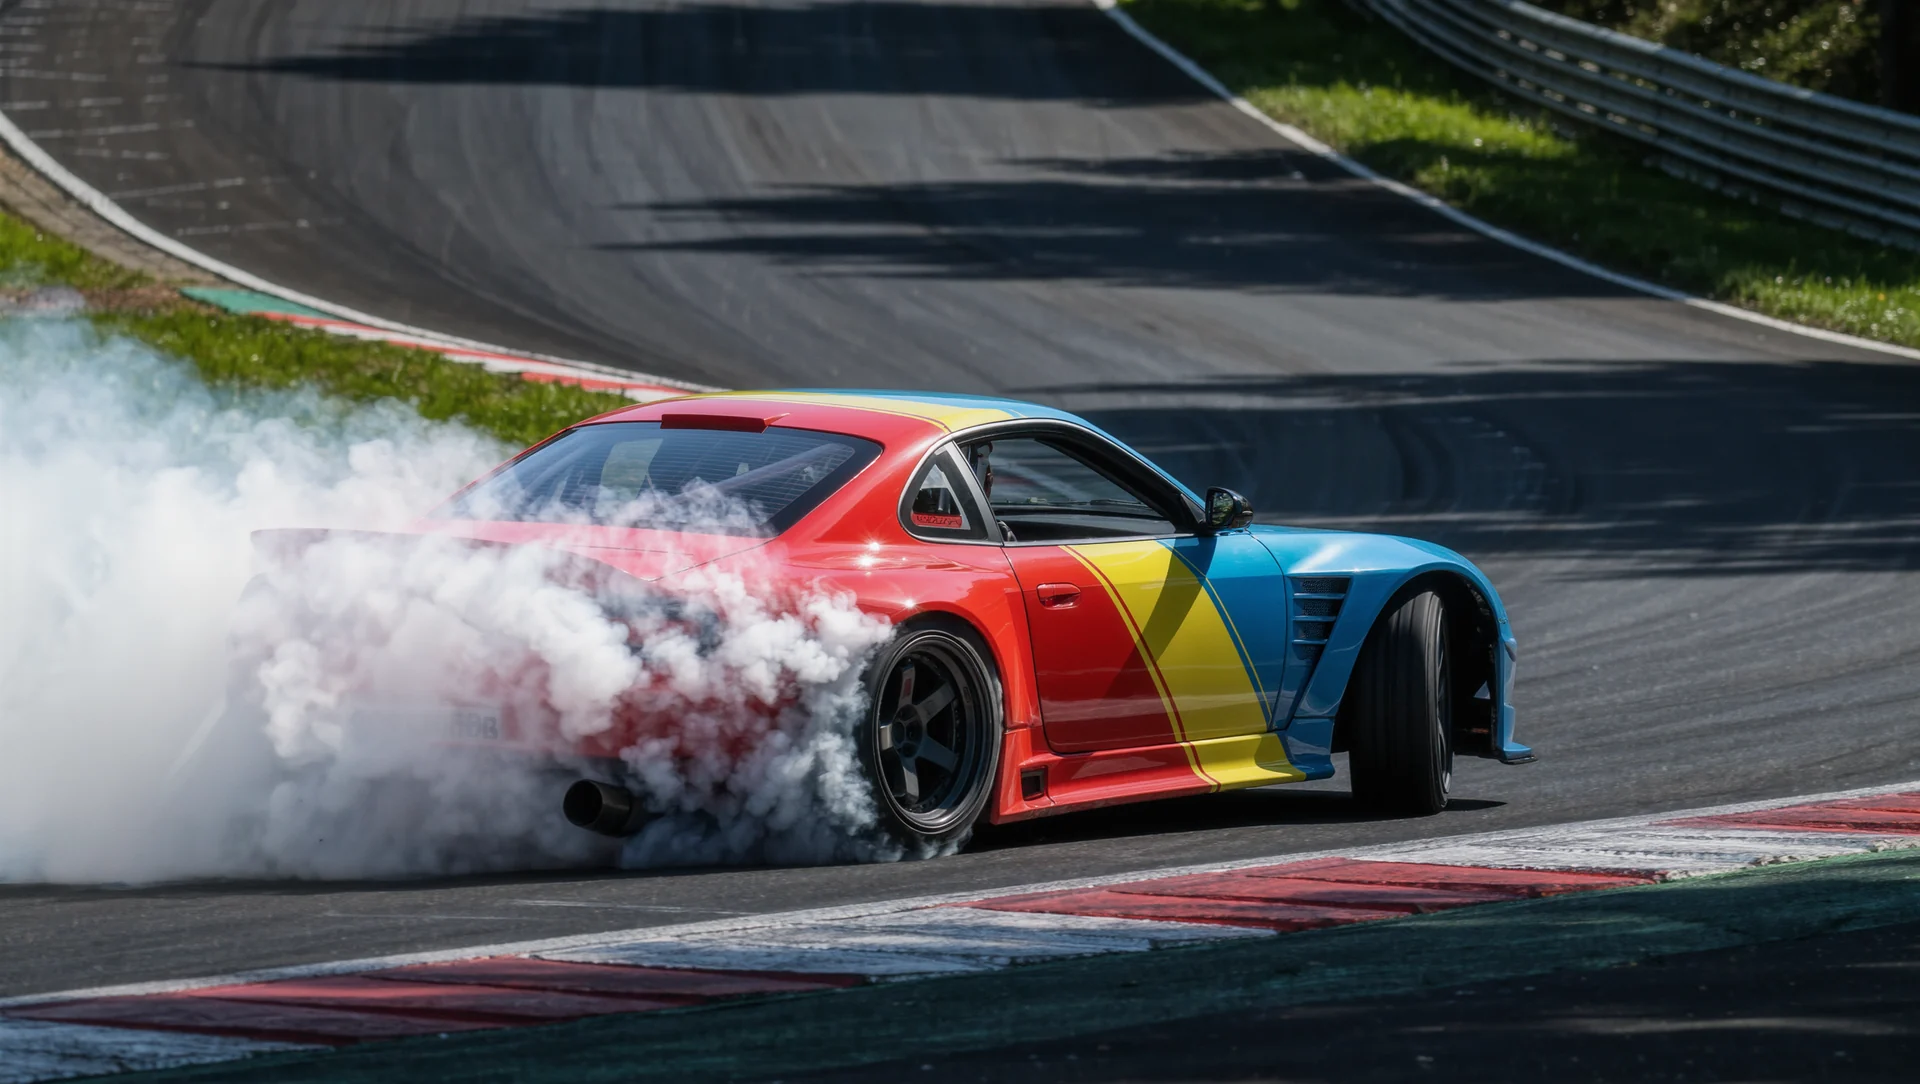
Catching oversteer before the car decides for you: the timing, why most catches arrive late and the drill that shortens your reaction.
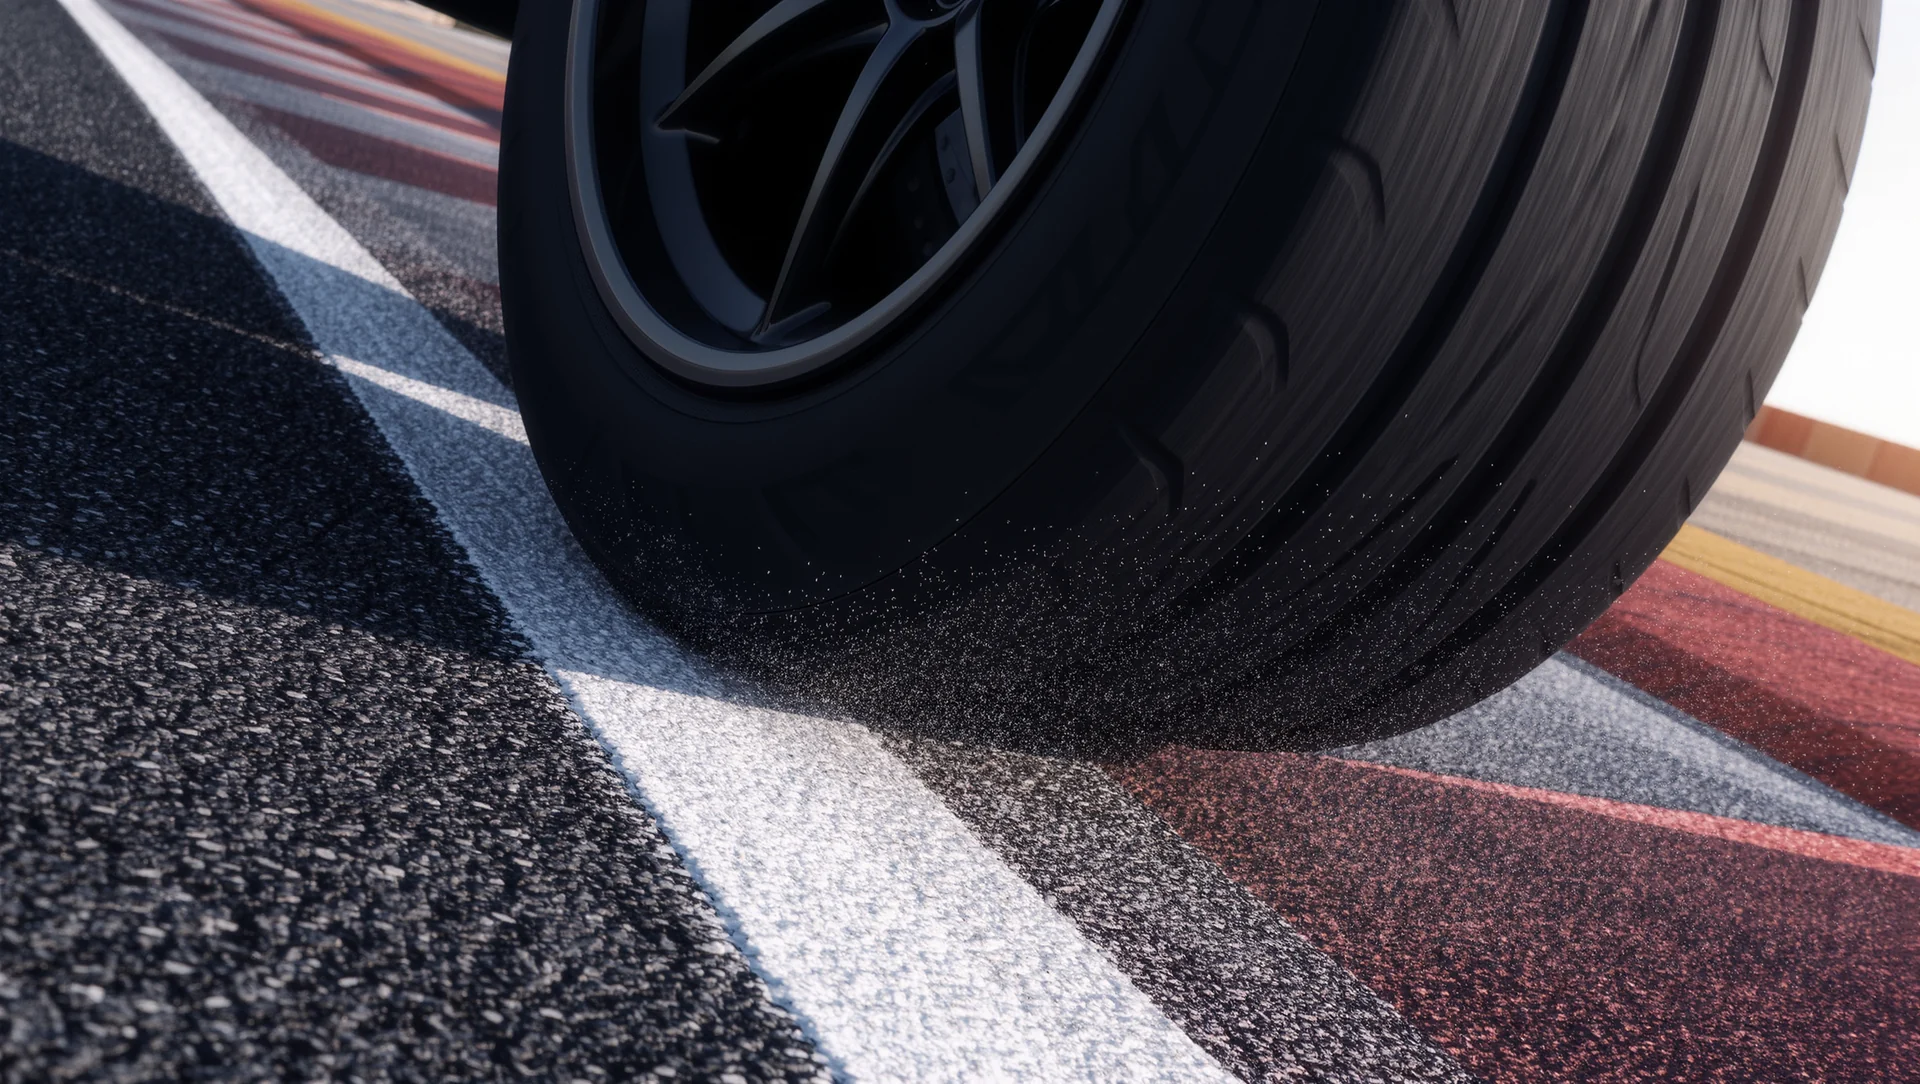
Understeer diagnosed properly: driver, setup or tyre temperature, and the order in which to rule each one out before touching the car.

Consistency training: the unglamorous drill that wins races, why the fastest lap is the wrong target and how to measure progress in a way that does not lie.
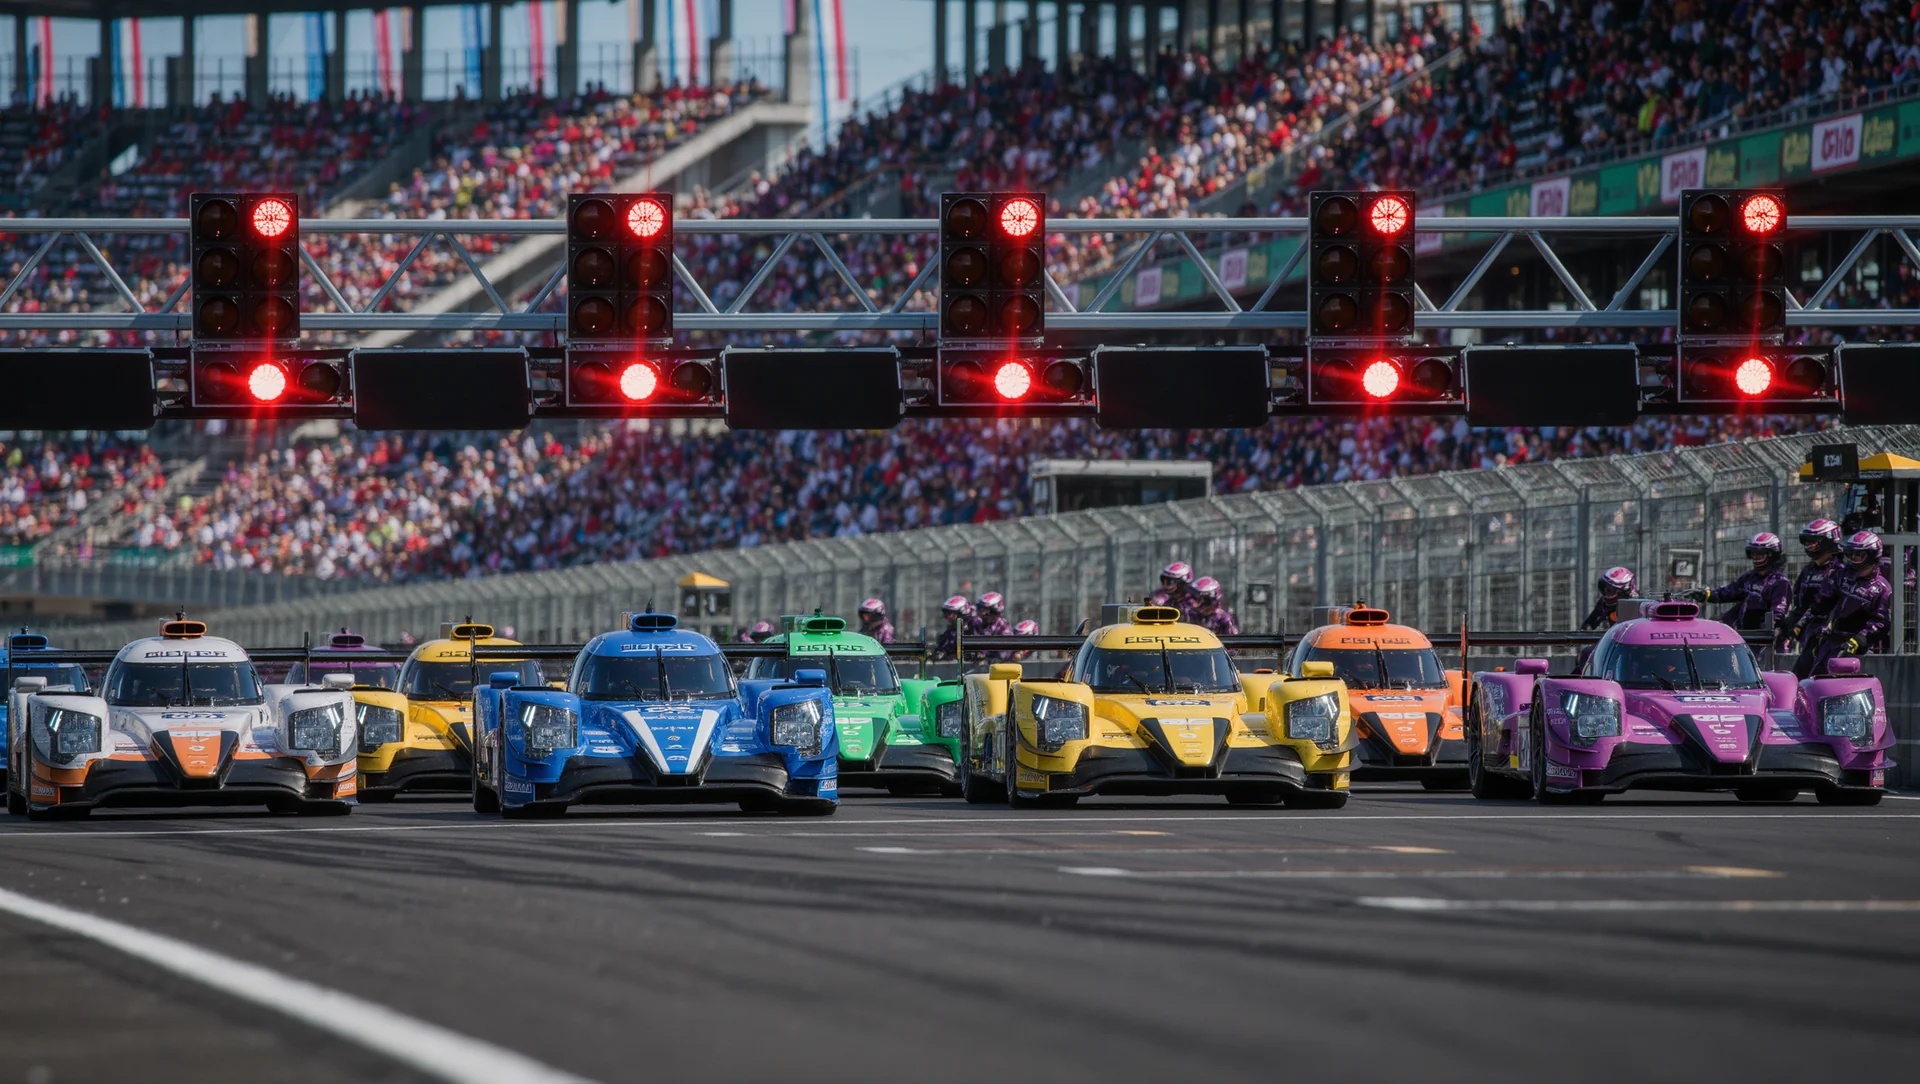
The start: clutch, bite point and the first corner, with the timing arithmetic and the three mistakes that end more races than any overtake.

Overtaking without collecting penalties: what the rulebook actually charges for, where the responsibility sits and the three moves that pay.

Wet racing: why the line moves, where the grip actually is and the three adjustments that turn a survival exercise into a result.

The tyre window: how to get into it, how to stay there and which of the four readings on the screen actually tells you something.
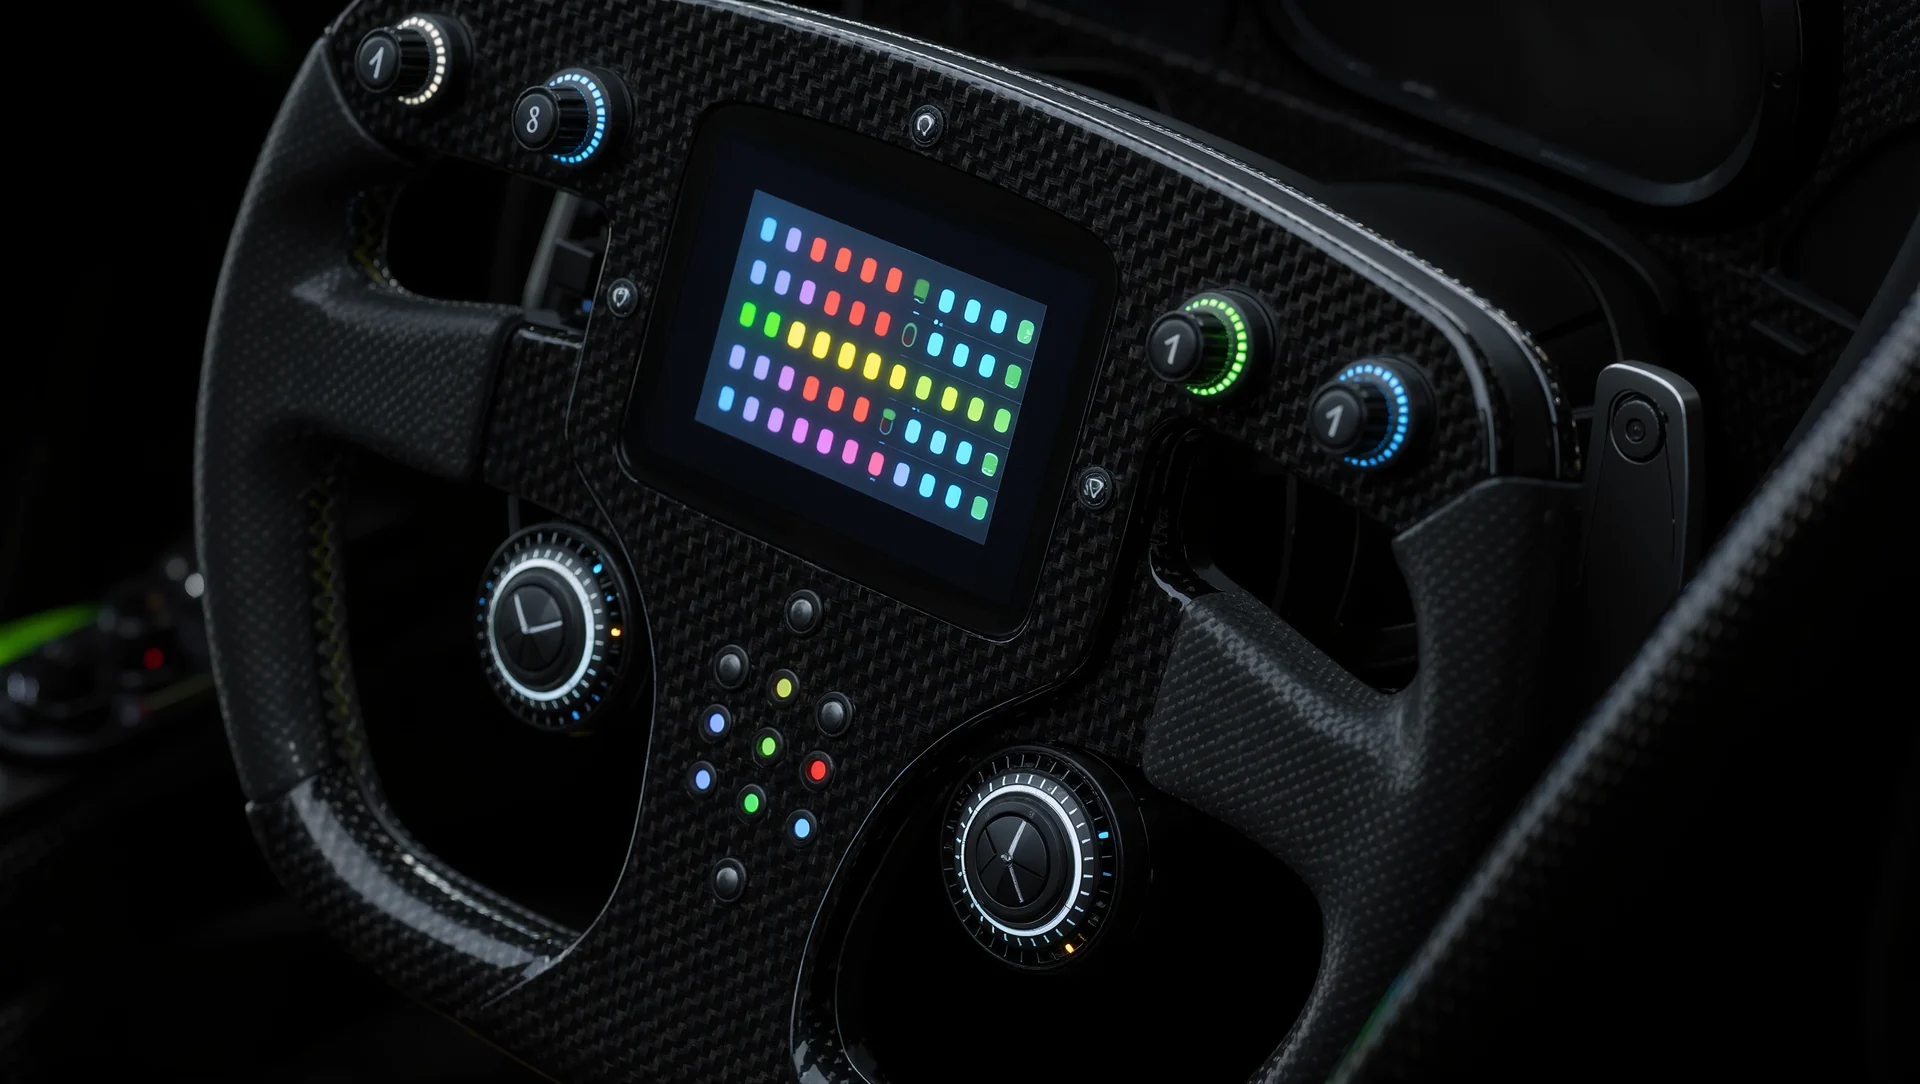
Lift and coast: the arithmetic of saving fuel without losing the position, when it pays and the three ways drivers get it wrong.
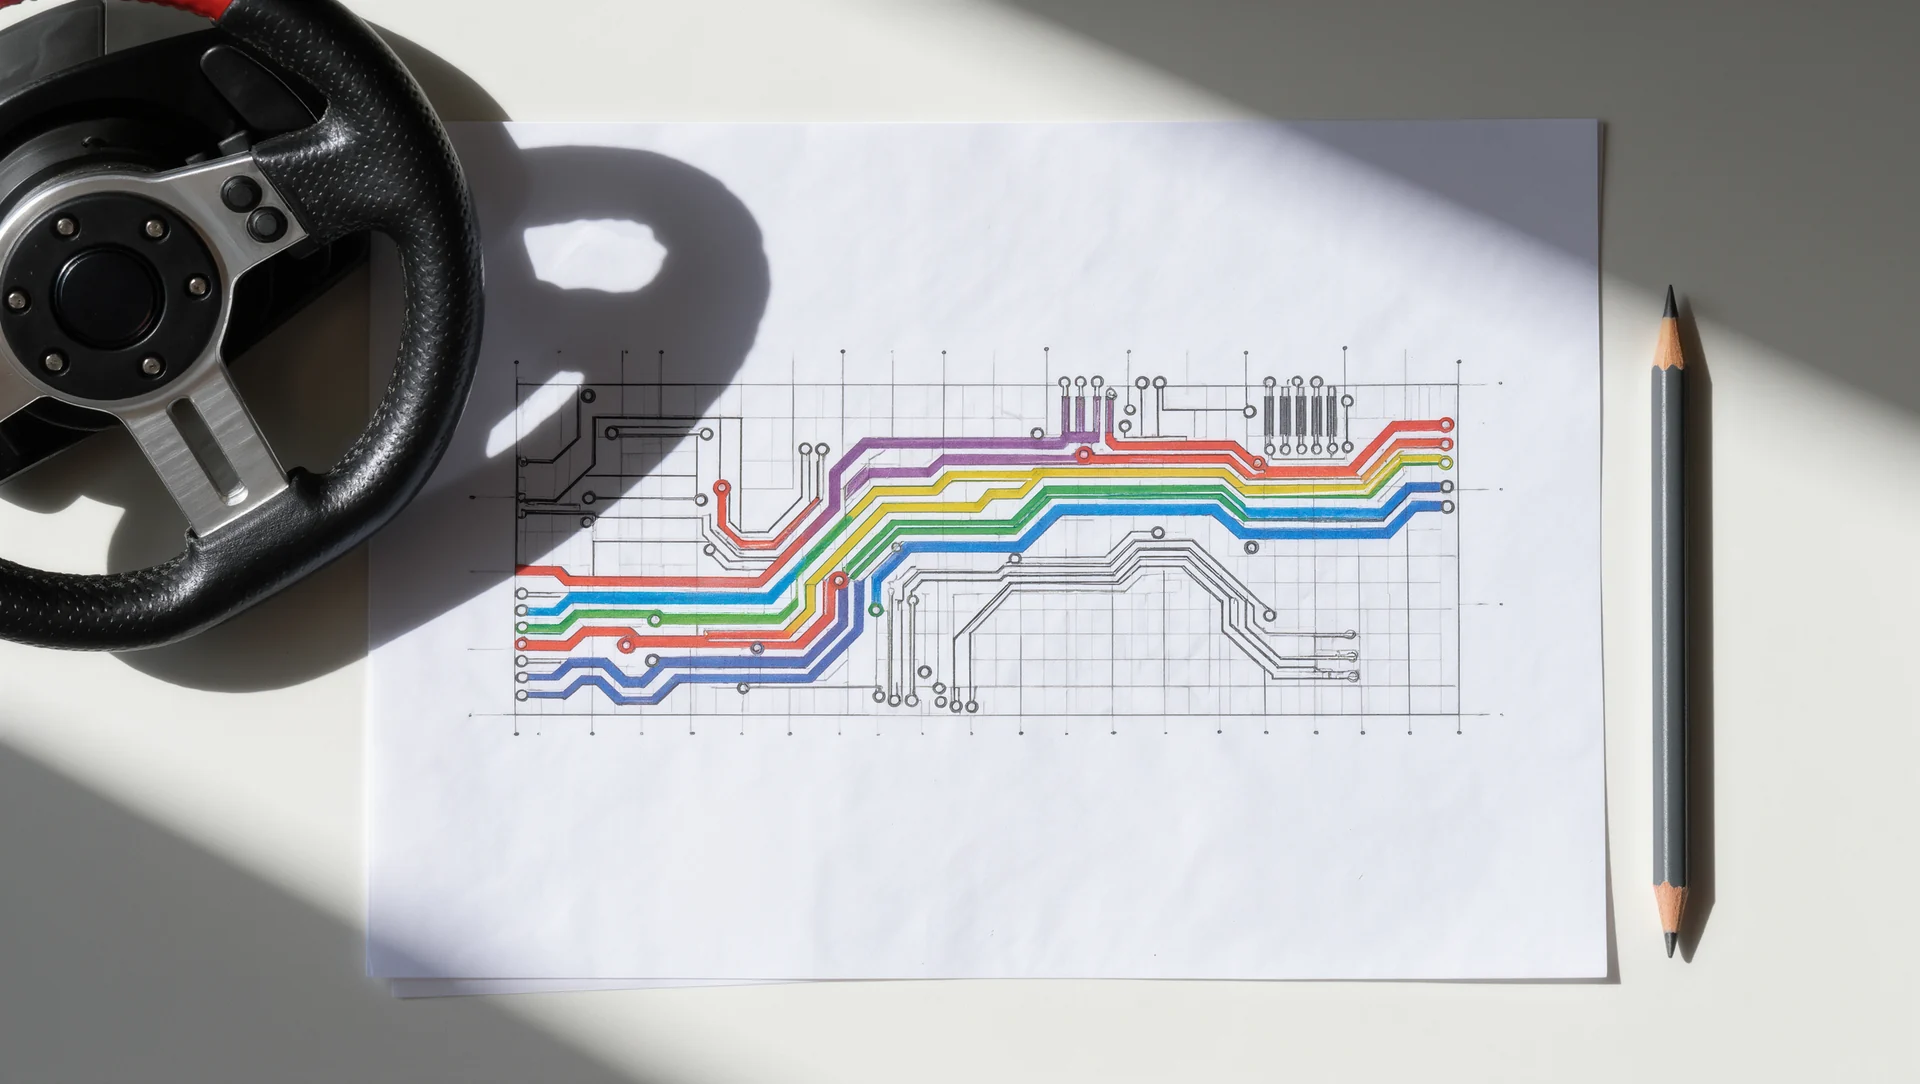
Learning a new circuit in three structured sessions instead of ten unstructured ones, with what each session is for and how to know it worked.
The replay session: finding the mistake you cannot feel, which four channels to look at first and how to turn a replay into a change.
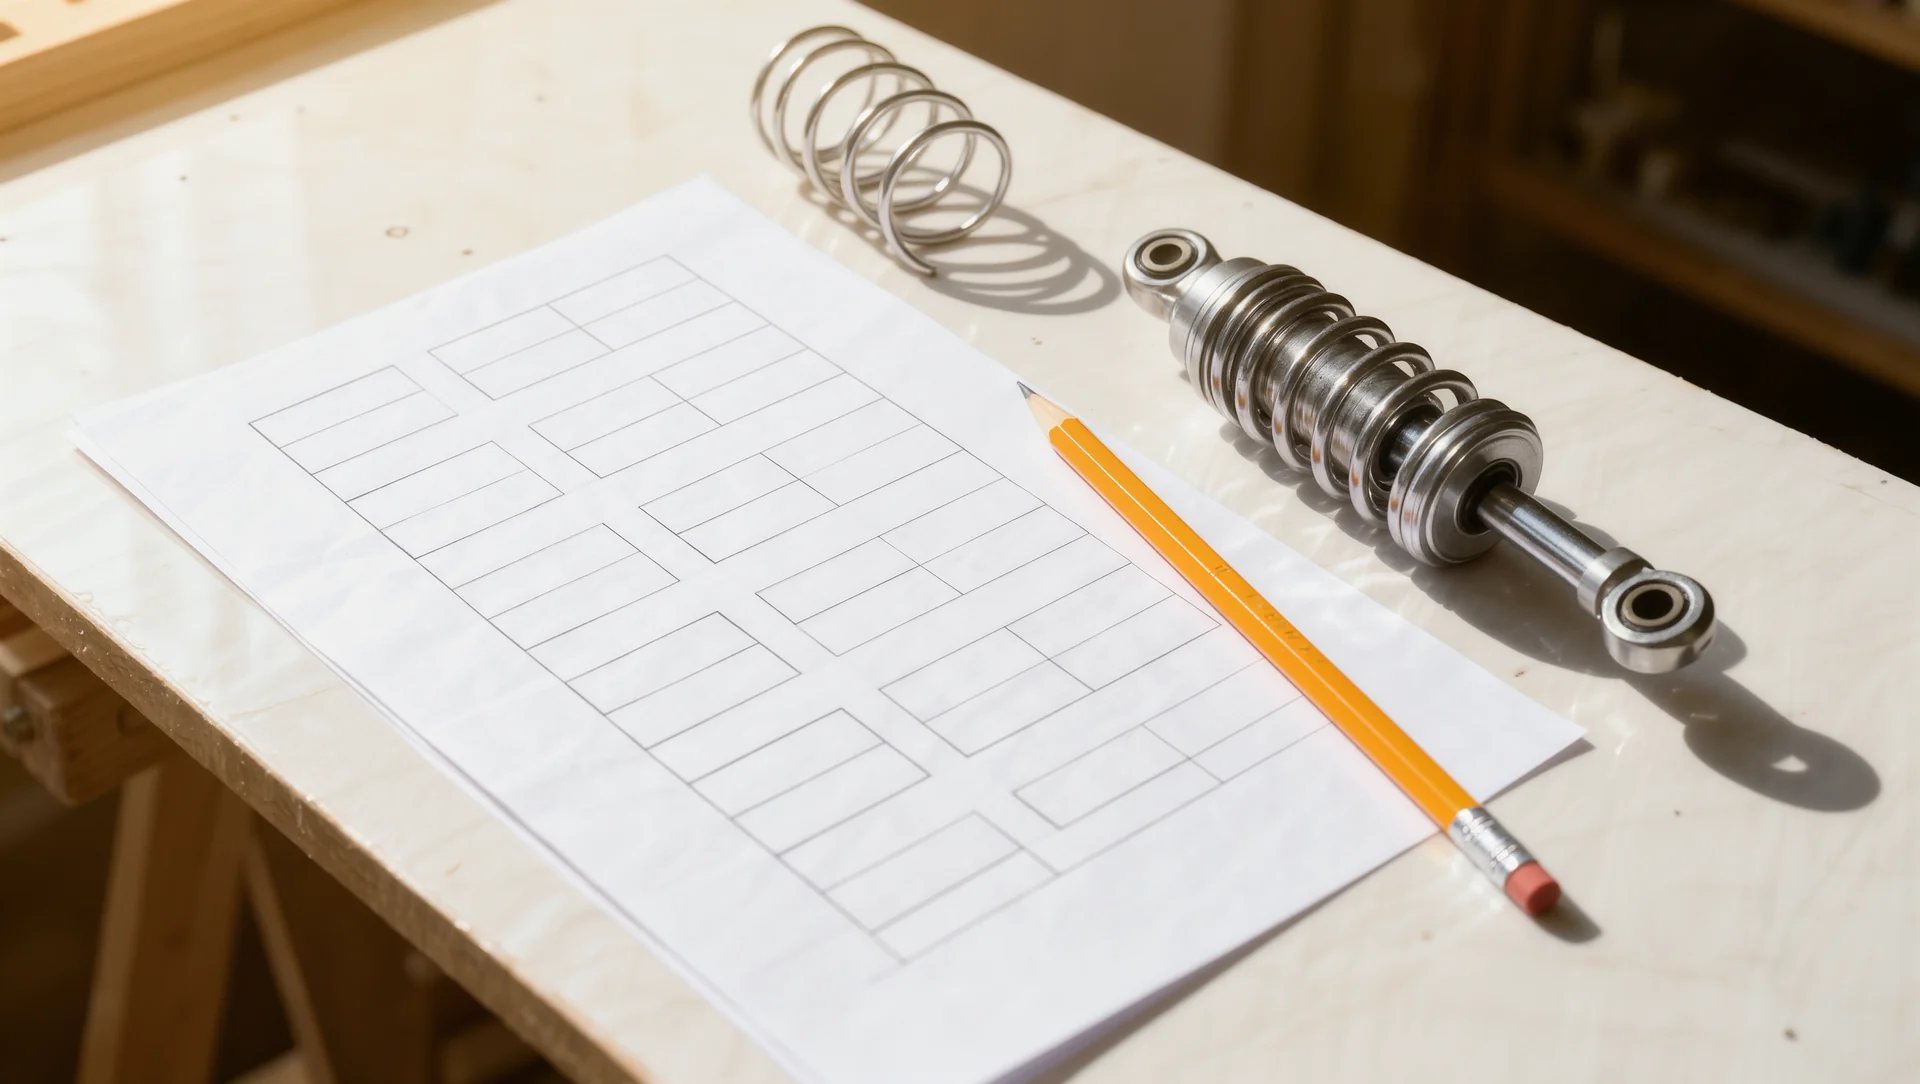
Setup work in the right order: why one change at a time is not pedantry, which adjustment comes first and how to know when to stop.
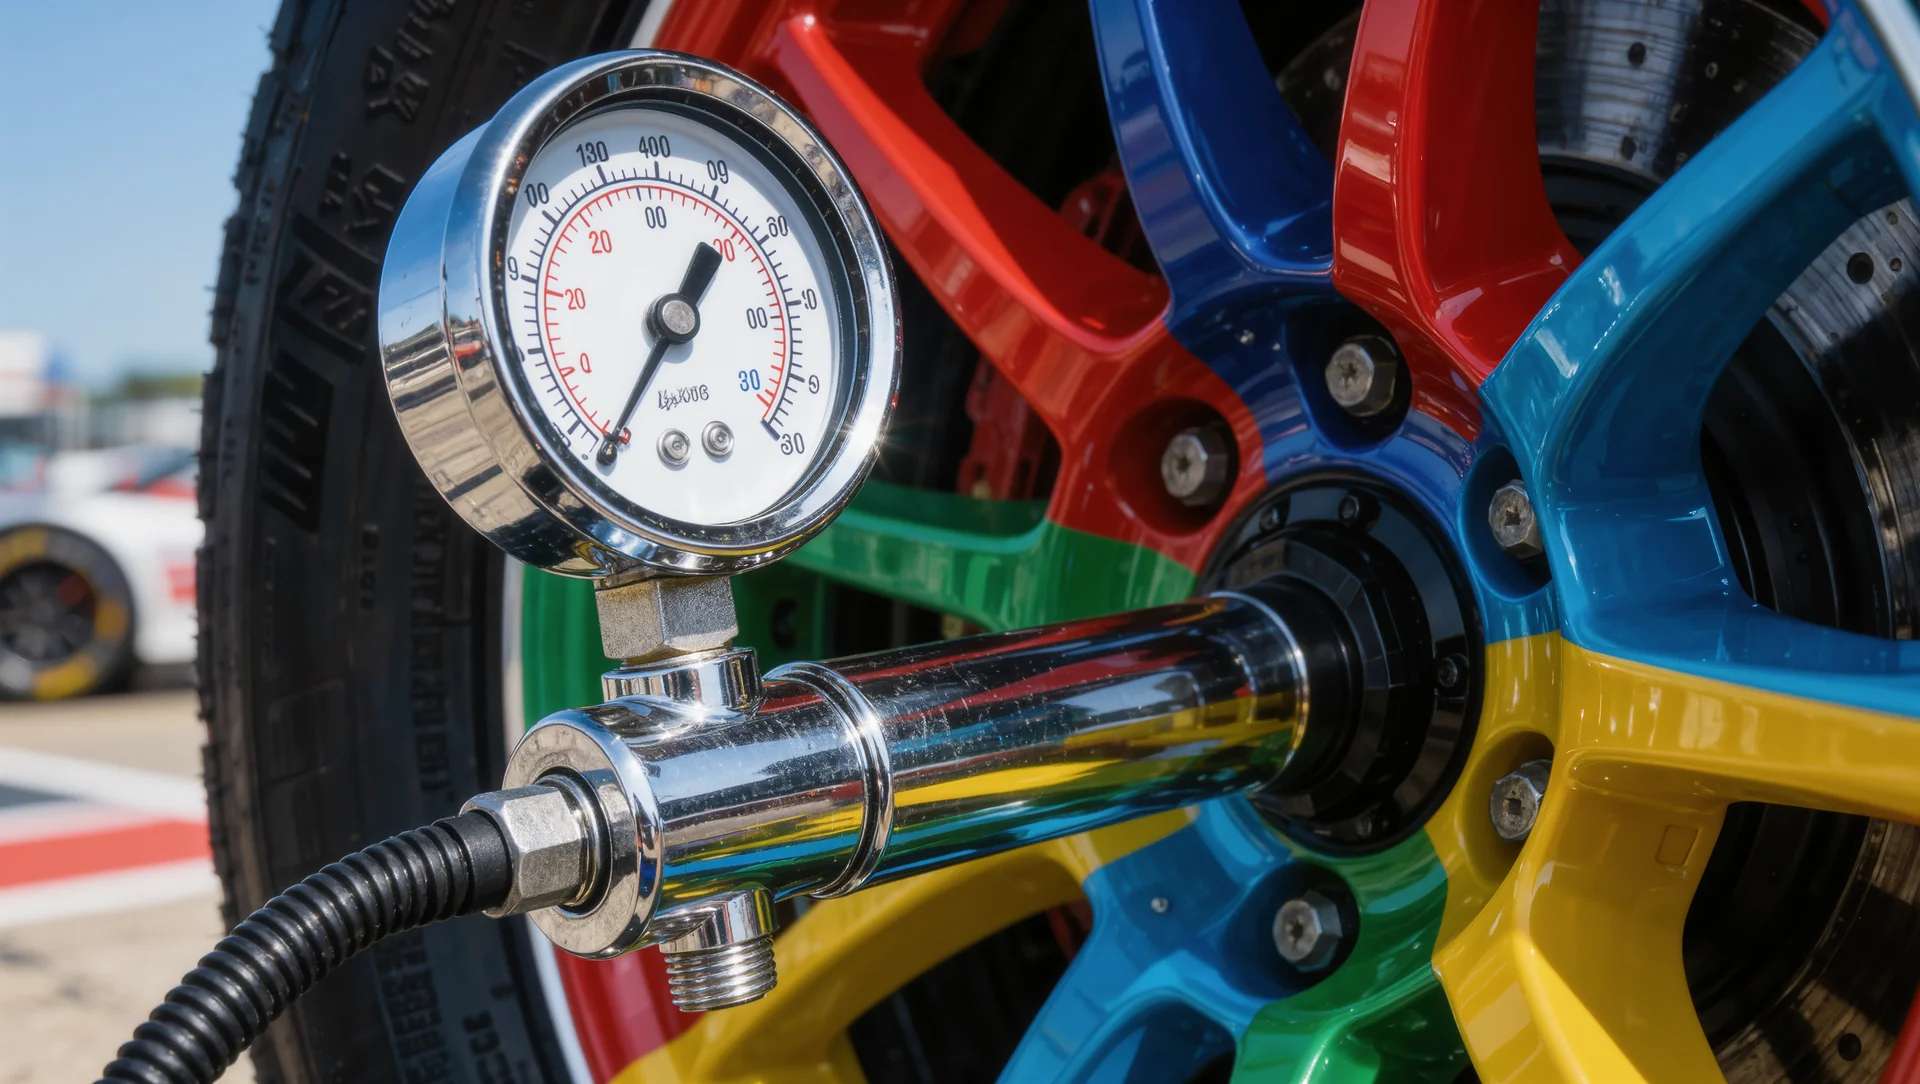
Tyre pressure is the fastest free lap time available: what it actually changes, the workflow that finds the right figure and why the answer moves during a race.
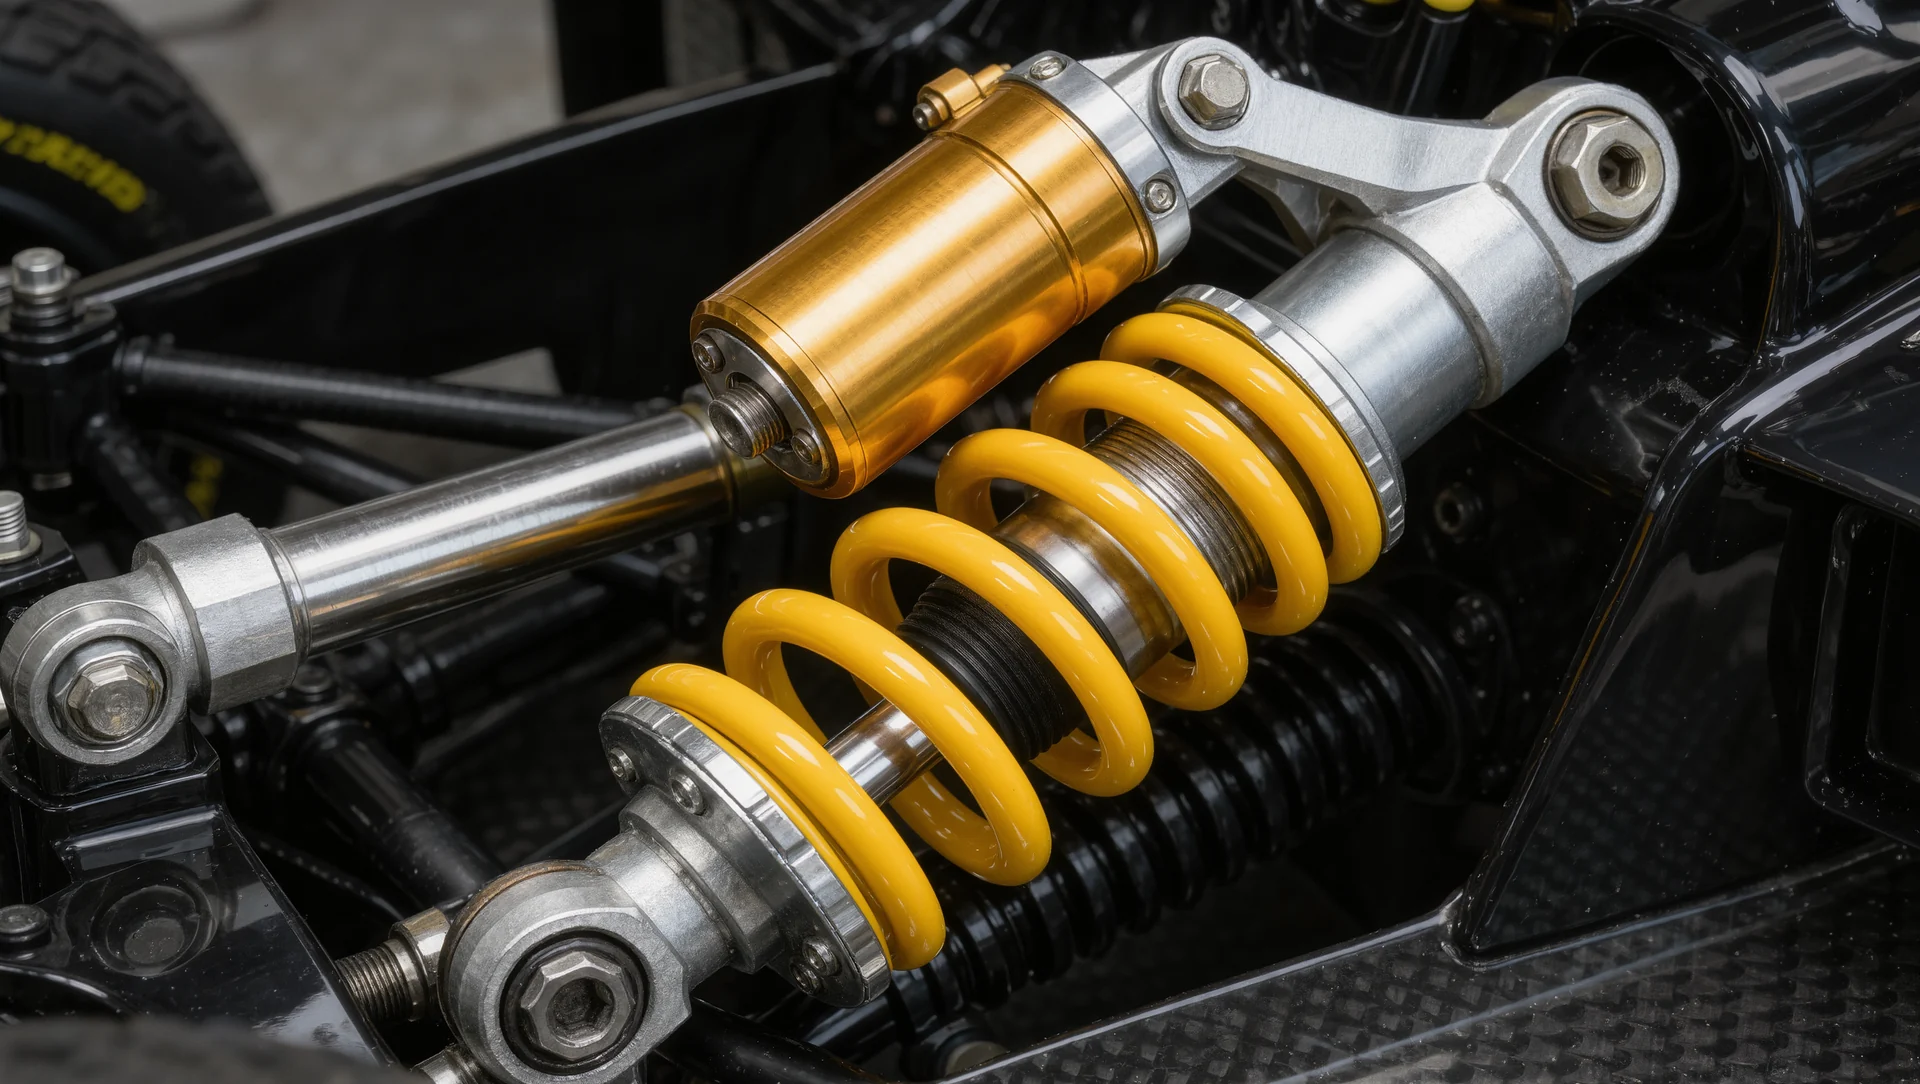
Springs and dampers: what each one actually controls, why they are not interchangeable and the order to change them in.
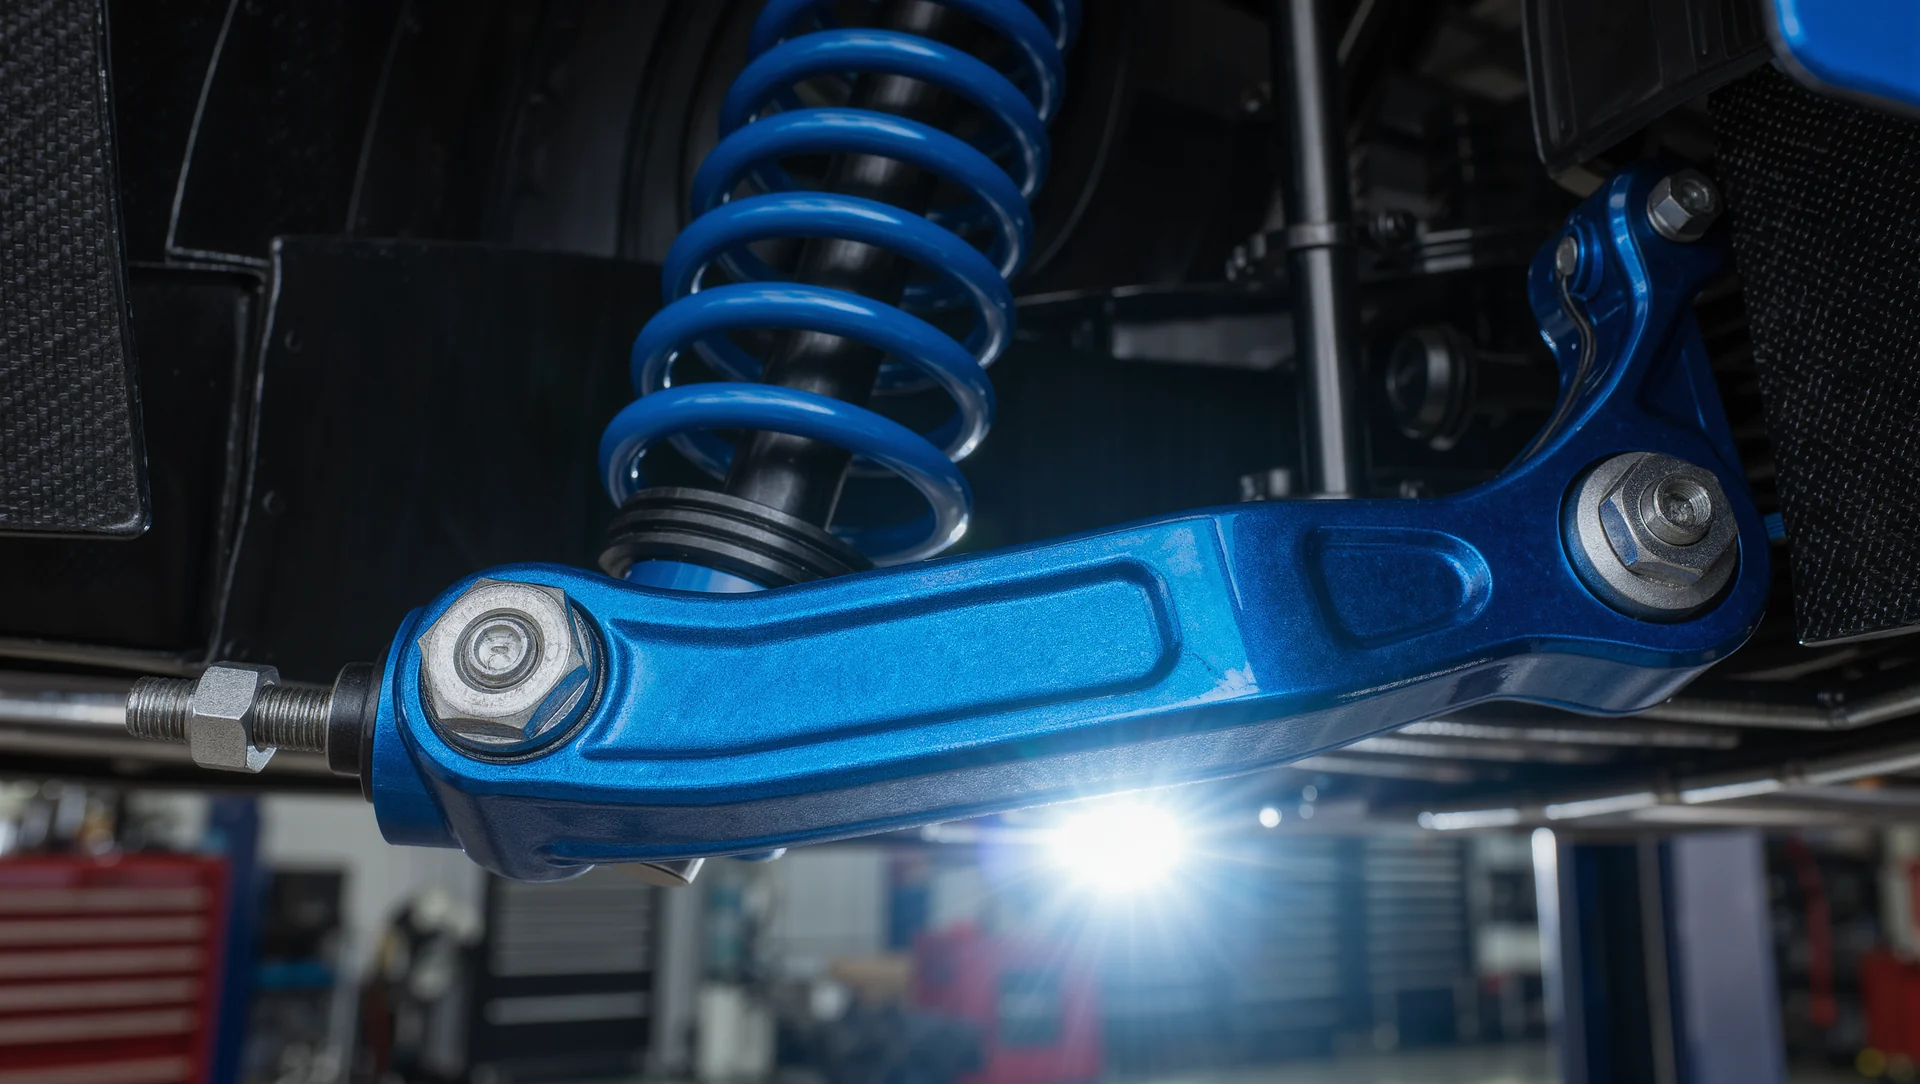
Anti roll bars are the fastest way to move the balance: what each end does, the trap of stiffening both and how to tell roll oversteer from snap oversteer.
Camber and toe: grip now against tyre life later, what each setting does at which point of the corner and how to read the tread temperatures that judge them.
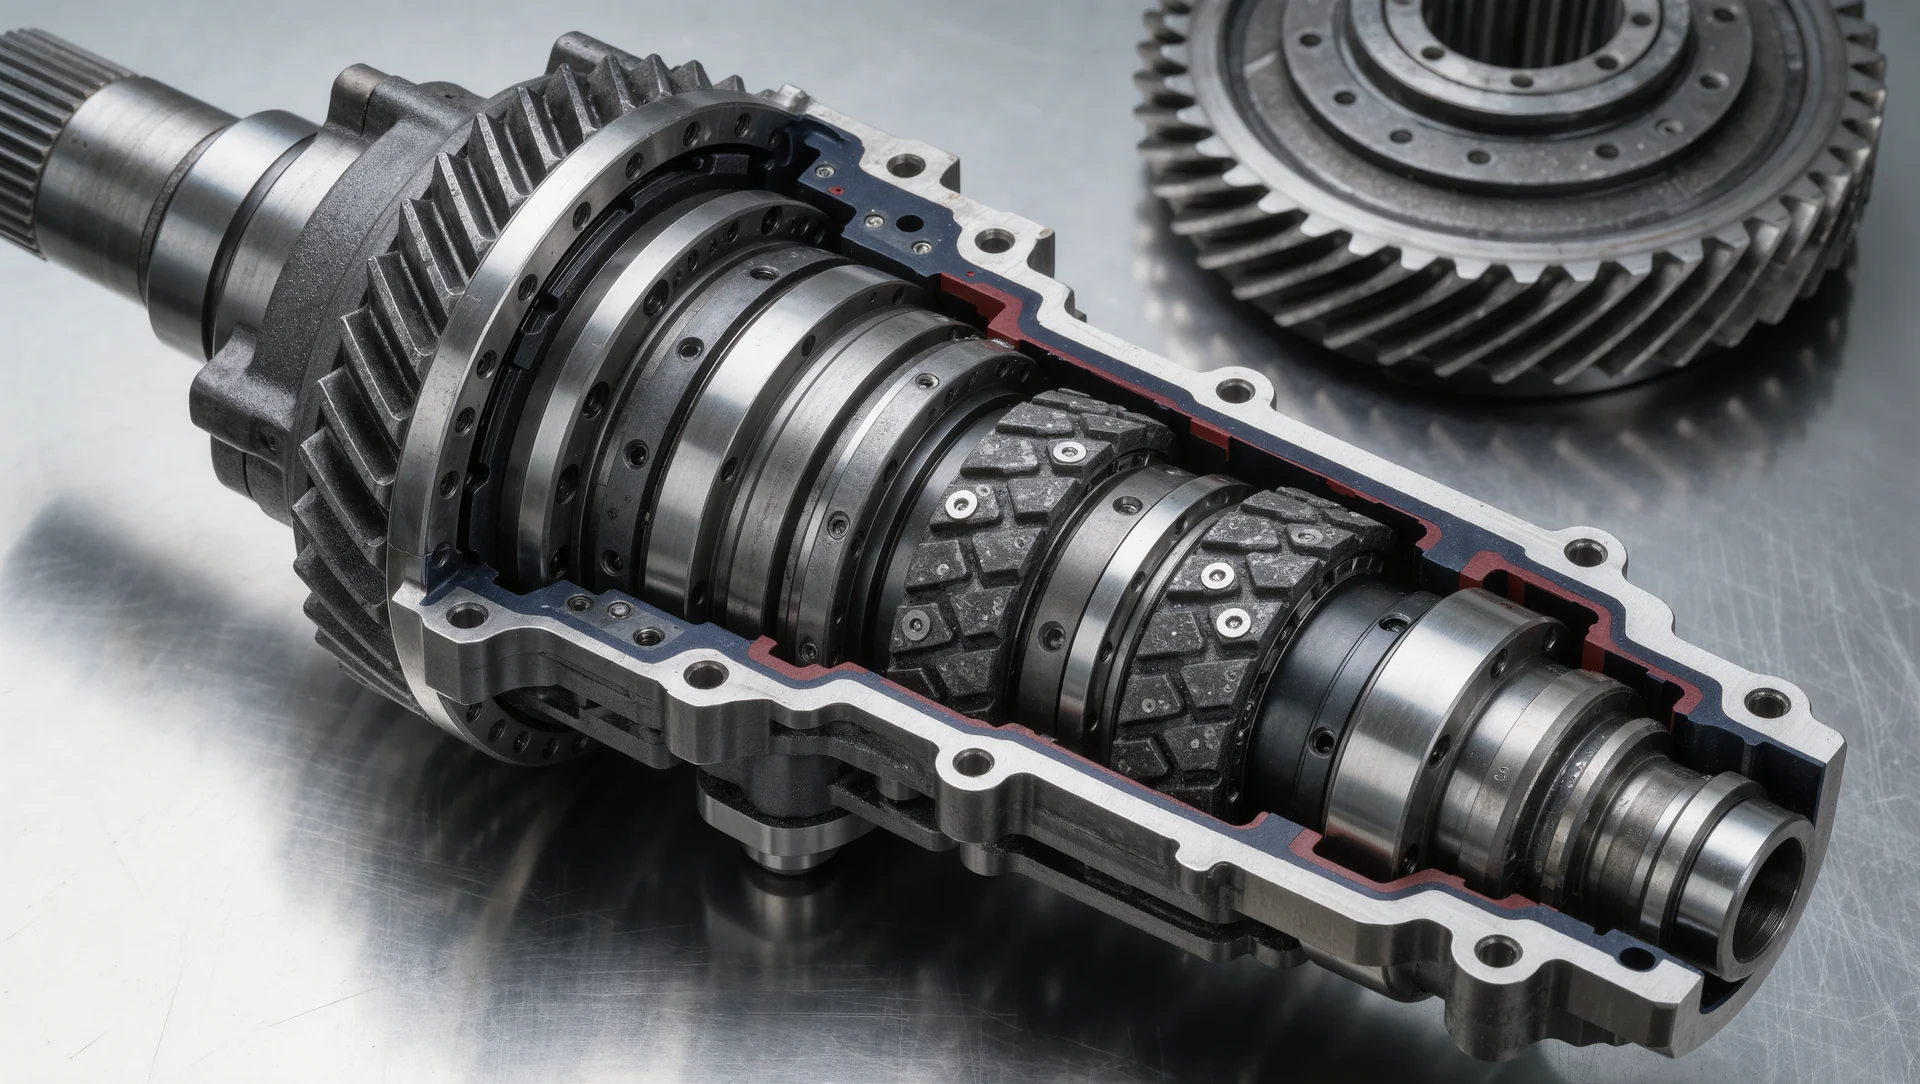
Differential settings explained: preload, power and coast, what each number does at which point of the corner and the published ranges behind them.
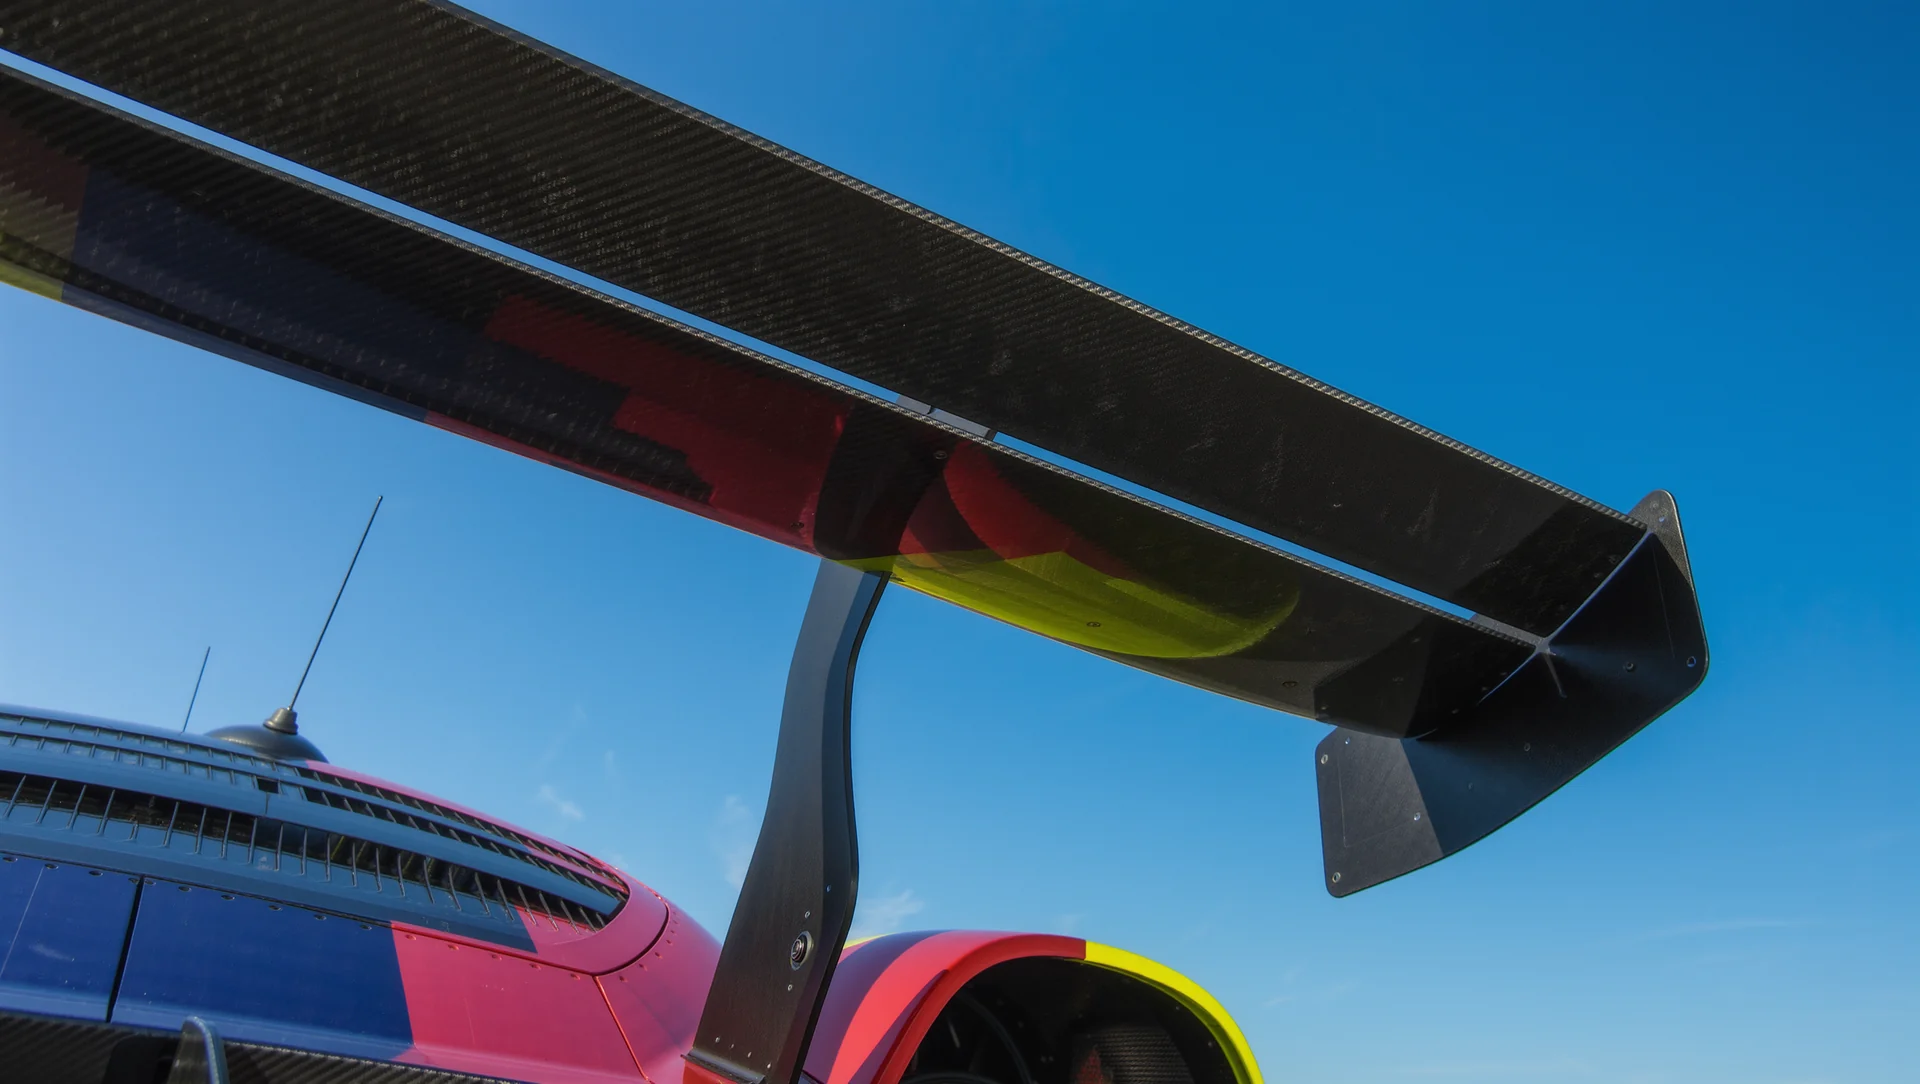
Downforce against drag: how to read a circuit before deciding the wing, why the answer changes with the field and the arithmetic behind the trade.
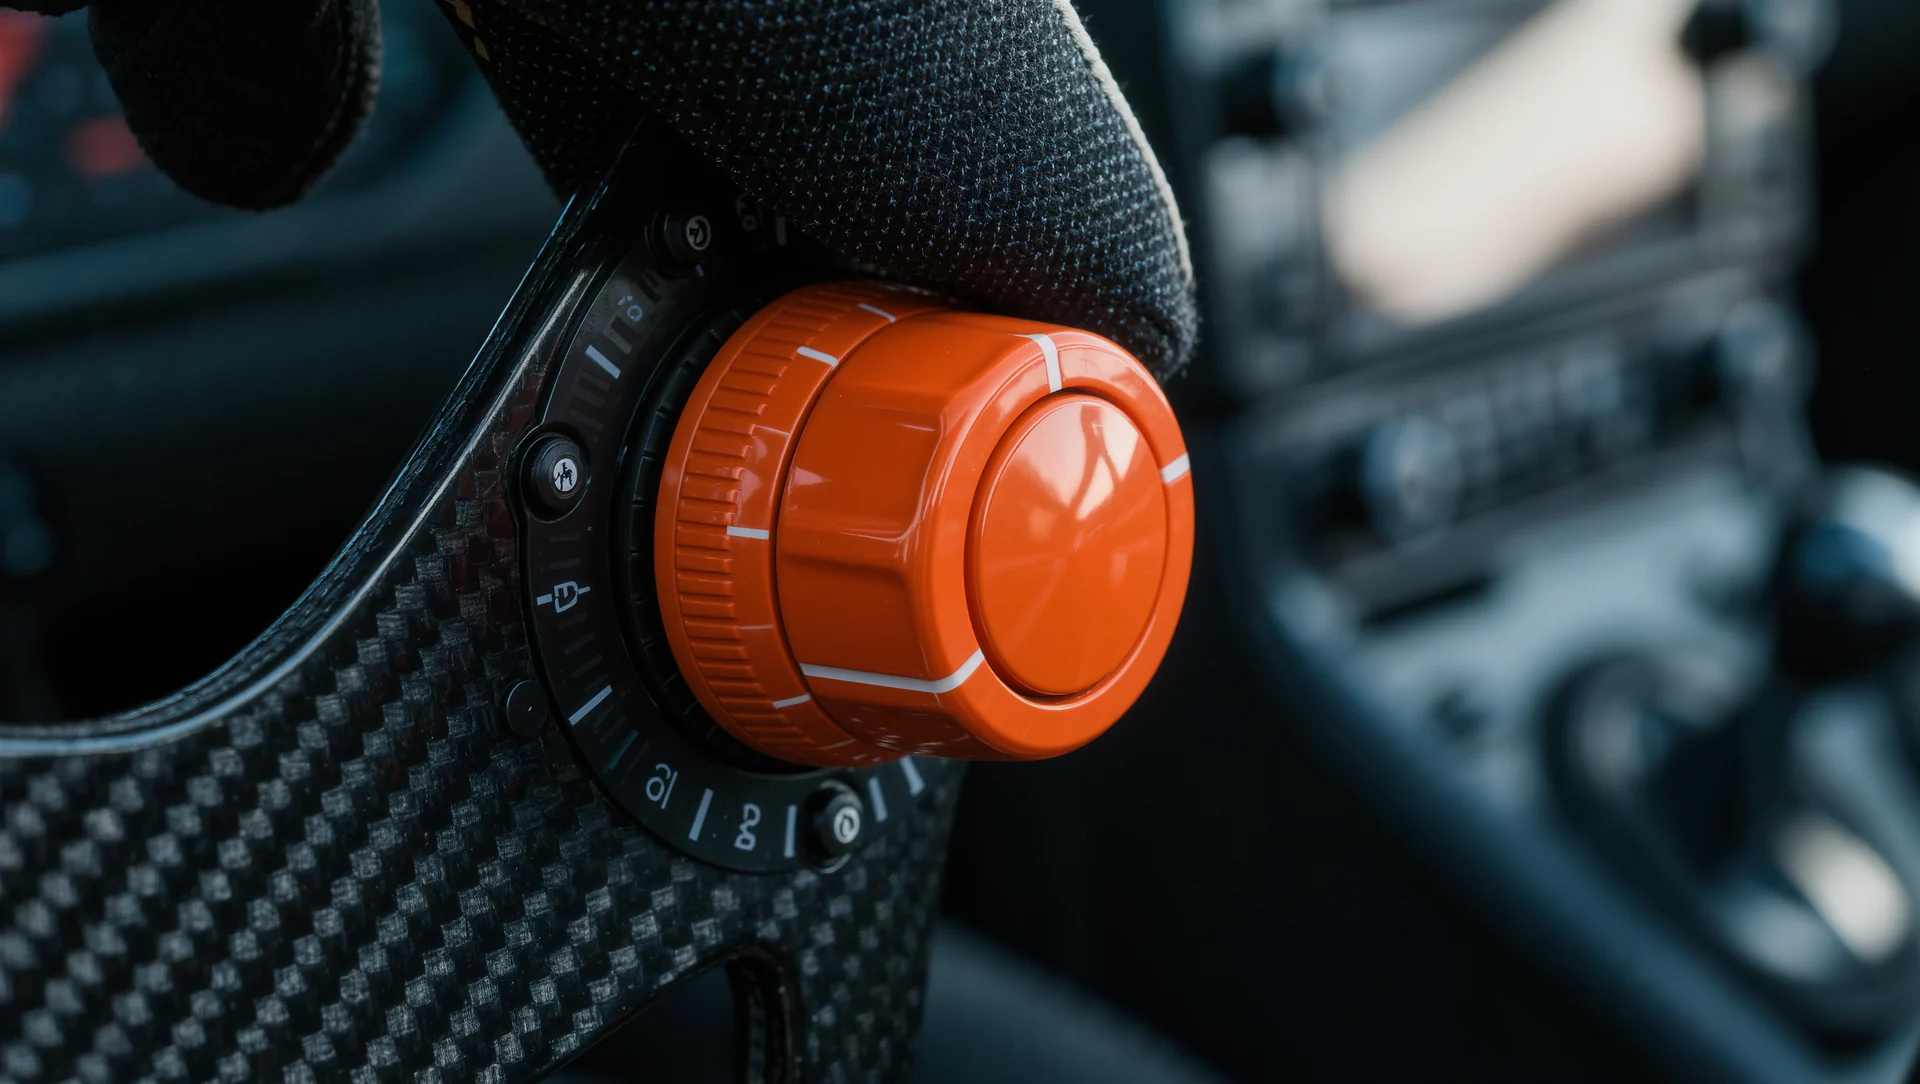
Brake bias: what moving it forward and rearward actually does, why the best drivers move it during the lap and where the dangerous end of the range is.

Reading telemetry: the four channels that matter first, what each curve shape means and how to turn a trace into a change you can test.
Comparing two setups with data instead of feel: the four measurements that settle it, how many laps you actually need and the mistake that invalidates the result.

Downloaded setups are a useful start and a terrible destination: what transfers, what does not and how to turn somebody else's file into your own.
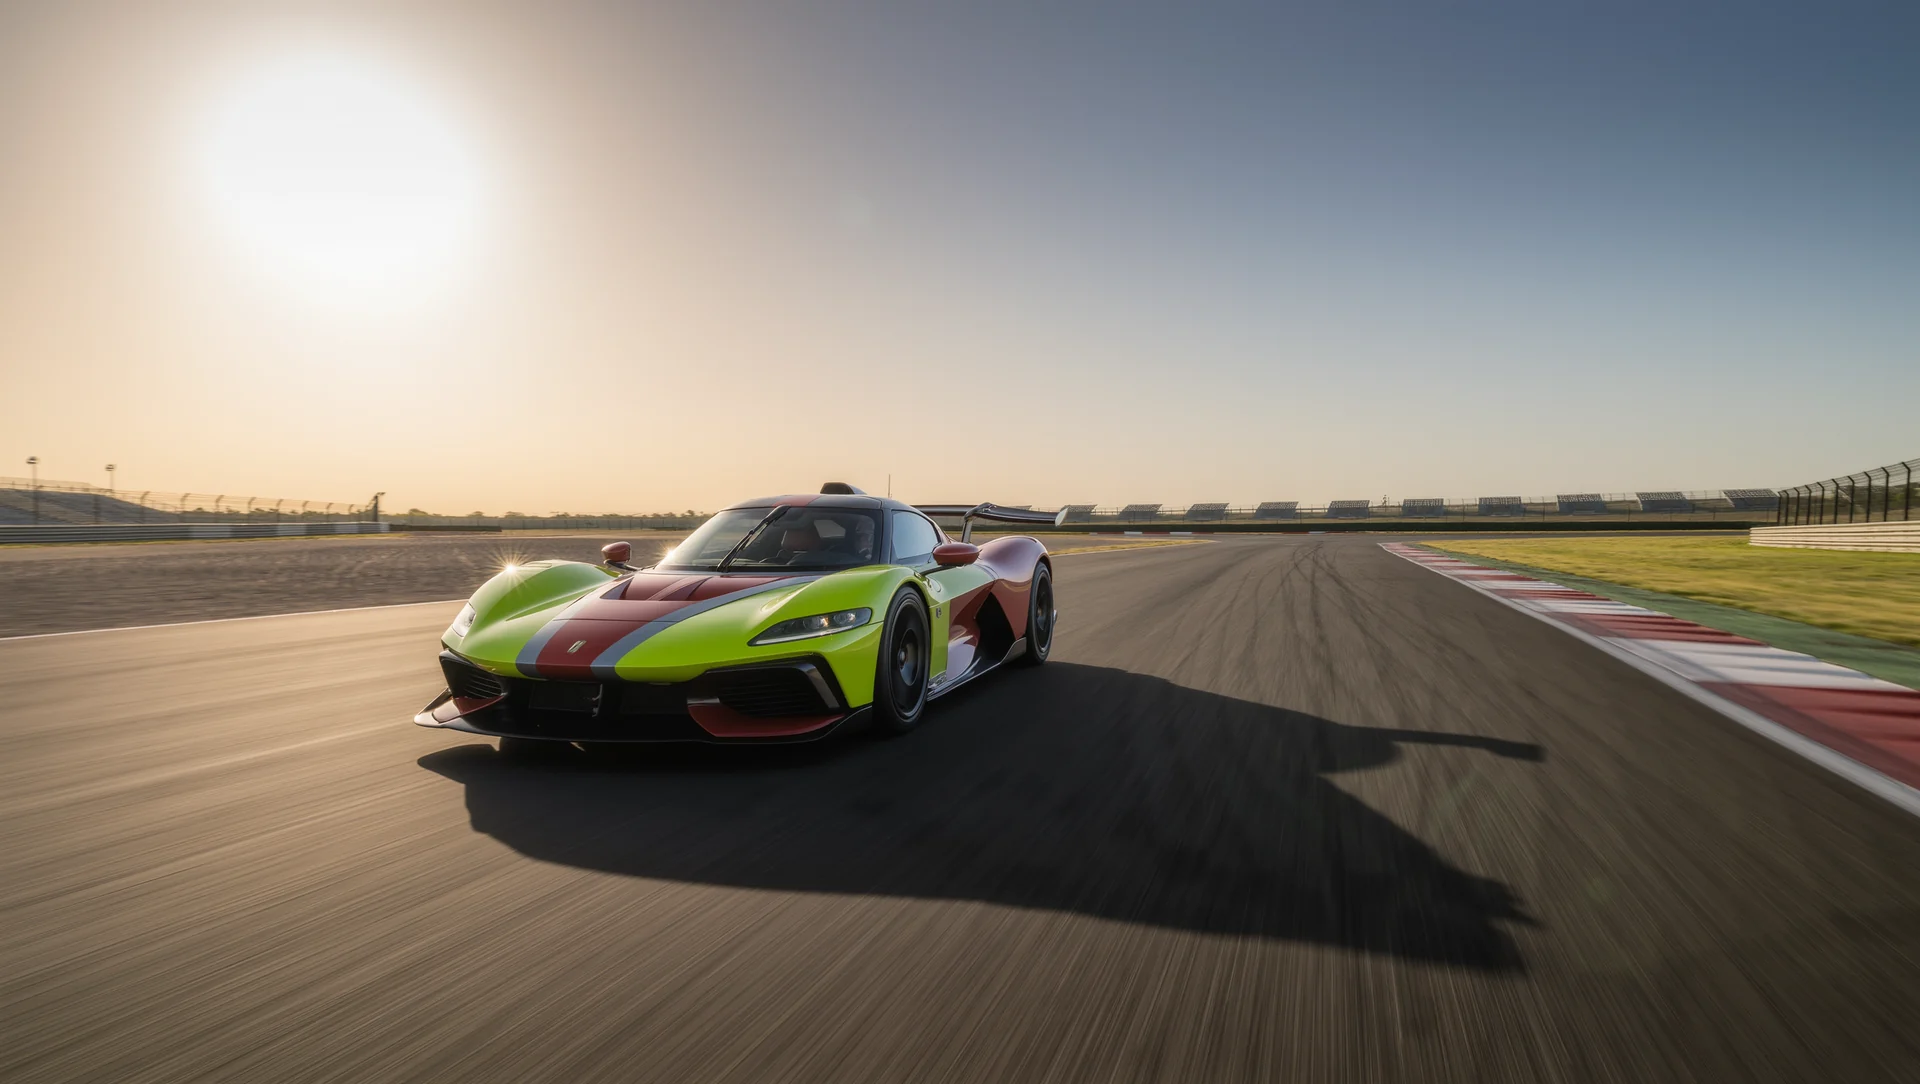
Qualifying setup against race setup: what actually differs, how much a grid position is worth and when one setup for both is the right answer.